Trimming and cutting are essential parts of any video editing, whether you are editing gaming videos or marketing videos. In this research, we will look at the best video editors for trimming and other cutting tools you can use on your mobile or desktop devices.

Premiere Pro

Filmora

PowerDirector
Best Overall: Adobe Premiere Pro is the best video trimming software for any platform because it automatically detects and cuts scenes using AI-Powered "Scene Edit Detection" feature. It's the only video editing software that has such capabilities for quickly trimming any length of video.
Best Free Video Cutter: VSDC by videosoftdev.com is a free alternative you can use. It doesn't come with powerful auto trim and cut features. But hey, it's free on Windows devices. Unfortunately, it isn't available on Mac and mobile platforms.
Best video cutter online: Adobe Spark is the best online video cutter for multiple reasons; it's created by Adobe, it's free if you already have other Adobe products, and it's a full online media editing software that lets you create logos, videos, thumbnails, banners and much more.
Best video cutter for Android: Easy Video Cutter is the best trimming application for Android devices. It works fast even on older versions of Android and has low system requirements.
Best video cutter for iOS: I recommend InShot for cutting videos on iPhone. More than 20 million people are using it. You can zoom in on the timeline to avoid trimming and cutting important parts of the footage.
Which app is best for trimming the video?
Premiere Pro is the best for trimming a video on Windows and MAC devices thanks to its efficient auto trimming feature. For mobile devices you can use Easy Video Cutter and InShot. Both are free applications with in-app purchases.
How do I trim a video in the editor?
There are 3 ways to trim a video;
- Zoom in on the timeline and bring the needle where you want to cut the clip. Click on the cutting button. Then move the needle to the second part of the clip you want to cut. You'll end up with 3 parts. Delete the cut part in the middle.
- Most video editors have shortcuts for trimming videos. For Adobe, it is the "S" button, and it's short for Split. Move the timeline needle to parts you wish to cut away and click on the S button to get rid of them.
- The third way to trim and cut a video is to use the Scene Edit Detection tool that comes with Premiere Pro. It automatically detects where the scene changes and applies cut effects, so you can then apply your transition effects or get rid of the unwanted ones.
How can I trim a large video?
We listed 3 ways to trim and cut videos above. Out of all there, using Premiere Pro's automatic cut scene detection tool is the easiest one. You can cut even hours-long videos in just seconds. If you are using a different tool other than Premiere Pro, the only option out there is manually applying cuts. Make sure to define a shortcut for the cut button to save some time during the process.
Adobe Premiere Pro
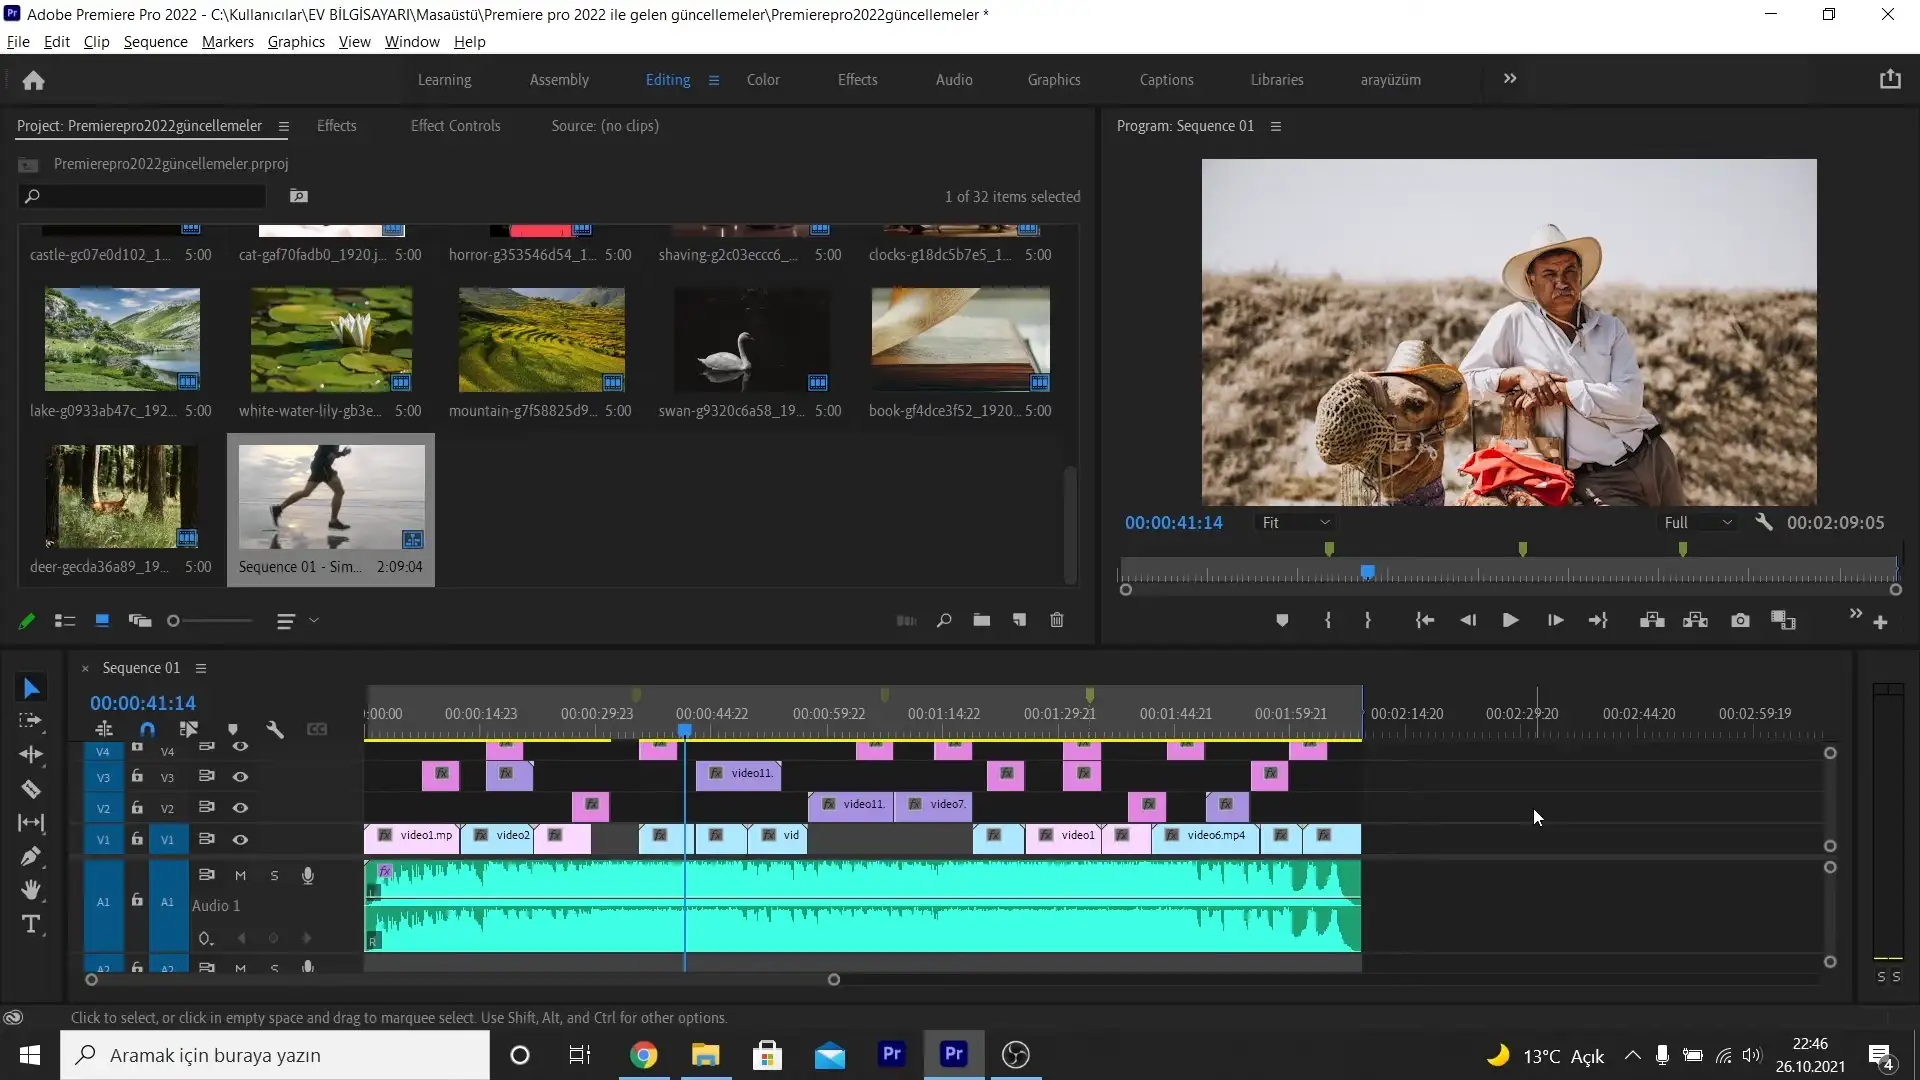
Adobe is the #1 video editing software for professionals and beginners. The best thing about Adobe is that it works flawlessly on Windows and Mac, and you get to enjoy lag-free working and quick response time.
Though Adobe is paid software, you can enjoy a 7-days free subscription. The thing I like most about this software is that it comes with a 3D editing feature that is present in only a few video trimming software.
Another reason I recommend Adobe as the best video trimming software is because it supports all AVI (Audio-Video Interleaved), MXF (Material Exchange Format), and other formats. Another good thing about Adobe is that it allows users to undo the actions you have performed on your clip.

Adobe also automatically reformats your videos, which saves a lot of time. You can also manage curve adjustments and extend your editing platform to make detailed and minute changes.
Another good thing about Premiere Pro is that it allows the users to remove grain and noise from your videos and makes it easy to add graphics to your video.
If you are using this software for the first time, make sure you don’t buy the subscription right away. Work with the free trial period first, and then go for the paid version if you like it. Adobe’s interface and so many options can be overwhelming for some beginners.
Adobe supports 4K, 8K, and VR formats. The trimming and editing tools in the software offer a high degree of precision and control for its users. Moreover, the automatic sync works smoothly when you have multi-angle shots. The fine-tuning tools make your video stand out from the rest, so you get the highest number of views on your content platforms.
Filmora by Wondershare
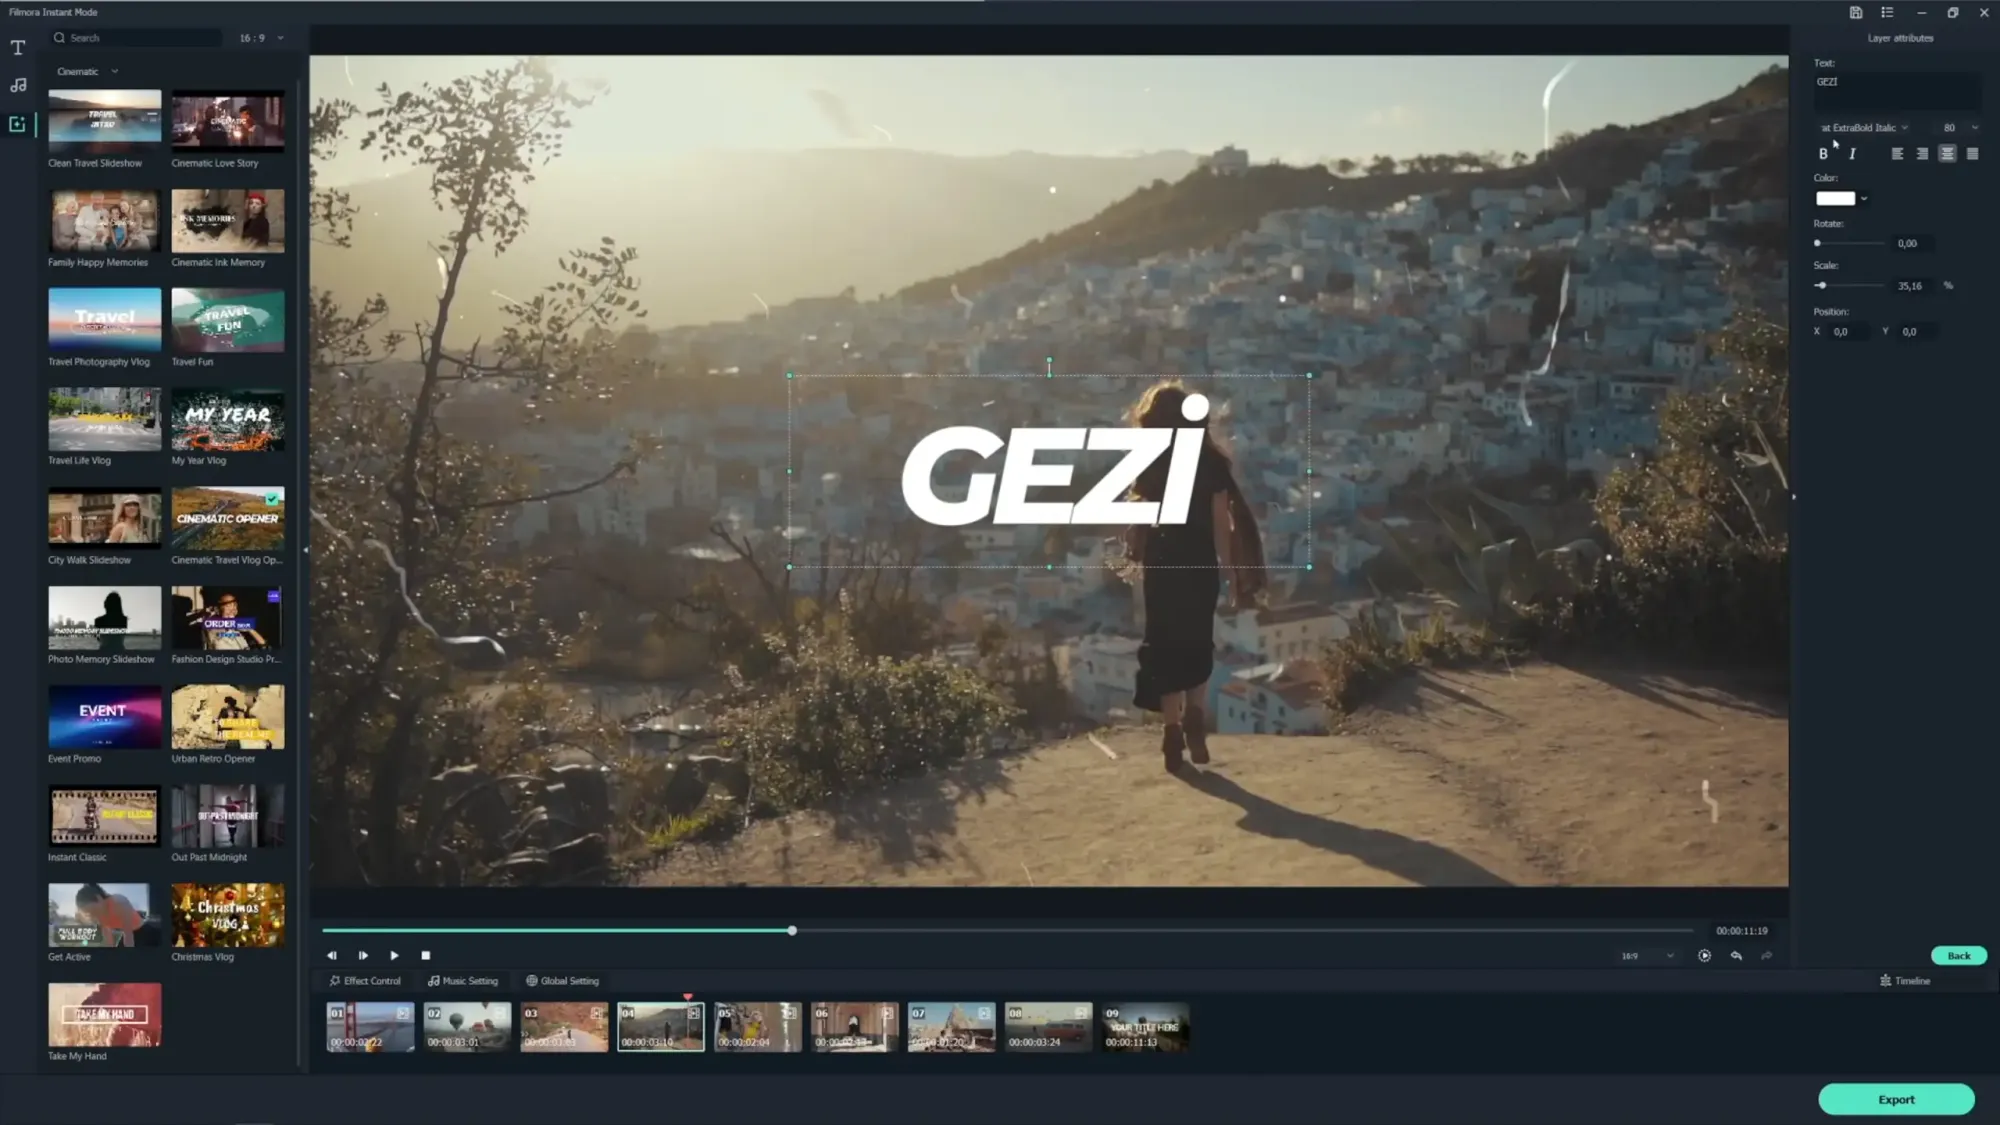
Filmora is another top-of-the-line video cutting tool that windows and MAC users can use to create and edit perfect videos. The tool allows the users to change the aesthetics like color tone, audio, add graphics, watermark, and special effects with just a click of the mouse. Its easy-to-use interface is the best thing about Filmora. Even beginners can enjoy professional-level editing. Moreover, Filmora also offers one of the largest online tutorial and guide libraries on its official website. Apart from this, a lot of user-created video tutorials are available on YouTube.
Filmora offers wide support for different formats. The thing I like most about this software is that everything is included in the subscription, and you don’t have to buy plugins until something out of the world comes up. You can enhance your videos with 300+ stunning effects that can be added to your video with just one click.
I liked the feature to record my voice directly into the video while trimming it or editing it. Filmora also allows you to record live music, combine audio tracks with videos and do many more things.
One thing I felt while using this software for video editing is that it is somehow basic for pros. You may feel limited while working on this software compared to Adobe.
Filmora is also paid software, but you get a 7-day free trial version with a watermark on all the edited videos. One mentionable feature in the last update is the Template mode. It uses AI algorithms to pick highlights from your video and create a video for you. This makes the work even easier for novice trimmers.
Overall, this is a great video editing and trimming software that must be given a try.
Camtasia
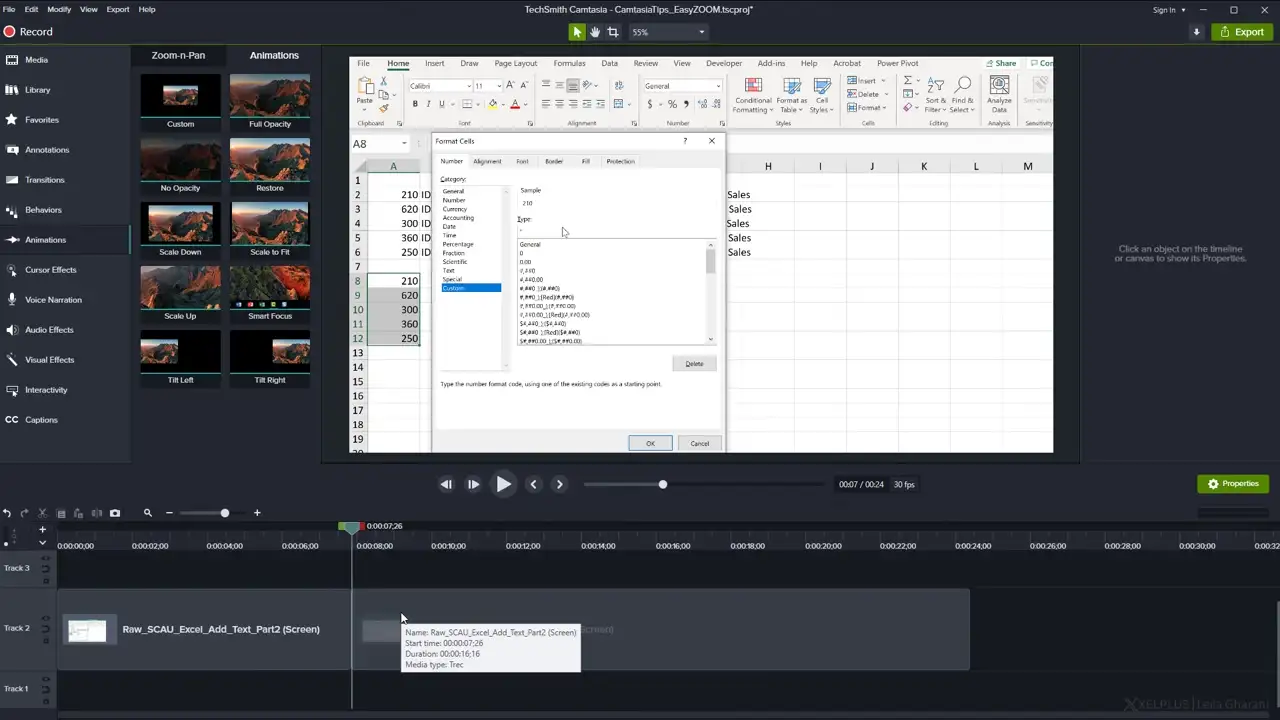
The third software that I tried for video editing and trimming is Camtasia. Though I didn’t do deep testing for this software, it has some great features that can make it your go-to video trimmer for basic level trimming.
The user interface and instructions make it easy to make professional-looking edits that no one will be able to guess, and everyone will ask you which software you have used to edit the videos.
The thing I like most about Camtasia is that it offers more than 900,000 royalty-free stock videos that you can use in your videos to make editing and trimming great. Camtasia allows the users to zoom in, zoom out and add pan animation to their videos.
You can record your screen using Camtasia and then trim as per your convenience with user-friendly trimming and cutting tools.
If you are trimming a learning video or something informational, Camtasia allows you to add quiz questions and other interactive things to your video. You can also record and import your presentations into your trimmed work. You can use the tool to make stunning and attractive titles and add text, annotations, and callouts.
Camtasia also allows the users to streamline the video review process. The tool is available for windows and MAC operating systems.
Movavi Video Editor
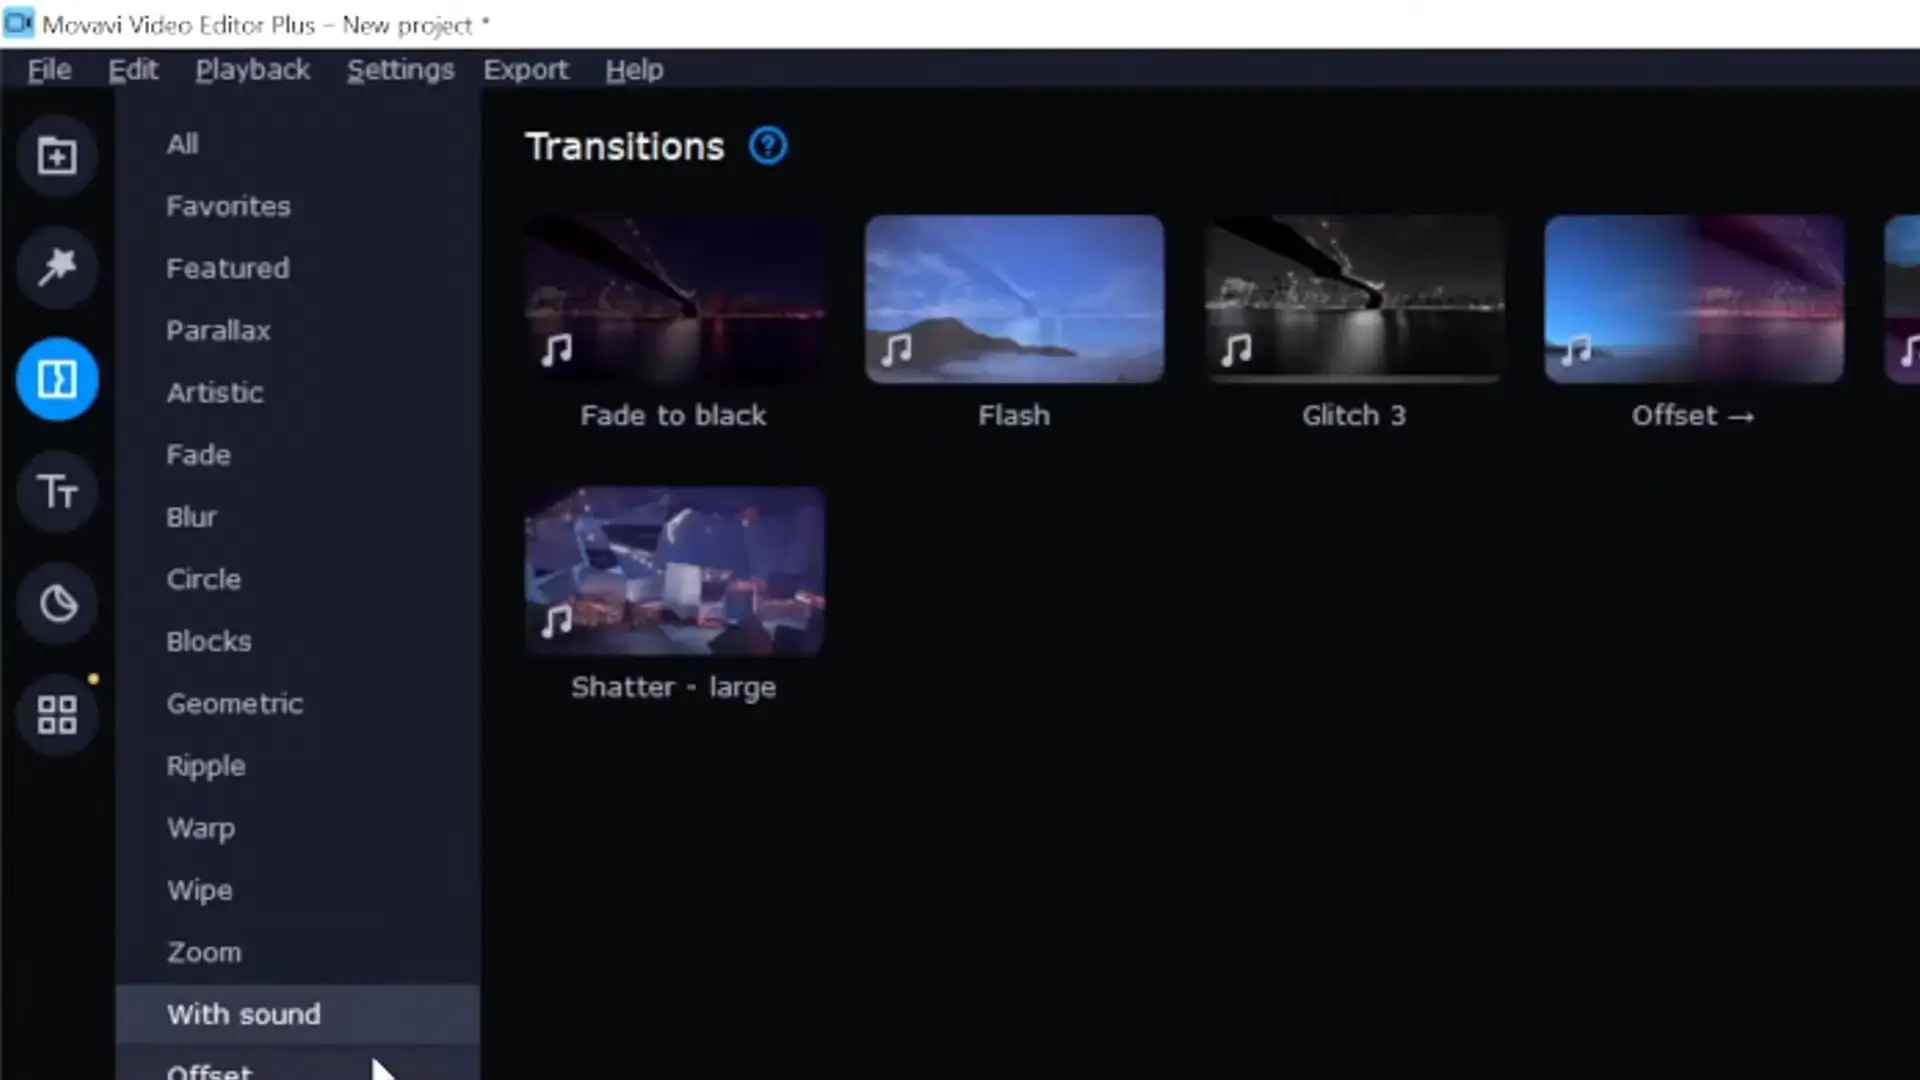
I tried Movavi editor to trim basic level videos, but it is limited too when it comes to features and interface.
You can use the software to trim, add effects, ready-made intros, and animation to your video clips. You may feel that the interface is awkward if you are using this tool after using Filmora or Adobe.
One thing I like about this editor is that it allows you to change the background color of your clip. Movavi is available in a wide range of languages, so you can use it in your native language for an easy and quick understanding of the tool.
The tool also offers a wide range of video filters that you can add to your video while editing and trimming. You can also use the editing software to add photos and comments to your video.
One feature that stands out in Movavi is the video editor plus, which includes a stabilization function in case it is shaken while recording. Overall, it is a decent software for first-timers and novice video editors.
That is all for this tutorial, everyone. I hope we've been able to shed light on your questions.

