Although we have Blender 3.2 at the moment publishing of this post, they introduced a major feature in 2.8 release: Shape Key. In this tutorial, we'll discover what are shape keys in Blender, how to use them effectively and some more tips & tricks. So, let's get started.

What is the shape key in Blender?
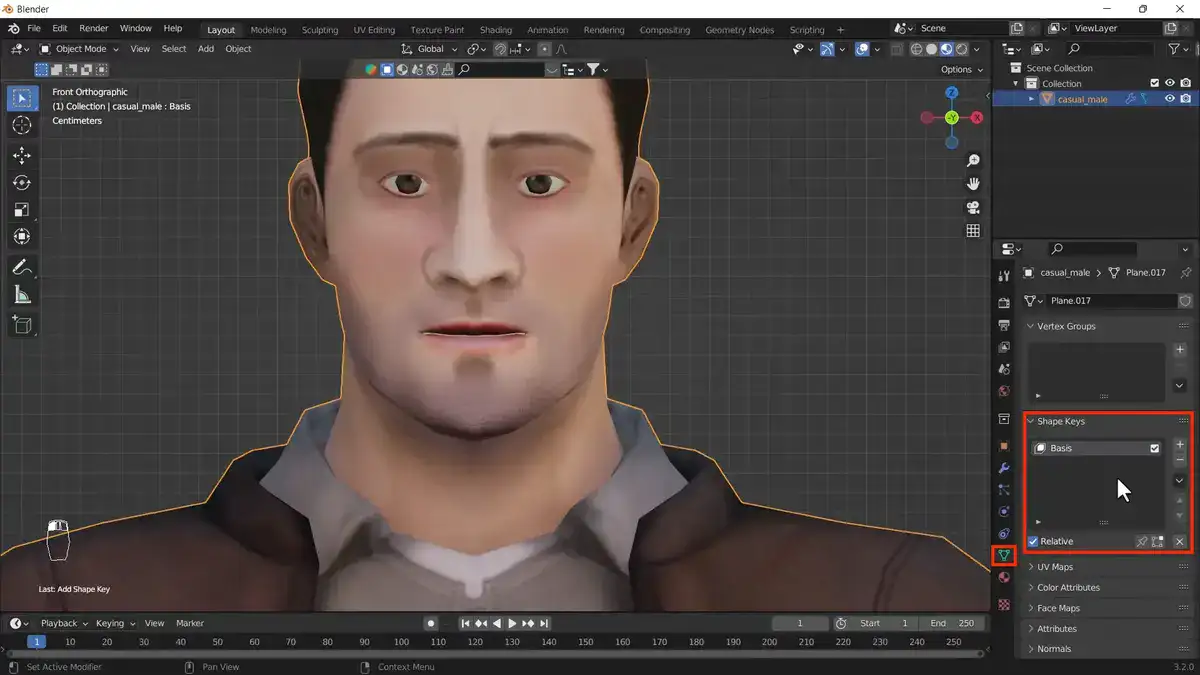
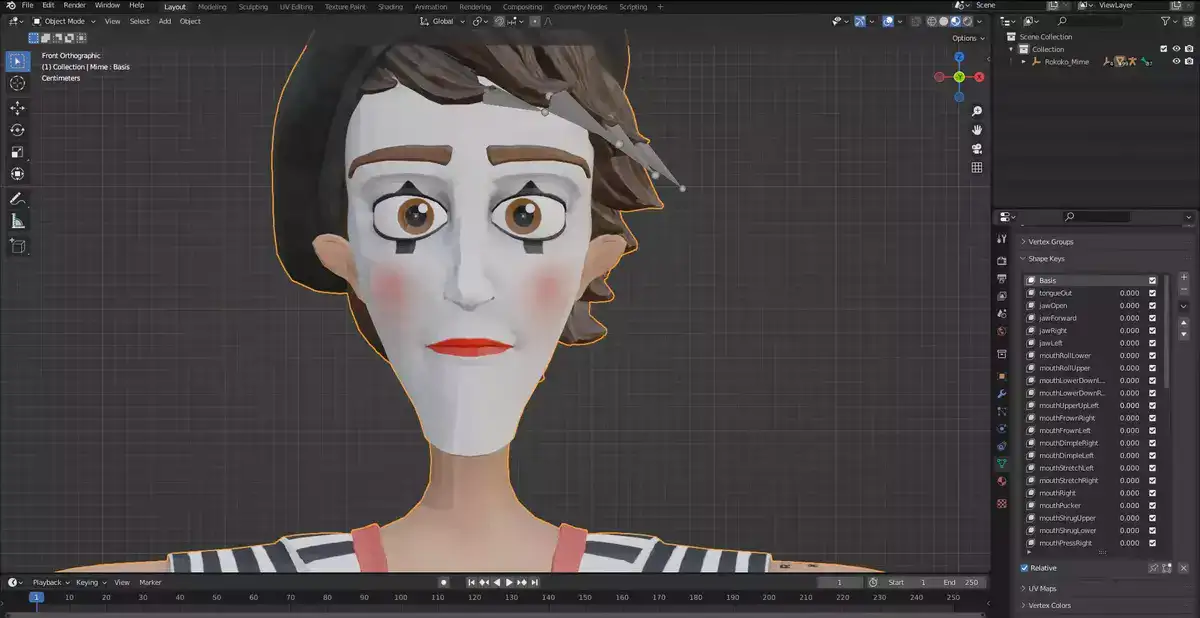
Shape keys create morph targets or blend shapes that can be manipulated via control points like mesh curves, surfaces, or lattices. The Shape Keys panel is in Blender's Properties viewport's Object Data tab. Select the object whose shape you want to change to access it. Each shape key's value affects the selected mesh. Each key's value can be adjusted from 0 to 100. (full influence). You can isolate each shape key so that only its changes are visible in the 3D Viewport, allowing for precise editing without distraction from other keys.
Shape keys offer Linear, Bézier, Constant, and Step interpolation modes (STEP). These determine how quickly animation changes appear across frames. Enabling interpolation ensures that all changes look smooth while maintaining their distinct values over time.
Working with shape keys is a must-have skill when animating new characters or creating facial animations. Learning shape keys will help you become a character animation pro, whether you're making subtle expression tweaks or sculpting new meshes.
How do shape keys work in Blender?
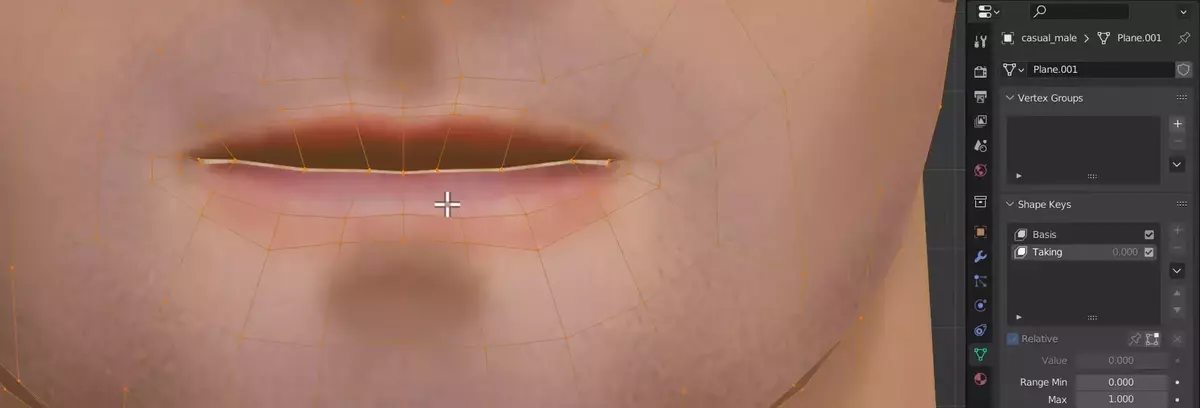
For Shape Keys to function, you must first specify a set of vertices (or points) to be affected by the key's activation. Like any other Blender object, these vertices are fully posable in terms of position, rotation, and scaling. If you want to distort the shape even more, you can increase the number of vertices in the set. After deciding on a set of vertices, the activation of the Shape Key can be keyframed to allow for gradual transitions. In this way, you can regulate many aspects of your model's appearance and behavior.
How do you set basis shape keys in Blender?
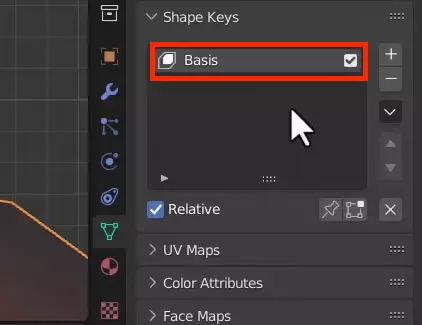
In order to make a Shape Key, you must first establish what shape will serve as the key's foundation. To define how the rest of the model is distorted when the Shape Key is engaged, the basis shape is used as a starting point for subsequentShape Keys, such as a new Face, expressions, etc. Select the vertices you want to use to define the basis shape, then choose Object->Set Basis Shape from the menu bar. This will generate a new Shape Key for your model, which we'll label "Basis."
How do you keyframe a shape key?
First, insert two or more keyframes at different times in the timeline. Next, adjust each value using Property settings. This creates a shape transition throughout your animation. To add a keyframe to the timeline, click Insert Keyframe in the Properties panel.
Once you've set all your property values, you can play or scrub through your animation. Select any part of your animation and move it until you're satisfied. With practice and patience, you can quickly animate shapes keys.
Blender shape keys not working
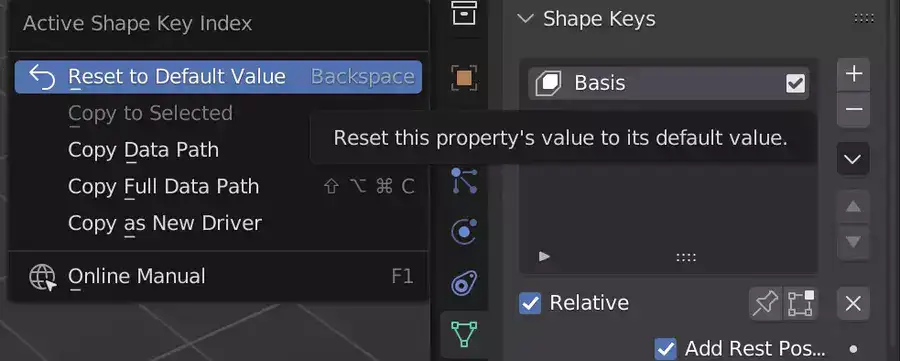
If your Blender shape keys are not working, it is likely because you have not keyframed the activation of the Shape Key. To do this, check the previous title on keyframing your shape keys.
Final words
Shape Keys are a powerful new feature in Blender that was introduced back in 2020. It allows you to deform and animate your models in ways that were not possible before. In this article, we have taken a look at what Shape Keys are and how they work. We have also learned how to create our own Shape Keys and how to use them to animate our models.

