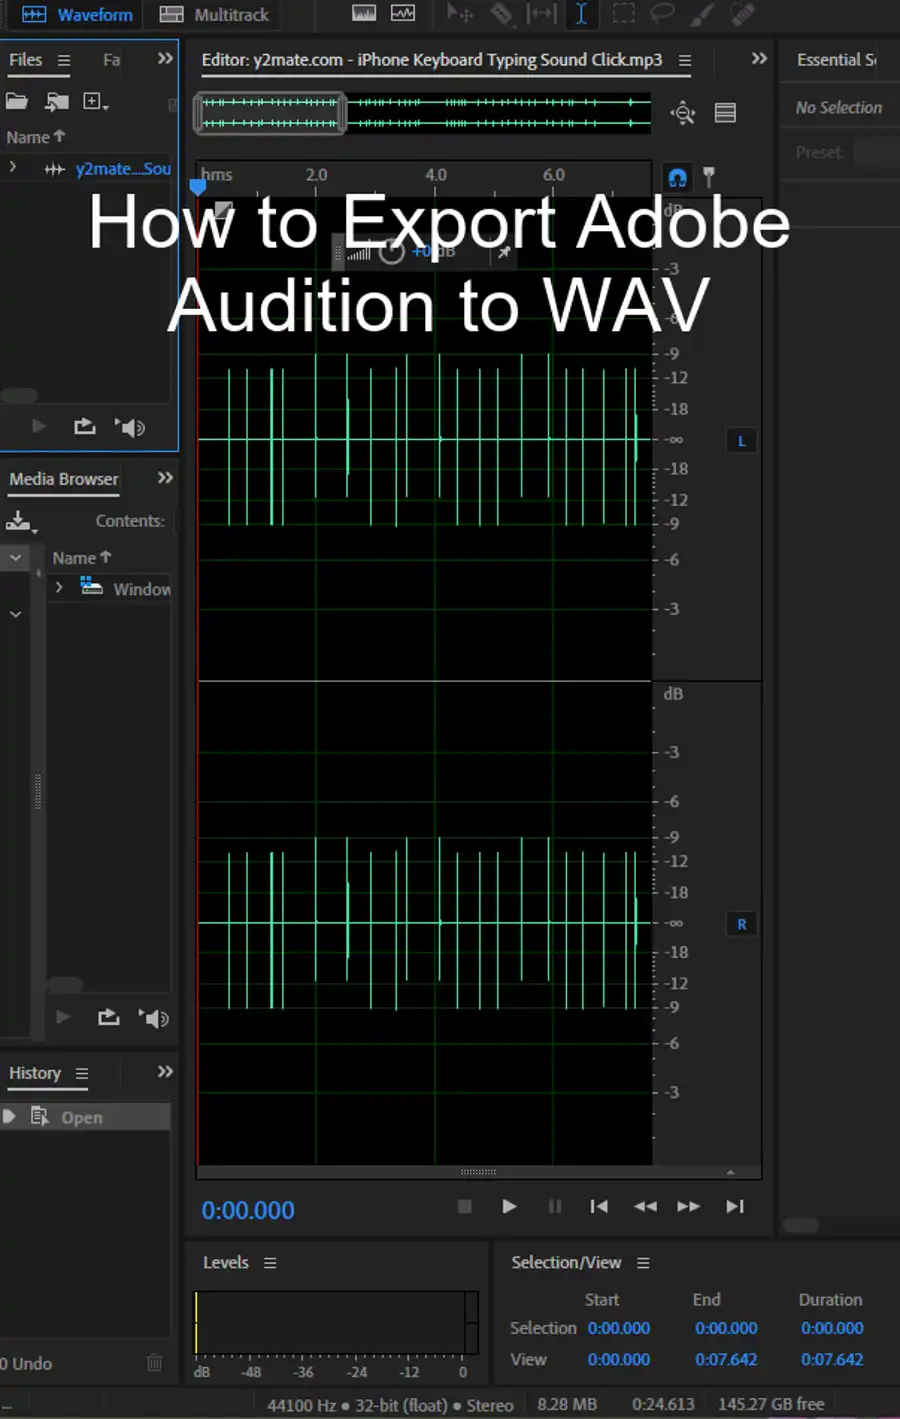
In today's modern age, quality sound plays an essential role in media production. Adobe Audition CC is one of the most popular audio editing software tools used by professionals worldwide. With its advanced features and easy-to-use interface, Adobe Audition CC provides everything you need to make high-quality recordings.
This article focuses on adding bass to your audio, specifically using Adobe Audition CC. We will outline three easy steps in detail to achieve a richer tone and give your audio that extra boost.

Step 1: Volume
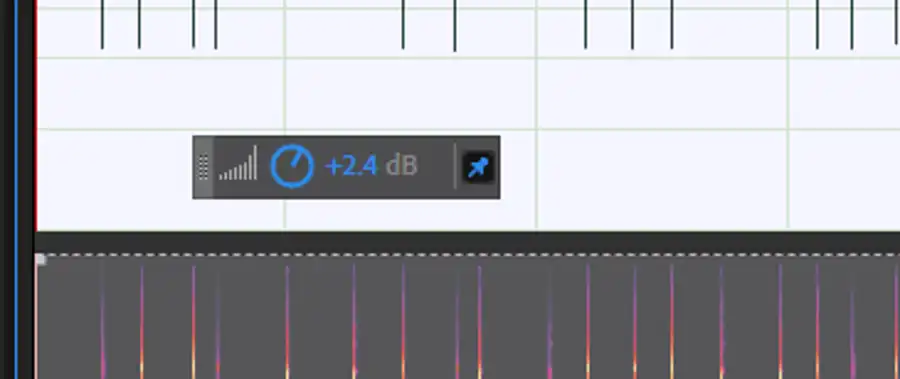
Begin by turning up the volume of the raw, unprocessed audio by using the volume icon in the bottom left of the track. Select Match Clip Loudness and set a Target Loudness - this will ensure that the volume is consistent throughout your audio recording.
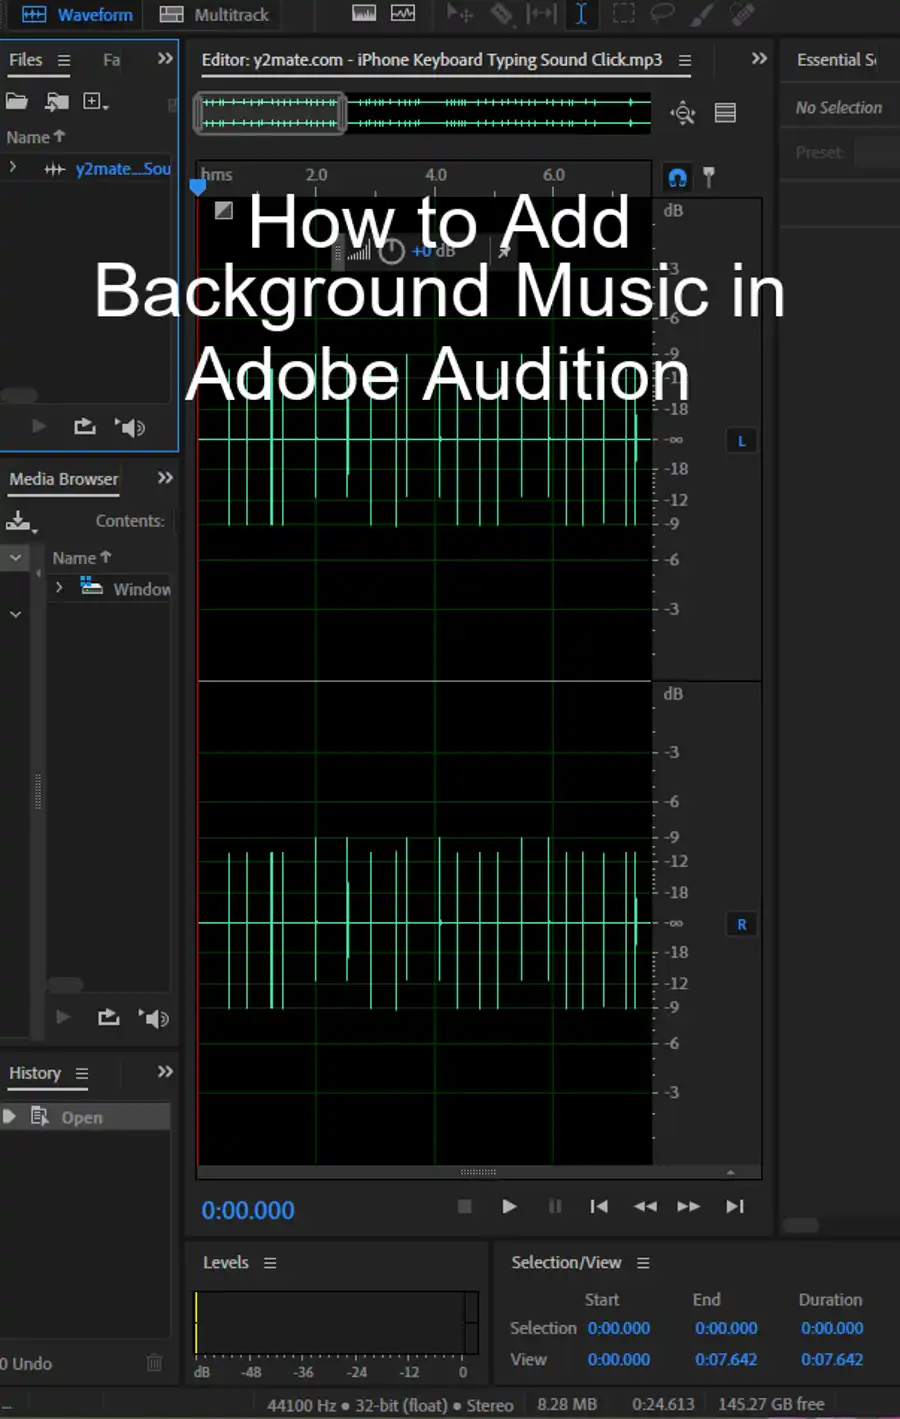
Step 2: Equalize
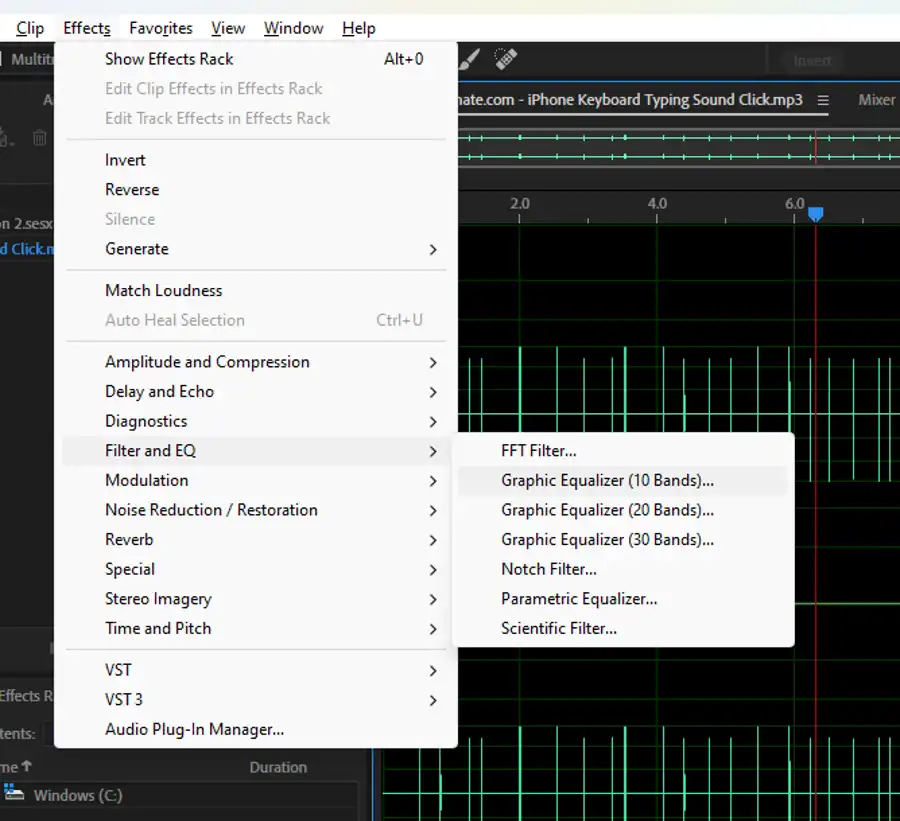
To reduce the bass frequencies in an audio file, an equalizer should be used. Adobe Audition CC provides various options to adjust the equalizer. The Graphic Equalizer is the easiest option to use as it has sliders to adjust frequencies. Experiment with different equalizer options in Audition to find the best adjustment for your audio file. For example, you can use the Parametric Equalizer to remove some of the bass by dragging the "H" down and to the left or add high-end sound by dragging up the curve.
Step 3: Dynamics
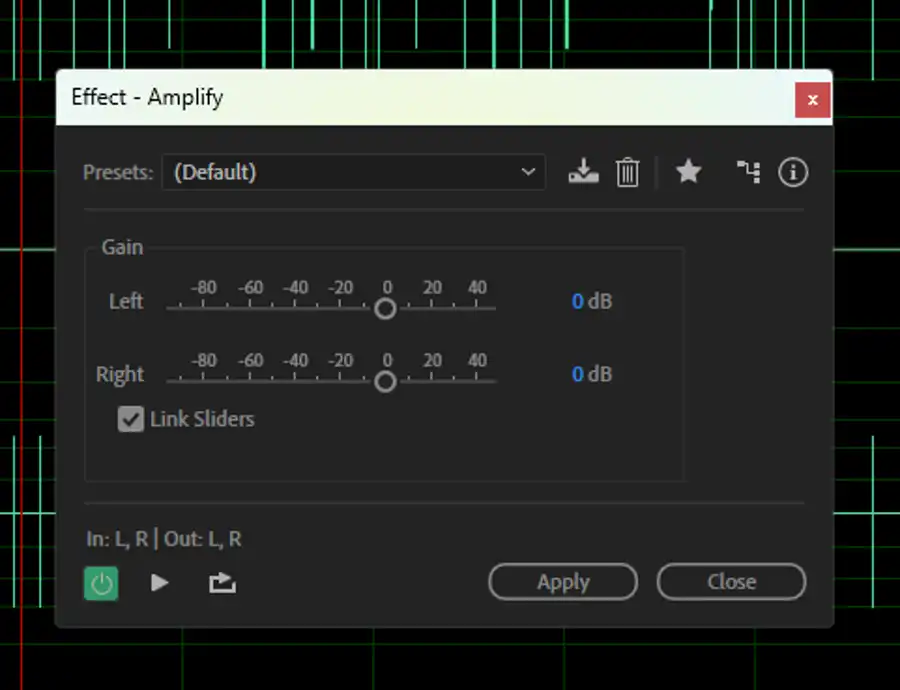
After you've equalized, you can use the Dynamics effect to improve the sound. The Amplitude and Compression effects are great tools to increase the volume of the whole audio file. Amplify is the simplest effect to increase the volume. Use the Compressor and Limiter to maximize the sound of your audio. The Compressor will level out the volume peaks while the Limiter will prevent the volume from being too loud. Another important tool to use here is MakeUp Gain, which will increase the volume after the compression effect has been applied. Use it to make the final adjustments and ensure that the audio levels are consistent throughout.
We recommend adjusting the incoming levels on the audio interface or the device providing the audio signal to increase the level of the recorded audio. Audition only records what it is sent by the audio driver. Increasing the volume levels after the recording can result in unwanted noise and hum.
Questions you might be asking
How do you add bass to voice in Adobe Audition?
To add bass to a voice recording in Adobe Audition, you must first select the clip you want to modify. Next, open the 'Effects' tab and scroll down to 'Equalizer.' Once you select this option, you will see an equalizer panel where you can adjust the bass frequencies. Move the bass slider to your desired level, and your audio clip should now have more bass.
How do you add bass to a song?
Adding bass to a song in Adobe Audition is similar to adding bass to a voice recording. First, select the clip you want to modify, and then open the 'Effects' tab. Next, scroll down to 'Equalizer' and adjust the bass frequencies. However, it's important to note that adding too much bass to a song can result in distortion and muddiness. A good rule of thumb is to boost the bass by no more than 6 dB.

How do I add an equalizer in Adobe Audition?
To add an equalizer in Adobe Audition, open the 'Effects' tab and select 'Filter and EQ.' From there, you can choose from a variety of equalizer options, such as a graphic equalizer or a parametric equalizer. Once you have selected the type of equalizer you want, you can adjust the settings to your liking.
How do you boost bass in a song?
To boost bass in a song, you can use the same method described in the previous answers. Select the audio clip you want to modify, open the 'Effects' tab, and choose 'Equalizer.' However, it's important to use caution when boosting the bass frequencies. Too much bass can cause distortion and harm the overall quality of the audio clip. Be sure to adjust the EQ settings until the bass is noticeable, but not overpowering.
