Adobe Photoshop is a powerful and flexible tool that supports not only image editing but also an array of text editing features. Despite not being a traditional word processing software, Photoshop allows you to add bullet points to your text. While this may not be as straightforward as in software like Microsoft Word, it is still a relatively simple process. This guide will show you how to add bullet points in Photoshop.


Understanding Text in Photoshop

Photoshop is primarily a graphics editing program, but it also offers a wide range of tools for working with text. You can add text to your images, create dynamic typography, and even format your text with bullet points to create lists or highlight important details.
Step-by-Step Guide on Adding Bullet Points in Photoshop
Here's how to add bullet points in Photoshop:
Step 1: Open Your Document in Photoshop
Start by launching Adobe Photoshop on your computer. Once open, either create a new document or open an existing one where you want to add bullet points. Go to "File" at the top menu, then select "New" or "Open."

Step 2: Select the Text Tool

Once your document is open, select the Text tool from the toolbar on the left side of your screen. The icon looks like a capital "T." Alternatively, you can press the "T" key on your keyboard.
Step 3: Create a Text Box
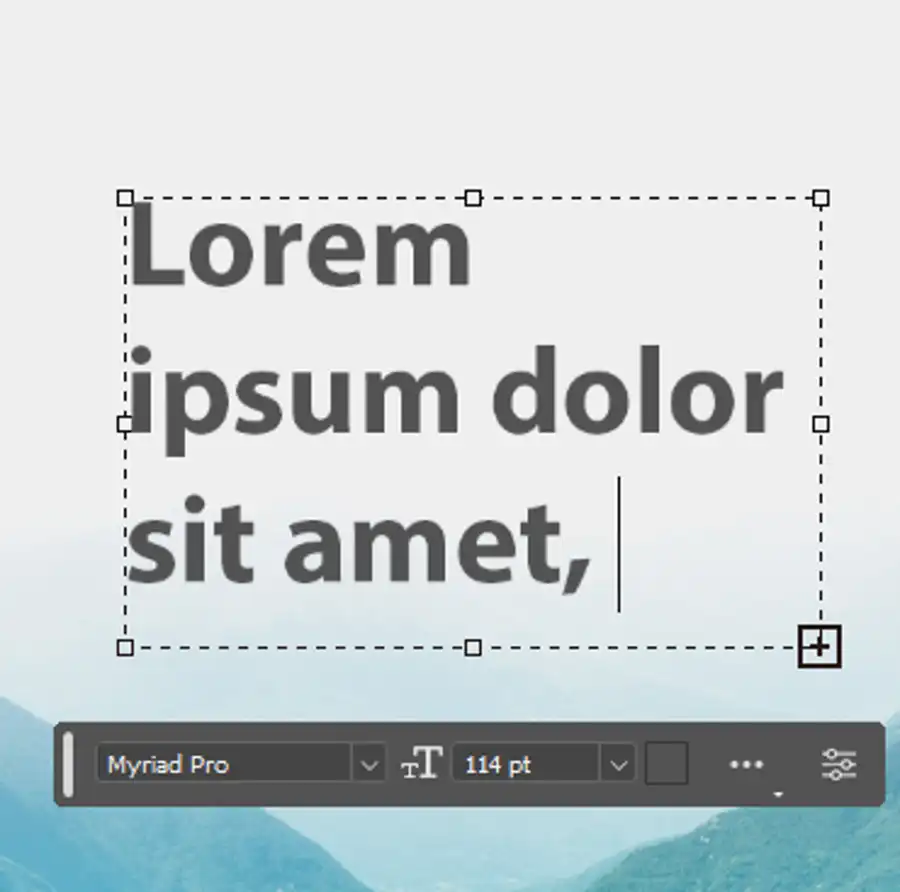
Click and drag on your document to create a text box. You can resize this box later, so don't worry about getting the perfect size right now. Once the text box is created, you can start typing your text.

Step 4: Add Bullet Points

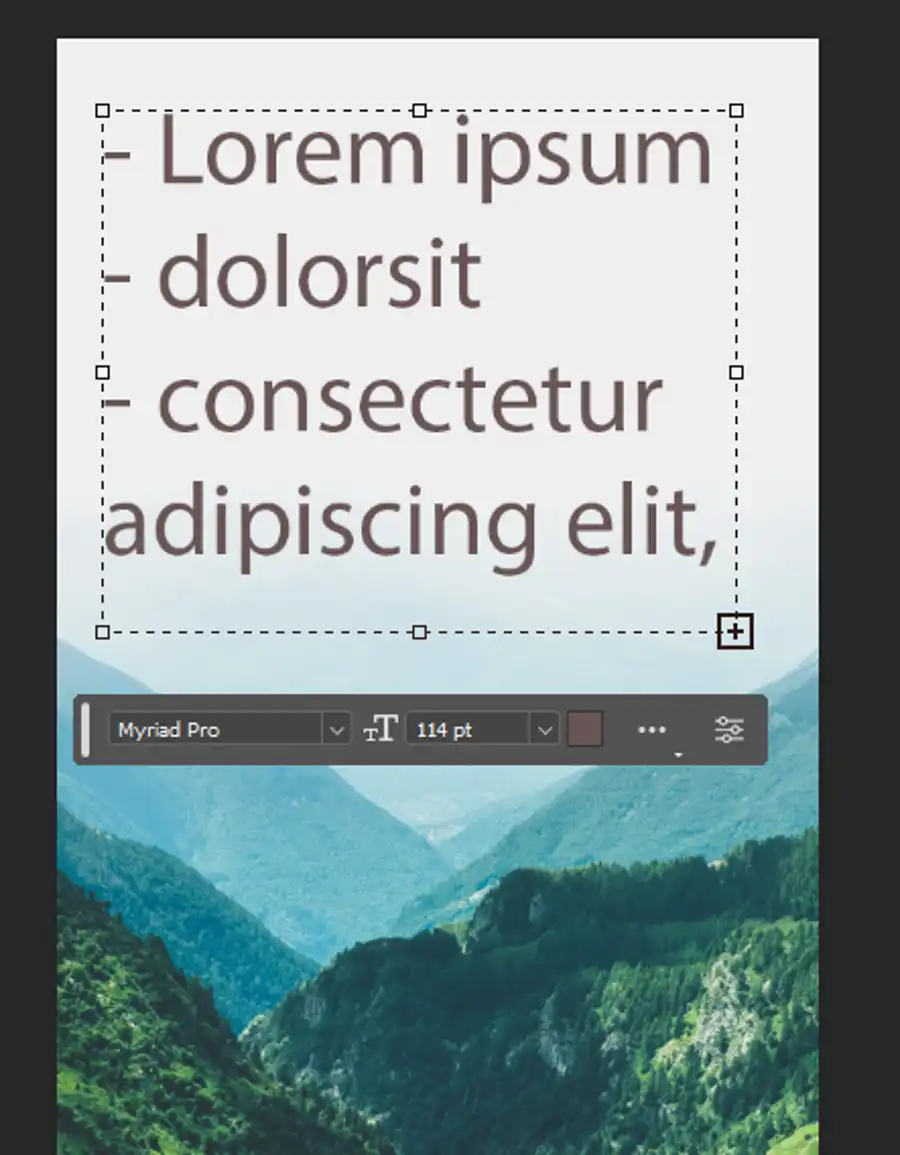
To add a bullet point before your text, make sure your text cursor is in the correct place, then press "Alt+8" on Windows or "Option+8" on a Mac. This keyboard shortcut will insert a bullet point. Now you can write your text next to the bullet point.
If you want to create a list with multiple bullet points, press "Enter" or "Return" to start a new line, then repeat the process.
Step 5: Adjust Text and Bullet Points as Necessary
You can adjust your text and bullet points as needed. Use the options in the top menu to change the font, size, color, and alignment of your text. If you need to move your text, switch to the Move tool (the icon that looks like a cross with arrows), then click and drag your text box.
Step 6: Save Your Document
Finally, don't forget to save your document. Go to "File" > "Save As," then choose your desired file format.
Conclusion
Although Photoshop isn't a traditional word processing software, it provides various text editing tools, including the ability to add bullet points. By following these steps, you can add bullet points to your Photoshop projects, enhancing the readability of your text, and adding a professional touch to your designs. Happy designing!
Questions you might be asking
How do you insert bullets in Photoshop?
To insert bullets in Photoshop, you can use the Glyphs panel. Open the panel by going to Window > Glyphs. Scroll through the fonts until you find one that contains the bullet you want to use. Click on the bullet to insert it into your document.
How do I manually add bullet points?
To manually add bullet points, type in the text you wish to use followed by a bullet symbol. You can use a keyboard shortcut to insert a bullet in some programs, such as holding down the Alt and 7 keys on a Windows computer.
How do I insert symbols in Photoshop?
To insert symbols in Photoshop, use the Glyphs panel. Open the panel by going to Window > Glyphs. Scroll through the fonts until you find one that contains the symbol you want to use. Click on the symbol to insert it into your document. You can also use the Symbols menu in some versions of Photoshop to insert common symbols.

