When it comes to editing videos, audio plays a major role in creating a final product that stands out. Adobe Audition is a powerful tool that helps in recording, editing, mixing, and mastering sound. Its workflow is particularly meshed with Adobe Premiere, and when paired together can give a seamless final project. Along with its intuitive interface, Adobe Audition balances ease of use and power, making it great for professionals and beginners alike.

Applying effects in the Multitrack Editor

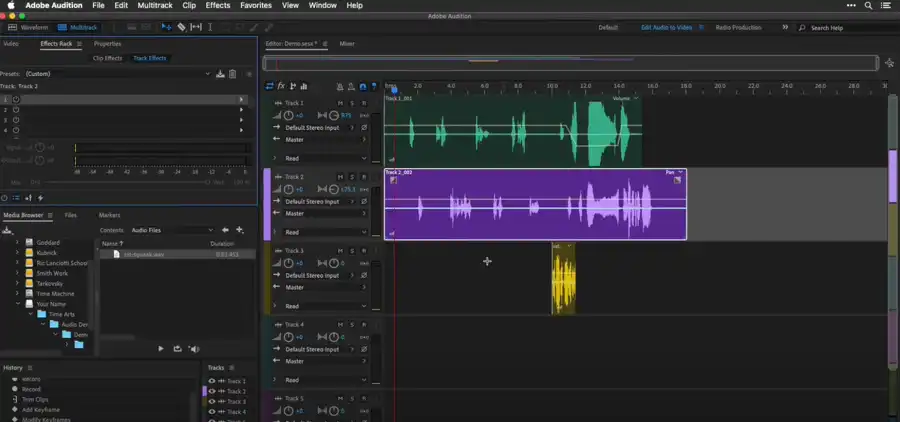
The Multitrack Editor is where up to 16 effects can be applied to each clip, track, and bus, and adjusted while a mix plays. Effects can be inserted, reordered, and removed in the editor, Mixer, or Effects Rack panel.
Saving effect settings as presets is possible, and they can be applied to multiple tracks. Effects in the Multitrack Editor are nondestructive, meaning changes can be made at any time. Using envelopes can also help adjust settings over time.

Apply effects to clips or tracks
In the Multitrack Editor, up to 16 effects can be applied to each clip, track, and bus, and adjusted while a mix plays. Clip effects should be applied if a track contains multiple clips that need to be processed independently, allowing greater control of individual elements of a clip.
Effects can be inserted, reordered, and removed in the Editor, Mixer, or Effects Rack panel. Saving effect settings as presets is possible, and they can be applied to multiple tracks.
Pre-render track effects to improve performance
Heavy CPU usage can be addressed in the Multitrack Editor by pre-rendering track effects. This process improves performance for complex mixes or low-latency recording.
Pre-rendering processes audio when pauses occur during playback or editing. While pre-rendering is ongoing, editing track settings remain possible.

Insert effects before or after sends and EQ

Effects can be inserted either pre-fader or post-fader on each track. Pre-fader effects process audio before sends and EQ. Post-fader effects process audio after sends and EQ. The default, pre-fader setting works well for most mixes. The post-fader setting offers signal-routing flexibility for particularly complex mixes.
Destructive vs Non-destructive Audio Editing
When it comes to audio editing, there are two primary methods: destructive and non-destructive. Destructive methods write the changes to the file, while non-destructive methods don't modify the original version.
Destructive audio effects can be reversed up to the effect you've just added, while undoing non-destructive effects uses the undo button. The non-destructive method allows for more flexibility in editing.

Questions you might be asking
How do you add audio effects in Adobe Audition?
To add an audio effect in Adobe Audition, follow these steps:
- Open Adobe Audition and import your audio file.
- Select the track you want to apply the effect to.
- Go to the Effects Rack panel on the left-hand side of the screen.
- Click the "+" icon to add a new effect.
- Choose the effect you want to add from the list of available effects.
- Adjust the settings as needed and preview the effect to make sure it's what you want.
- Click "Apply" to apply the effect to your audio.
Does Adobe Audition have effects?
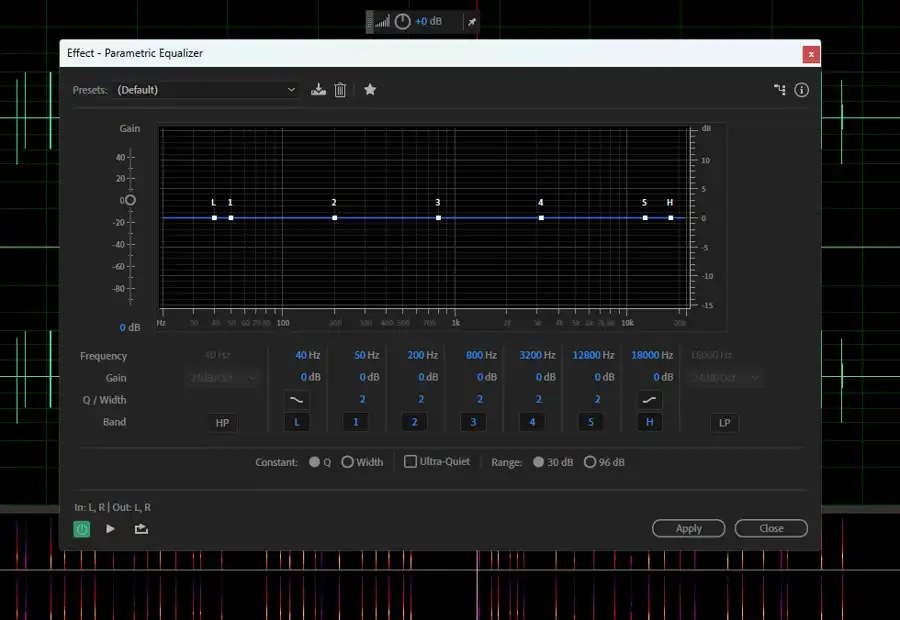
Yes, Adobe Audition has a wide range of audio effects that can be applied to your tracks to enhance or manipulate the sound. Some of the most popular effects include EQ, reverb, compression, delay, chorus and more.
Where are effects in Adobe Audition?
In Adobe Audition, effects can be found in the Effects Rack panel on the left-hand side of the screen. This panel contains a list of all available effects that can be applied to your tracks. Simply click the "+" icon to add a new effect and choose the effect you want to use from the list.
How do you add effects in multitrack audition?
To add effects in multitrack mode in Adobe Audition, follow these steps:
- Open Adobe Audition and import your audio files.
- Click the Multitrack button in the top-left corner of the screen.
- Drag and drop your audio files onto separate tracks.
- Select the track you want to apply the effect to.
- Go to the Effects Rack panel on the left-hand side of the screen.
- Click the "+" icon to add a new effect.
- Choose the effect you want to add from the list of available effects.
- Adjust the settings as needed and preview the effect to make sure it's what you want.
- Click "Apply" to apply the effect to your audio.
- Repeat these steps for any additional tracks you want to add effects to.

