Centering text in Adobe Premiere Pro is very simple. All you have to do is select the text tool from the Effects panel, then click the Align option at the top of the window. This will bring up the options menu where you can choose Horizontal or Vertical alignment. Here's a step-by-step guide;

Center text in Premiere Pro
1. Insert your text/title
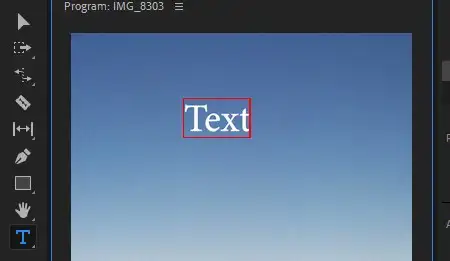
First of all, launch Adobe Premiere Pro and insert text. You could do so by clicking on "T" on your keyboard to select the type tool or inserting a pre-made title from your essential graphics panel.
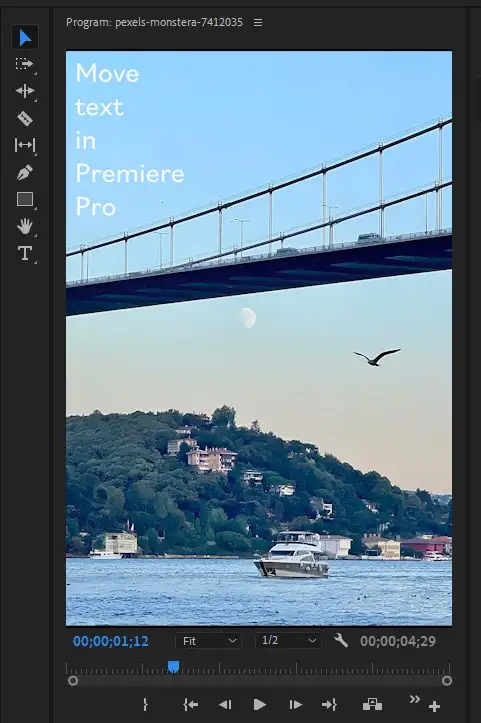
2. Center your text using alignment options
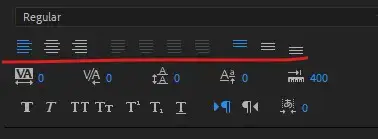
Select your text or title in your timeline. It'll switch to the Essential Graphics panel, where you'll have plenty of options to vertical or horizontal center. Some of your spacing options are:
- Left align text
- Center align text
- Right align text
- Justify last left
- Justify last centered
- Justify
- Justify last right
- Top align text
- Center text vertically
- Bottom align text
Essential Graphics also gives you a wide range of text staying options apart from align and transform, such as text aspect ratios, selection tool, font type, font size, and much more.
3. Align text manually
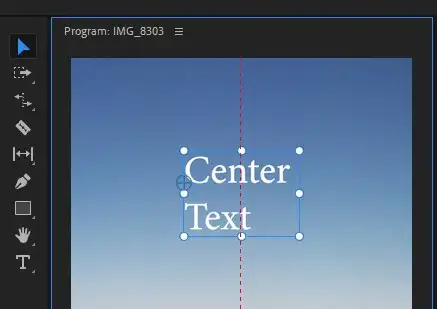
You could alternatively align your text manually in Adobe Premiere Pro by using arrow keys and your mouse cursor. To do that;
Step 1: Select the text in your timeline.
Step 2: Once it's selected, move the text around using your arrow keys. You could take it to the left corner, vertical centers, horizontal alignment, etc.
Step 3: Arrow keys are usually for pixel-perfect alignments in shorter distances. For faster editing, we recommend using your mouse cursor to move the text around in your video clip.


