
Have you ever taken a photo and realized that the colors just aren't right? Perhaps the green grass is too dull, or you want to turn a red rose into a blue one. Fortunately, Adobe Photoshop makes it easy to change colors in an image using the Replace Color adjustment. In this article, we'll go through a step-by-step tutorial on how to use this tool to change colors in your photos.

Also read: How to clone in Photoshop?
Introduction to Replace Color Adjustment
The Replace Color adjustment in Adobe Photoshop enables you to specify a color range in an image and then adjust it to any other color you prefer. With this feature, you can easily replace or enhance colors in your image. The Replace Color dialog box allows you to select the color range you want to modify and preview the changes you make in real-time. Now let's dive into the details on how to use the Replace Color adjustment to modify image colors.
Related: How to export slices in Photoshop?
Step-by-Step Tutorial to Change Colors with Replace Color Adjustment
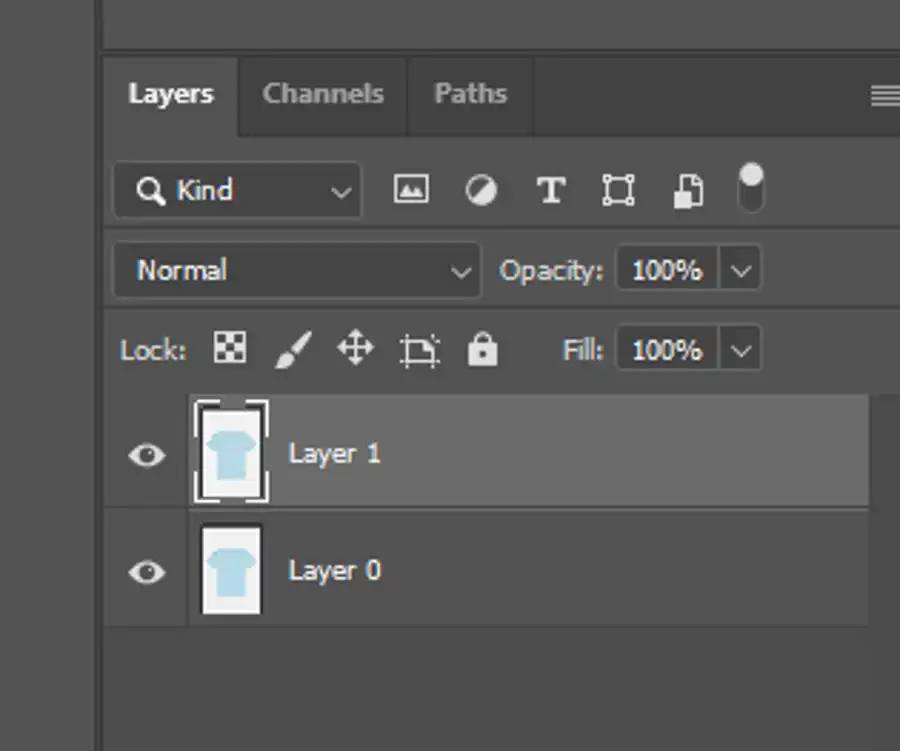
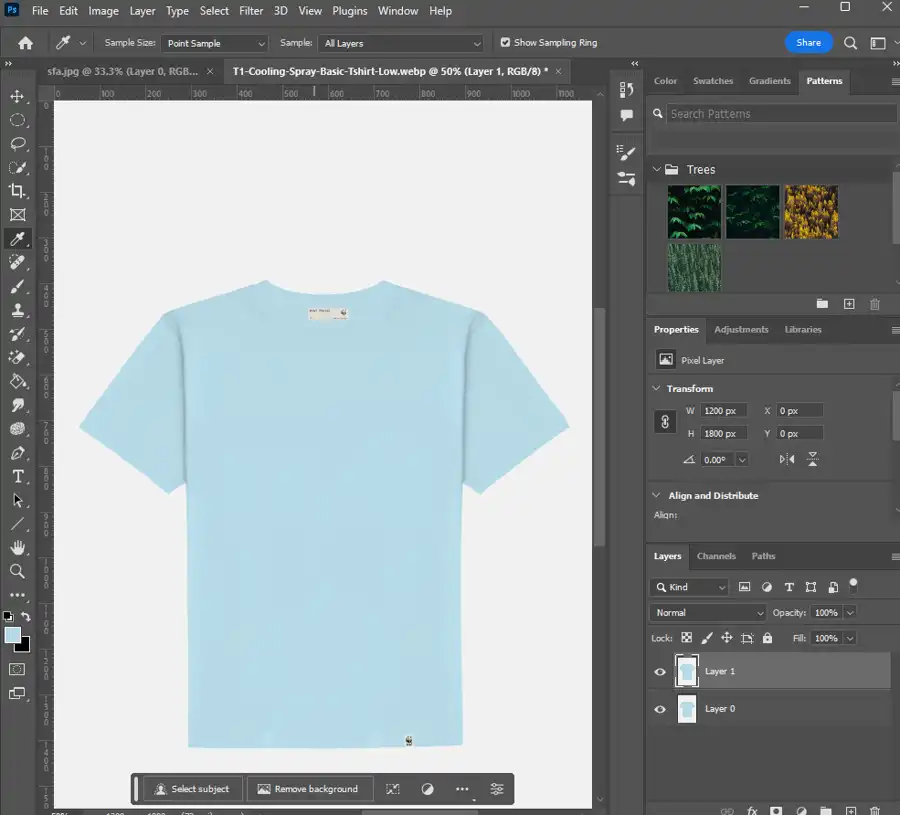
Before you start changing colors, it's essential to duplicate the image layer so that you can easily undo any changes. You can do this by selecting the background layer and choosing "Duplicate Layer" from the Layers panel. Once you've duplicated the layer, you can proceed with these simple steps:
- Select the layer you want to change, and then choose "Replace Color" from the Image pull-down menu.
- The Replace Color dialog box will appear, showing the original image on the left, with a color range selection bar on the top right and a preview of the modified image on the bottom right.
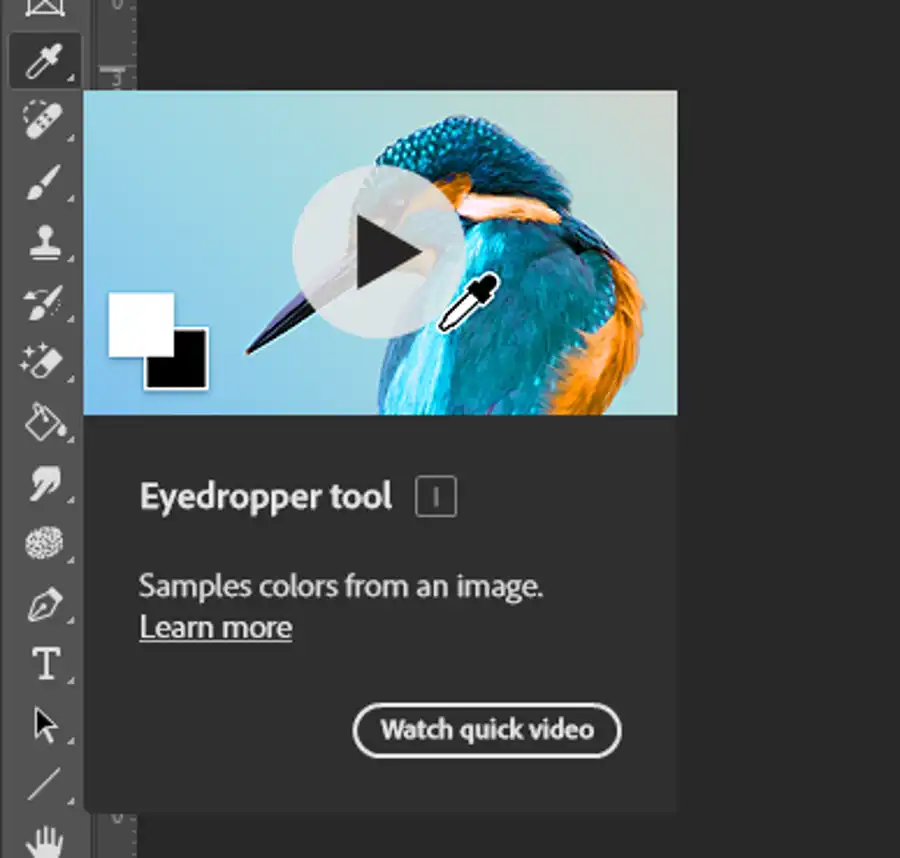
- Use the eyedropper tool to select the colors you want to replace in your image. You can add multiple color ranges by clicking "Add to sample" while holding the shift key.
- You can now adjust the hue, saturation, and lightness sliders to obtain the desired color range.
Make sure you don't overdo it and keep the changes subtle to prevent the image from looking unnatural.
Tips and Tricks for Using Replace Color Adjustment
There are a few tips and tricks that can help you get the best results when using the Replace Color adjustment. Some of them include:
- If you find it challenging to select the right color range using Replace Color, you can use the Quick Selection tool or Object Selection tool to make a rough selection and refine it using the lasso or brush tool. This method is useful if you have a complex image with multiple colors.
- It's best to have the original image open in another window to compare the before and after changes.
- Use the layer masks to remove unwanted color changes. By adding a mask to the layer containing the modified color range, you can hide or reveal the changes you have made.
- If you apply the new color range to a specific selection, make sure to feather the edges to prevent harsh borders.
How to Use the Photoshop Search Color Tool
The search Color Tool is yet another way to adjust the colors in your images. This tool works by selecting a single color and adjusting all the pixels in the image that match that color.
To use the Photoshop Search Color Tool, follow these steps:
- Select the layer you want to adjust and choose the Search Color tool from the toolbar.
- Use the eyedropper tool to select the color you want to change.
- Adjust the hue, saturation, and lightness sliders to obtain the desired color range.
The advantage of using the Search Color Tool is that it allows you to make adjustments to a specific color without affecting other colors.
Questions you might be asking
How do I change only one color in Photoshop?
In Photoshop, you can use the 'Replace Color' tool for changing one color. The steps are as follows:
- Open your image in Photoshop.
- Select the layer you want to apply the color changes to.
- Go to 'Image' > 'Adjustments' > 'Replace Color'.
- Use the eyedropper tool to select the color you want to change.
- Adjust the hue, saturation, and lightness sliders to achieve the desired color change.
- Click 'OK' to apply the changes.
How do I blend one color into another in Photoshop?
Photoshop provides many blending options to blend one color into another. Here's how you can do it:
- Open your image in Photoshop.
- Create a new layer over the original one and fill it with the color you want to blend with the existing color.
- Select the layer with the blended color and go to 'Layer' > 'Layer Style' > 'Blending Options'.
- In the blending options, select the 'Blend If' option and adjust the sliders for 'This Layer' and 'Underlying Layer' to blend the two colors smoothly.
- You can experiment with different blending modes and opacity settings to achieve your desired result.
- Click 'OK' to apply the changes.