
The Clone Stamp tool is one of the most versatile and useful tools in Adobe Photoshop for removing unwanted objects or people from a photo. If you're not careful, however, using this tool can ruin a photo and make it look unnatural. To help you get the most out of this tool, here are some tips and techniques to improve your results.

How to Use the Clone Stamp Tool in Photoshop:
Photoshop's Clone Stamp tool allows you to copy pixels from one area and apply them to another area of the photo. It's as simple as "copying and pasting," but instead of pasting the content, you're painting it. The Clone Stamp tool is most effective at copying exact detail from one part of an image to another area. Use the tool to remove unwanted objects or to reproduce an area of the photo that has been damaged.
- Launch Adobe Photoshop and open your image: Begin by launching Photoshop on your computer. Open the image that you want to work on.
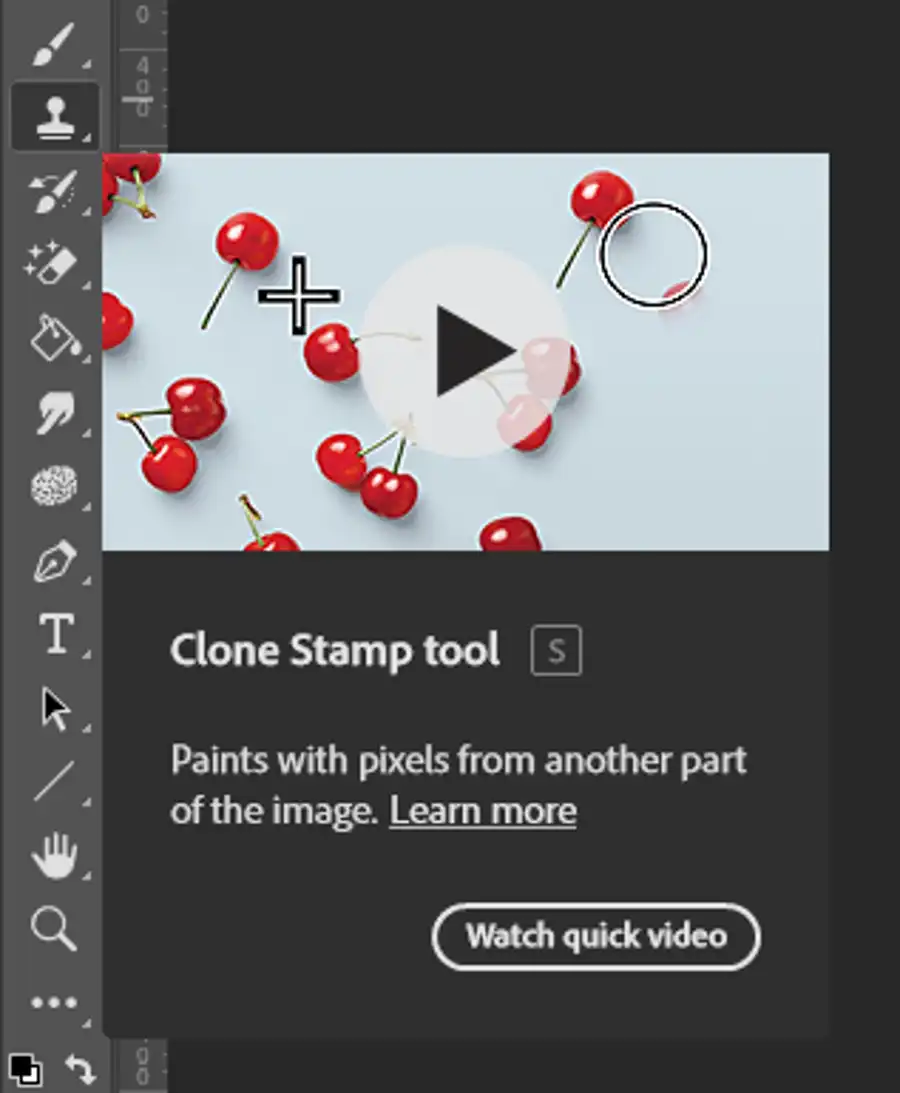
- Select the Clone Stamp Tool: On the left toolbar, you will find the Clone Stamp Tool. If you can't see it, it might be hidden under the Pattern Stamp Tool. Just click and hold the Pattern Stamp Tool to reveal it.
- Set your brush: At the top of the screen, you'll find options for setting the size, hardness, and opacity of the brush. Size affects how large the cloned area is, hardness affects how the edges of the clone appear, and opacity affects how transparent the cloned pixels are.
- Choose your source point: The Clone Stamp Tool works by copying one area of an image to another area. You need to choose a source point, which will be the part of the image you're copying. Hold down the Alt key (Option key on Mac), and then click on the part of the image you want to clone.
- Clone the area: Release the Alt/Option key, then click and drag over the area where you want to clone the source point to. You'll see a crosshair over the source point, showing what's being cloned, and the cloned area will appear under your brush.
- Change your source point as needed: As you work, you might need to change your source point. Maybe you're trying to clone a large area, and you need to repeatedly pick new source points. Just hold down the Alt/Option key and click to set a new source point.
- Check your work: Periodically, stop and take a look at what you've done. Does it look natural? If not, you can undo your changes (Ctrl+Z on Windows or Command+Z on Mac) and try again with a different source point.
- Save your work: Once you're happy with the result, remember to save your work. You can save it in the Photoshop format (.psd) to preserve your layers and all your work details, or save it in the format you need, such as .jpg or .png.

Tips for Removing Unwanted Objects:
When using the Clone Stamp tool, it's important to work with precision to achieve the best results. Always use a separate layer for retouching so you can edit and experiment without damaging the original photo. Change the brush size often to match the area you want to clone. To remove large objects or backgrounds, use a larger brush and make several passes. Use a soft-edged brush to blend the cloned area with the surrounding pixels. Use the Clone Stamp tool in combination with other retouching tools like Content-Aware Fill for best results.
Techniques to Improve Your Results:
Working on a new layer is one of the key techniques to improving your results with the Clone Stamp tool. Placing your changes on a new blank layer allows you to edit and experiment without permanently altering the original photo. To set the Clone Stamp tool to work with multiple layers, choose All Layers from the Sample dropdown in the Options bar. You can use a variety of tools in Photoshop for cleaning up images, including the Spot Healing Brush. This tool can be useful in cleaning up any repeating patterns or edges that haven't blended properly.
Photoshop has a lot of tools to offer to make retouching easier, and tutorials for all skill levels can help you remove unwanted objects, change colors, and learn other ways to clean up your work. Adobe Stock is also a great resource for finding images to practice on or to use in your projects.
To control the intensity of your retouching, use the Flow and Opacity settings. These settings allow you to adjust the amount of paint that is applied when clicking and dragging with the Clone Stamp tool. For best results, use a combination of the Clone Stamp tool with other techniques and filters in Photoshop. The Crop tool can also be used to reduce or expand the size of your canvas.
In conclusion, mastering the Clone Stamp tool takes time and practice, and paying attention to detail is crucial. When it comes to photo manipulation, always use cloning sparingly and responsibly, and pay attention to the conventions of the photography industry. With these tips and techniques, you'll be well on your way to mastering the Clone Stamp tool in no time.
Questions you might be asking
How do I use the clone tool in Photoshop?
The clone tool in Photoshop allows you to duplicate part of an image and copy it elsewhere. To use it, select the clone stamp tool from the toolbar on the left side of your screen. Next, select the brush size and hardness you want to use. Click and hold the Alt or Option key and click on the area you want to clone. Then, simply move the brush and start painting over the area where you want to apply the cloned pixels.
Is there a clone tool in Photoshop?
Yes, Photoshop does have a clone tool. It can be found in the toolbar on the left side of your screen. It looks like a rubber stamp and is called the clone stamp tool.
How do I clone a selected area in Photoshop?
To clone a selected area in Photoshop, you first need to select the area you want to clone using the lasso or marquee tool. Once the area is selected, select the clone stamp tool and set the brush size you want to use. Hold down the Alt or Option key and click on the area you want to clone from. Then, move the brush to your selected area and click to apply the cloned pixels.
How do I clone between layers in Photoshop?
To clone between layers in Photoshop, first create a new layer by selecting Layer > New > Layer from the top menu. Then, select the clone stamp tool and choose the new layer you just created from the Layers panel. Follow the same steps as cloning within one layer, but with the new layer selected, it will be easier to modify the cloned pixels independently of your original layer.