Cutting out a shape in Blender can be an intimidating process. I know that when I first started learning how to use this 3D software, I was overwhelmed by all of the buttons and features. How was I supposed to figure out how to cut out a shape? It felt like a daunting task, but it doesn’t have to be! With our step-by-step guide and some practice, you’ll find that cutting shapes in Blender is easier than you think.

Most beginners will tell you that it takes time to learn the ins and outs of 3D rendering software such as Blender. However, with patience, you can quickly pick up on the basics and then advance from there. If you want to cut shapes out of your renders in Blender, the first thing you need to do is select the object or objects that you want to cut from. Depending on what type of shape your objects are, there might be more than one option for doing this.
Also read: How to Edit Text in Blender?
Once your object is selected, there are various tools available for creating cuts and holes in them. You can use these tools either by hand or through automated processes such as “Boolean operations” or “knife projects” which allow for precise measurements and accurate cuts every time. Additionally, if you want even more control over your design choices there are also advanced settings like “Bevel Modifiers” or “Loop Cutters” which enable fine adjustments while keeping the overall quality high.
Whether it's a complex model or something simple like cutting out a circle shape from an object - with enough practice and understanding of basic 3D principles - we believe anyone can learn how to cut shapes using Blender! To help get started we created this comprehensive tutorial with step-by-step instructions so that even absolute beginners can understand how it works. With our guide, soon enough cutting shapes in Blender will become second nature!
How to cut out a shape using the knife tool in Blender?
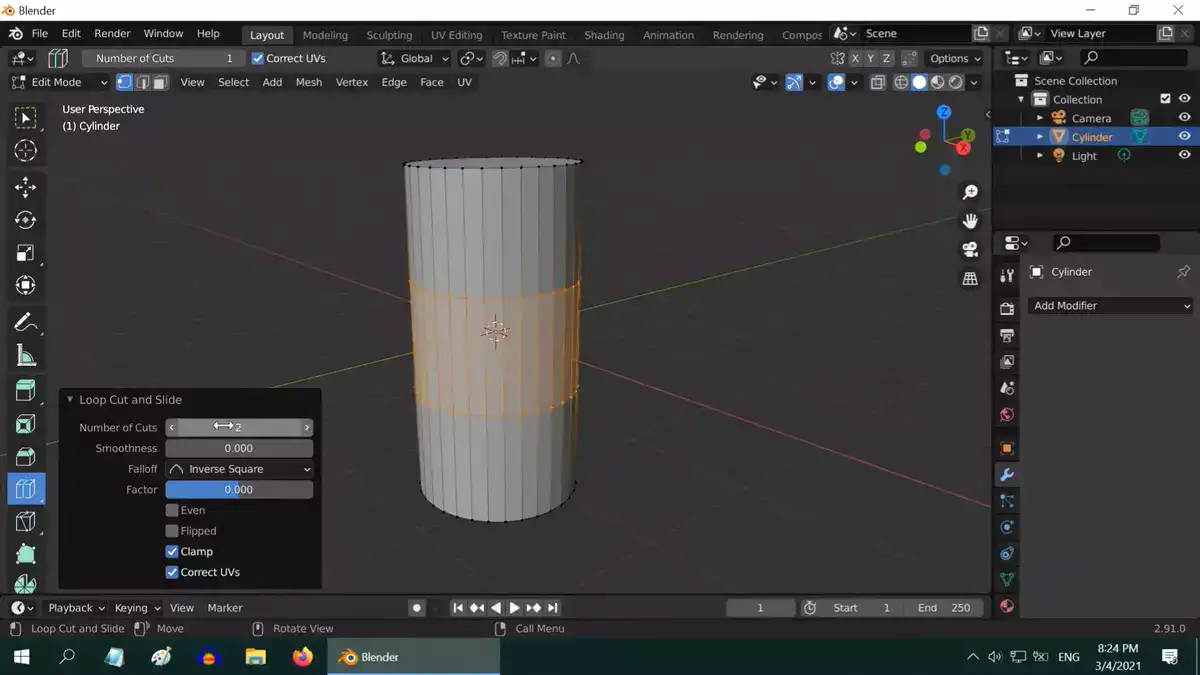
The Knife Tool in Blender is a very helpful tool for cutting out a shape. Even if you don't think of yourself as particularly skillful at using 3D software, this tool can be useful and assist you in creating the precise shapes you need. Here is a step-by-step tutorial on how to use the Knife Tool to create the shape you want.
To begin, select Object Interaction Mode from the top bar or by pressing TAB. By doing this, we won't have to edit our object from a different window like the Outliner or the Properties panel but rather directly from it. Now that we have access to all object attributes and tools, look for Knife Cut by typing K into your keyboard, then click on it.
Related: How to Use Lattice Modifier in Blender?
We can now begin removing our desired shape from the Blender-loaded mesh. Choose either vertices (V), edges (E), or N-gons (Ctrl+Alt+Shift+LMB) depending on the level of complexity you desire for your shape. Select all by trait (Ctrl+L) first if you want to cut through large areas without focusing on any specific details. If necessary, we can divide those shapes into triangles using the triangulate option (Ctrl+T).
Once you've finished with that step, just draw over your model with LMB and make as many cuts as you need, being careful not to overextrude too much lest your parts become disconnected from one another! Knife cuts can also be used to create holes in your model, which can then be filled in using various boolean operations like union, difference, and intersection.
How to cut out a shape using Booleans in Blender?
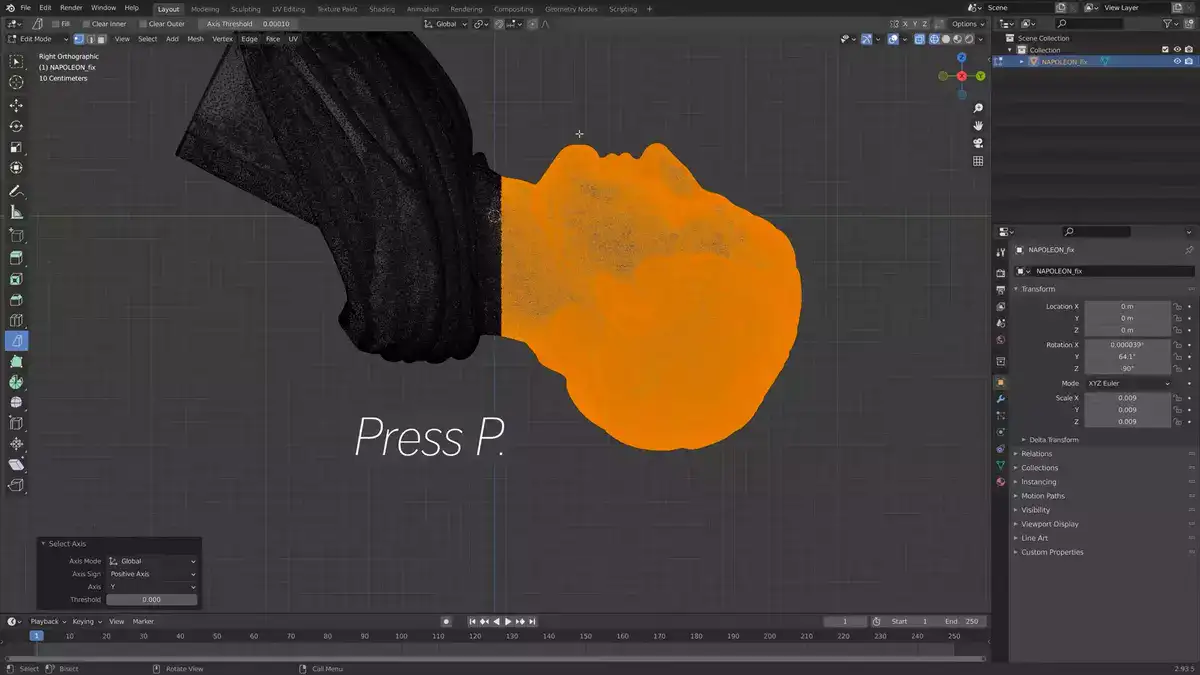
If you're unfamiliar with the concept, booleans are a type of general operation that joins two or more objects by intersecting, removing, or adding them. It's a quick and effective way to modify geometry to produce precise shapes.
Let's start by discussing the cutter object. When using a boolean modifier, this object's shape will dictate which portion of your geometry is removed. Use one with poly flow and no N-gons so that it can be easily modified without leading to edge cases when the boolean calculation is performed.
The boolean modifier itself is then added as the next step. When doing this, be sure to select the correct solver for the operation you require, such as union for joining two objects or subtraction for removing parts from one object. Apply the modifier after choosing a suitable solver, and we're ready to start cutting out our shape!
Also read: How to Create a Glass Shader in Blender?
You can accomplish this by manually placing your cutter object over the areas where you want cuts to be made, or if precision is not necessary, by using the knife method. However, for precise shapes, manual placement is still preferable because the knife tool's lack of iteration control when dealing with complex curves and edges frequently occurs when arranging multiple connected surfaces, such as when making arrangements for organic models like characters or landscapes, etc.
Anyhow, once your cutter object is in position, all that's left to do is adjust its position until everything looks right and then simply press the apply button on your boolean modifier, which will then execute its procedure while obscuring all extra resulting geometry to leave behind only neatly cut pieces that fit together perfectly to form whatever shape you were aiming to create!
And there you have it; using Blender's booleans, we were able to quickly and easily create a precise shape from pre-existing geometry. Now go out there and try it for yourself. Enjoy!
What does the slice() function do?
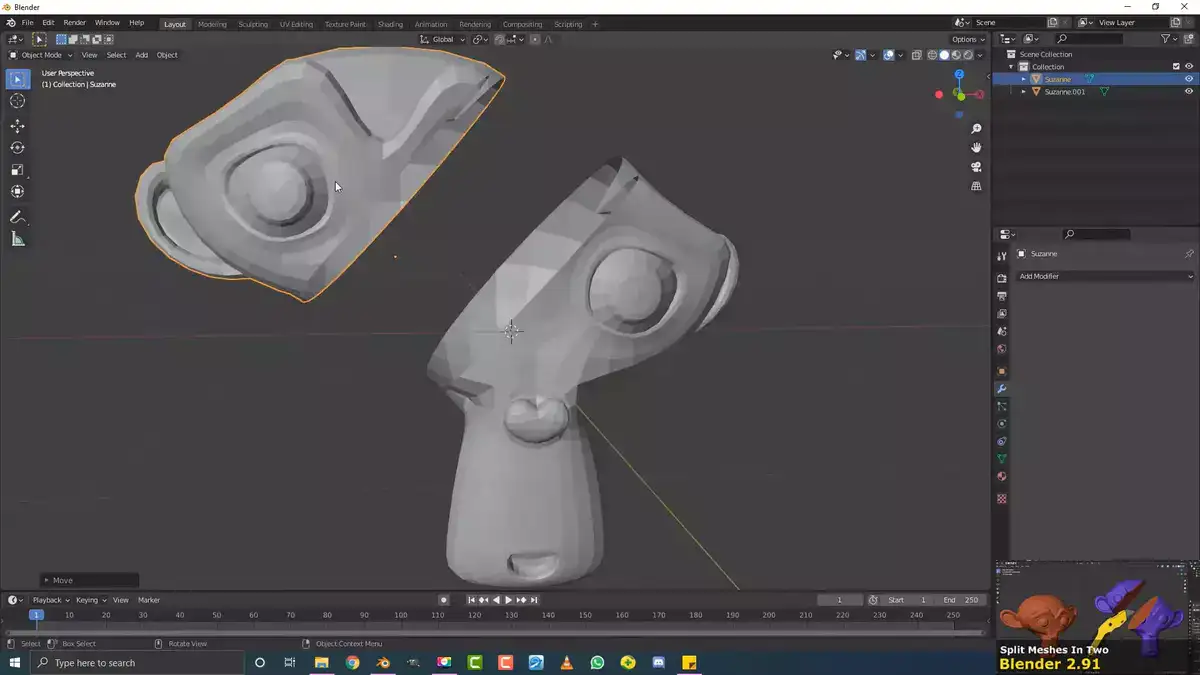
One of Blender's most helpful functions is Slice(). It enables you to swiftly divide a three-dimensional object into several pieces using a plane or cutting line. When attempting to create complex forms, such as those you might find in architecture or furniture design, this can be especially helpful. Slice() makes it possible to quickly create complex shapes that would normally take much longer.
For instance, the Array Modifier and a Curve Object can be used to quickly create a spiral shape out of an array of cubes. My cube will be duplicated along the curve by the Array Modifier, and I can use Slice() to separate each part into a separate polygon. Compared to manually editing each vertex group in Blender or another program, this method greatly streamlines the process, makes it faster, and increases accuracy.
Slice() is a fantastic tool for UV unwrapping objects, among other uses. You can easily fit each piece onto its own island without worrying about overlapping faces or challenging seams by slicing up your mesh before applying a UV map. Additionally, this method is excellent for giving organic models, like characters or creatures, sharp edges for game engines that need high-resolution textures and normal maps.
Related: After Effects vs Blender: Which is Better to Use?

