T-shirt design has become an art form of its own, with creatives aiming to make unique designs that can set them apart from the competition. But where can someone with little graphic design expertise start? This tutorial is designed to walk through the process of designing a distressed T-shirt graphic using Photoshop. By following these steps, you can learn the basics of T-shirt design and create your own unique graphic.

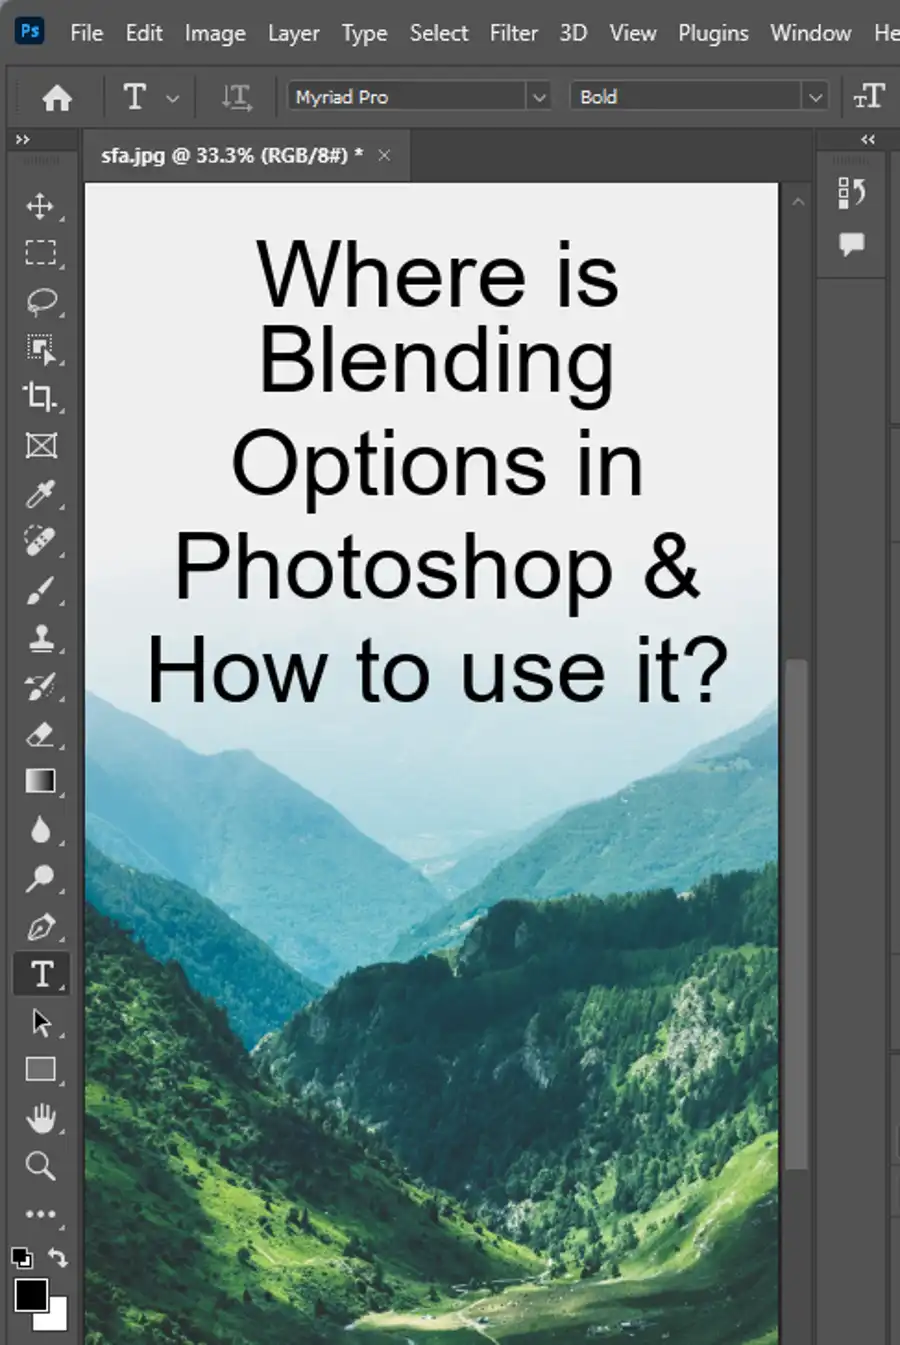
How to make your own distressed textures and brushes
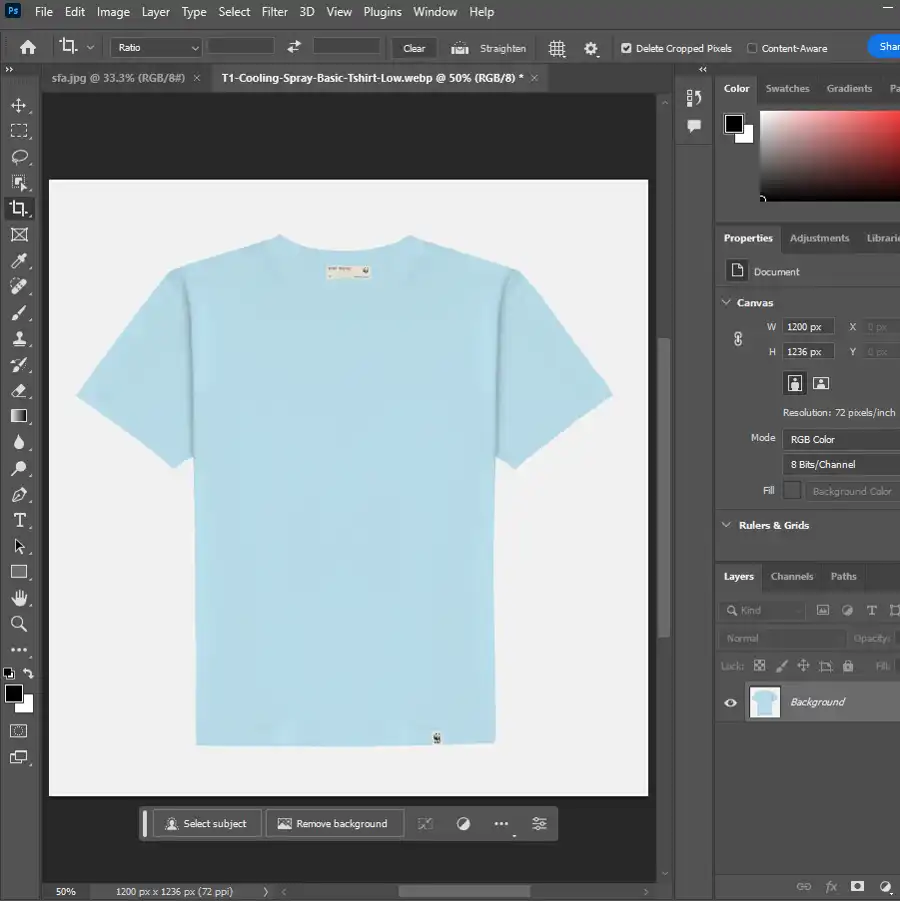
Distressed textures and brushes are a popular tool used by designers to create a vintage, faded look to their T-shirt graphics. One way to create these is by taking photos of various distressed or worn out textures and editing them in Photoshop. Using the lasso tool, select the portions of the texture you want to use and transform them into brushes.
Another method is to use Adobe Creative Cloud mobile apps to create custom brushes and textures, which can then be imported into Photoshop. Tools such as Adobe Capture can be used to turn images captured on your mobile device into a variety of assets, including brushes and textures that can be used in your designs.
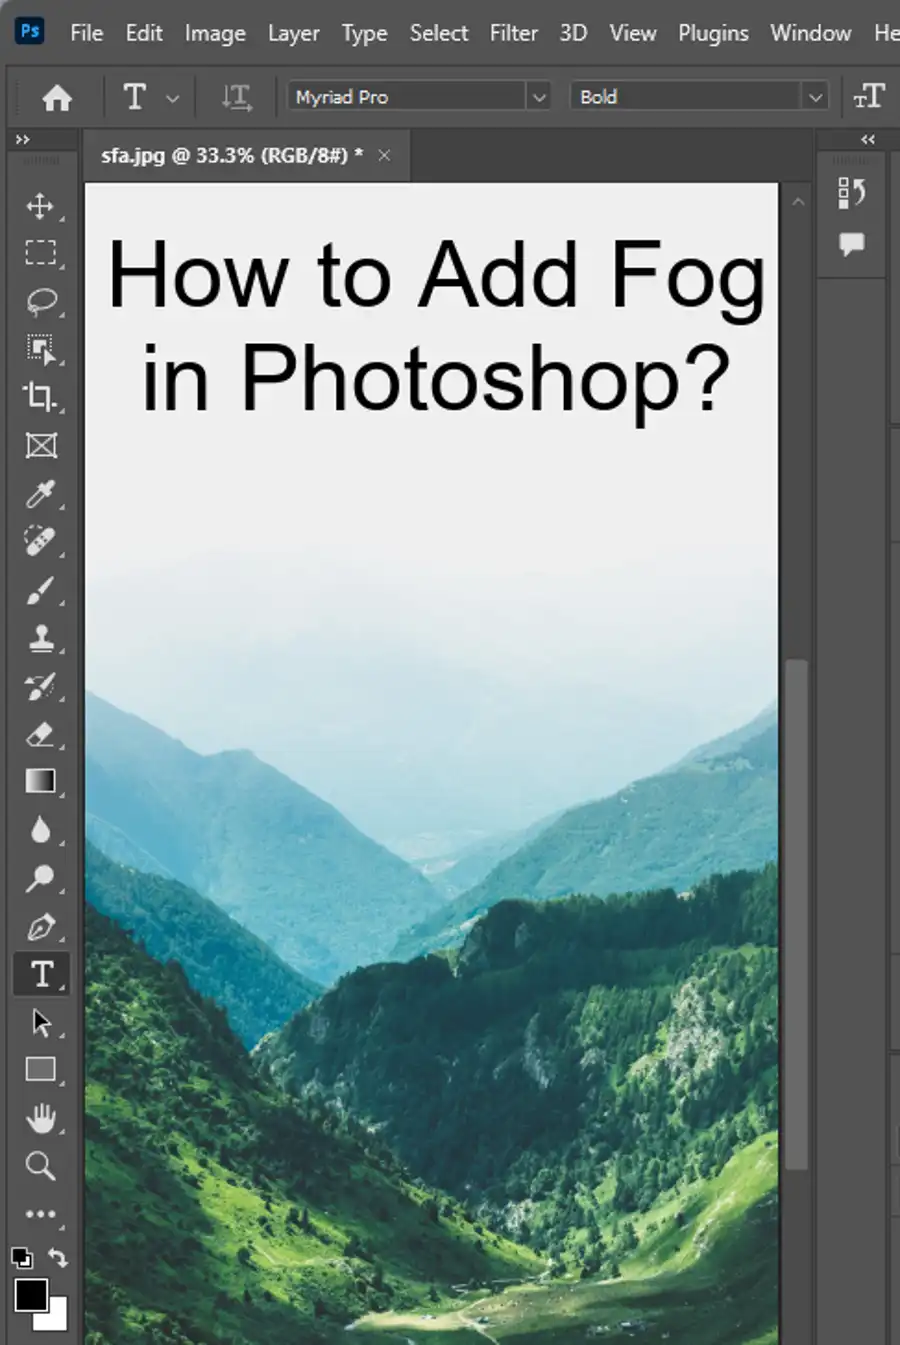
How to make a distressed T-shirt design using transparent PNG textures
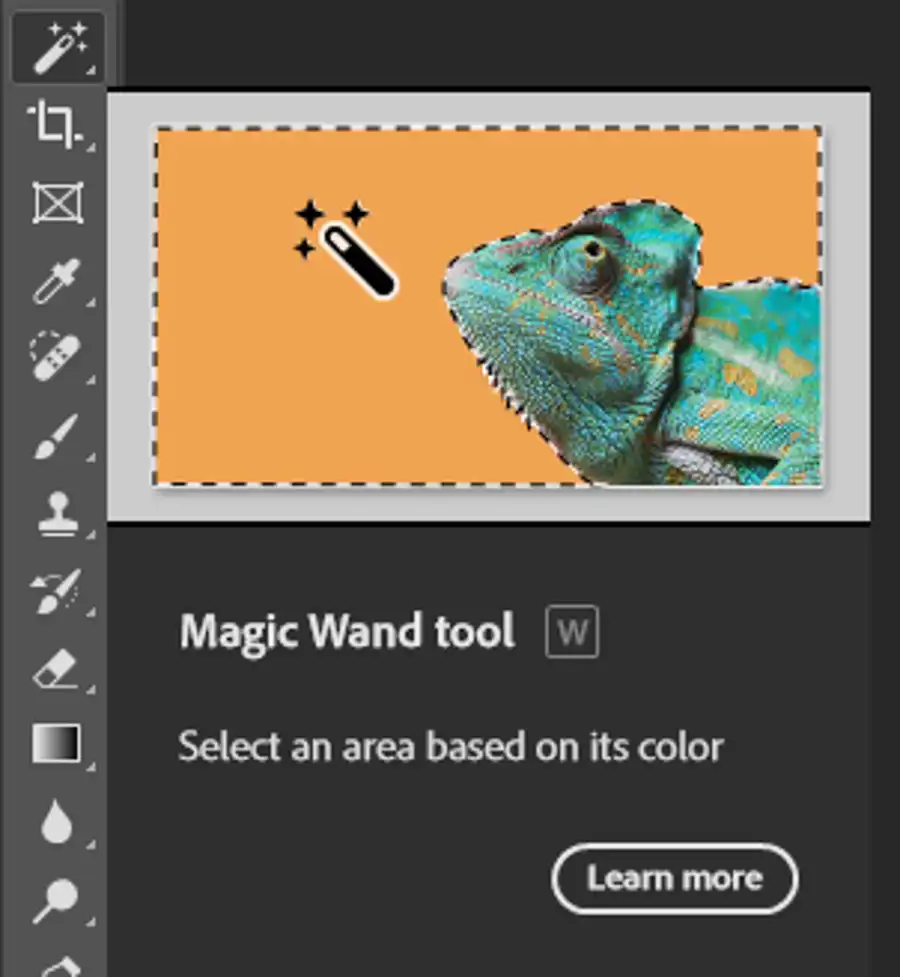
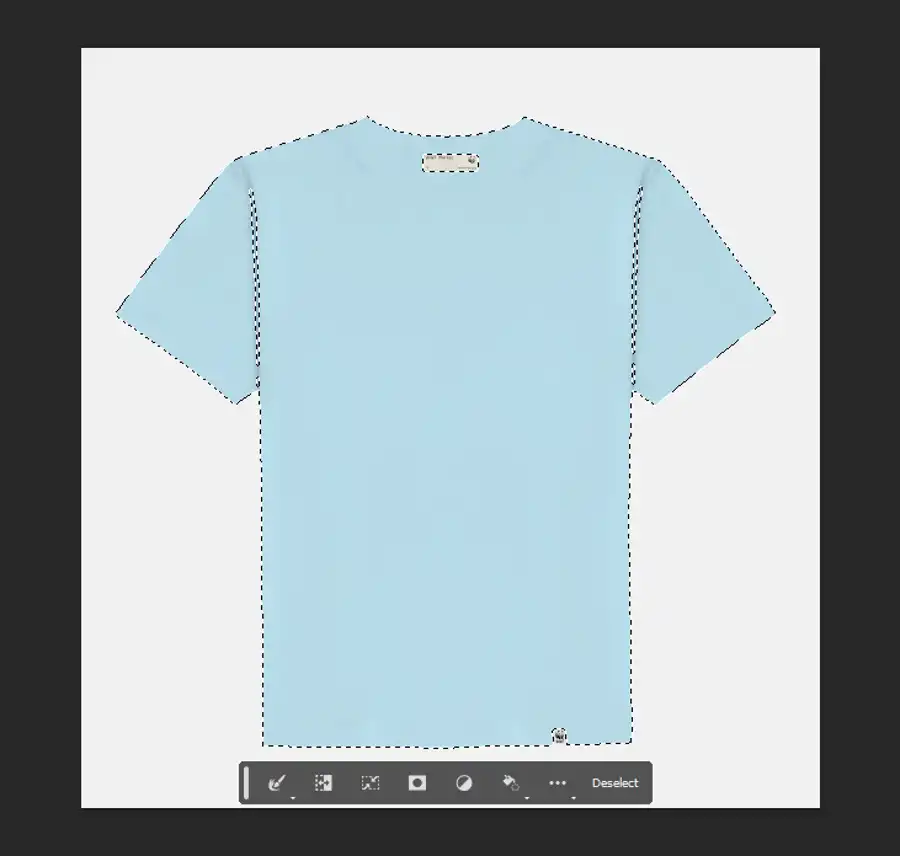
Creating a distressed T-shirt design using transparent PNG textures involves opening the texture and using the magic wand tool to select and remove the background. Once the background is removed, the texture can be added to your design as a new layer.
To create a distressed look, experiment with layer blending modes and adjust opacity until you find the desired effect. Another technique is to add noise to your design with Photoshop's noise filter. This will give your design a textured, vintage feel.
How to make a distressed effect in Photoshop using JPEG textures
Using JPEG textures in a distressed T-shirt design requires a slightly different process. Begin by opening the texture in Photoshop and desaturating the color. Next, adjust the levels by enhancing the contrast. Finally, adjust the brightness and contrast until you achieve the desired look.
When adding the texture to your design, experiment with the layer blending modes and opacity adjustments until the look is achieved.
How to make distressed T-shirt designs with Photoshop brushes
Photoshop brushes are a great tool for adding different distressed effects to your designs. First, choose the brush that you would like to use and adjust the settings such as size, spacing, and opacity. Then, paint the brush onto the layer of your design where you would like the distressed effect to appear.
After making the brush strokes, adjust the layer blending mode and opacity for the desired effect. For a more dramatic distressed effect, use several different brushes and layer them on top of each other.
How to combine textures and brushes to design a distressed T-shirt
To create a truly unique distressed T-shirt design, try combining textures and brushes. Begin by selecting the brushes that you would like to use and adding them to the layer of your design. Then, add the textures as new layers and adjust layer blending modes and opacity for the desired effect.
Another technique for combining textures and brushes is to apply a layer mask to one layer and use the brush tool to paint out parts of that layer. This can create a custom layered effect that looks both unique and distressed.
Understanding the Basics of T-Shirt Design
Before diving into Photoshop, it's essential to understand some basic principles of t-shirt design. This includes knowing your target audience, keeping the design simple and effective, and being aware of your color choices and how they'll look when printed.
Step-by-Step Guide on Designing a Shirt in Photoshop
Here's a detailed guide on how to design a shirt using Photoshop:
Step 1: Set Up a New Document
Open Photoshop and set up a new document by clicking on "File" > "New." A new dialog box will appear. Set the document size to match the size of the area you want your design to cover on the shirt. Typically, a size of around 15 x 18 inches at 300 DPI (dots per inch) works well for most t-shirt designs.
Step 2: Create Your Design
Now that your workspace is ready, you can start creating your design. You can draw your design using Photoshop's various drawing tools, or you can import images and text.
When creating your design, keep in mind that it's generally best to keep the design relatively simple. Bold, straightforward designs usually look better on t-shirts and are more recognizable from a distance.
Step 3: Use Layers Wisely
Make use of layers to separate different elements of your design. This approach makes it easier to edit your design later if needed. For example, you could have one layer for the background color, another for the main design, and another for text.
Step 4: Choose Colors Carefully
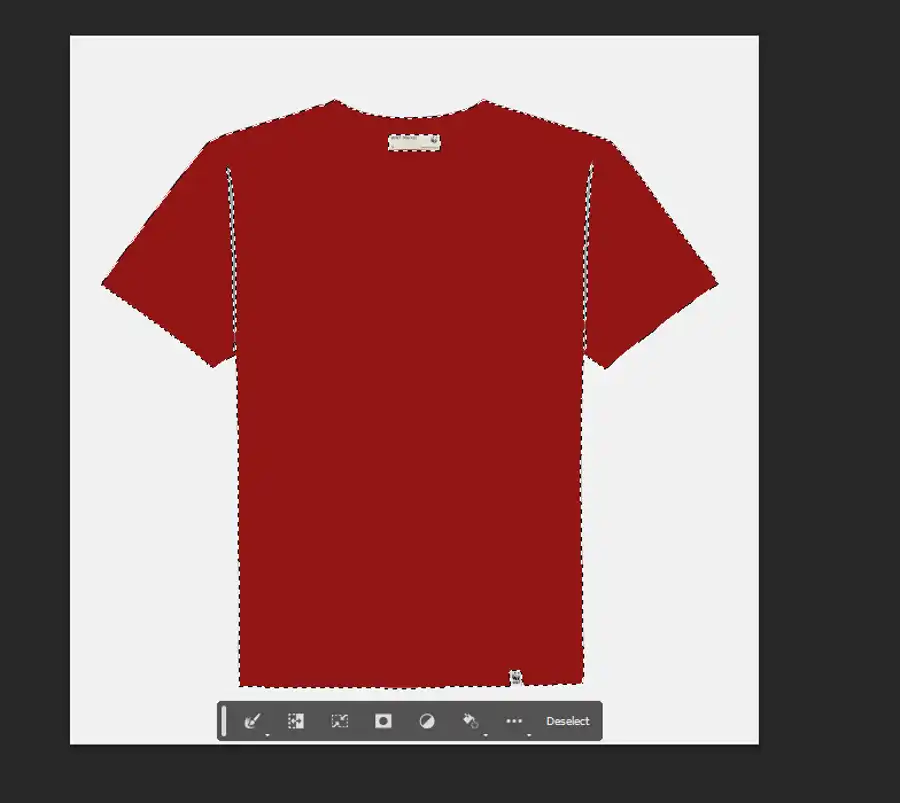
When choosing colors for your design, remember that they may look different when printed on fabric compared to your computer screen. It's also worth noting that more colors might increase the cost of printing. Photoshop can help you with this; you can use the "Gamut Warning" (View > Gamut Warning) to identify colors that cannot be accurately printed.
Step 5: Save Your Design Correctly
Once you're satisfied with your design, it's time to save it. It's recommended to save your design in the PSD format first, preserving your layers in case you need to edit the design later.
For printing purposes, you'll typically need to save your design as a high-resolution PNG or JPEG. When doing this, make sure the color mode is set to CMYK (not RGB), which is used for printing. You can change this by going to "Image" > "Mode" > "CMYK Color."
Step 6: Print or Share Your Design
Finally, once your design is complete and saved in the correct format, it's ready to be printed on a t-shirt. You can do this through a local printing shop or an online print-on-demand service. Alternatively, you can share your designs online or add them to your design portfolio.
Conclusion
Designing a custom t-shirt in Photoshop can be a fun and rewarding project. This guide should provide you with the basic steps and considerations to create a design that looks great both on screen and when printed on a shirt. Keep practicing and experimenting with different designs, techniques, and tools within Photoshop. Happy designing!
Questions you might be asking
Can I make shirt designs with Photoshop?
Yes, you definitely can! Photoshop is one of the most versatile image-editing software out there, and making shirt designs is just one of the things it's really great at. There are a ton of tools available in Photoshop that make designing t-shirts a breeze. Whether you're designing for yourself or for clients, using Photoshop for your t-shirt designs is an excellent choice.
What settings do you use to design a shirt in Photoshop?
There aren't any specific settings that you need to adhere to when designing t-shirt with Photoshop. However, you want to make sure that you're working with a high enough resolution, as the design will need to look great once it's printed on the shirt. A good rule of thumb is to work with a minimum of 300 DPI (dots per inch) for your design.
How to make a Tshirt mockup in Photoshop?
Making a t-shirt mockup in Photoshop is relatively easy, and there are a few different methods you can use to do it. One common way is to use the "smart object" feature in Photoshop. By using smart objects, you can add your design to a pre-made t-shirt template, and the mockup will automatically update to show your design in a realistic way.
Which Adobe for t-shirt design?
Photoshop, Illustrator, and InDesign are all great Adobe products for t-shirt design. Photoshop is probably the most commonly used tool for creating t-shirt designs as it has a lot of great features that allow you to create detailed designs with ease. Illustrator is also popular amongst designers as it has better vector tools, making it great for logos and other similar designs. InDesign can be used to layout your designs and combine images and text, making it a great choice for anyone looking to create more complex t-shirt designs.

