
Creating surreal, dreamlike images has never been easier with digital photo manipulation tools. Double exposure, an effect traditionally achieved by superimposing two or more exposures in film photography, can now be recreated digitally. Adobe Photoshop, the industry-standard tool, offers an excellent platform for double exposure manipulation. Let's delve into the comprehensive guide on how to create double exposure images in Photoshop.


What is Double Exposure?

Double exposure is a photographic technique where two different images are combined into a single one. Traditionally, photographers would expose the same piece of film twice, often creating ethereal, overlapping images that share a single frame.
In the digital realm, Photoshop allows us to mimic this effect, offering greater control over the end product. We can selectively blend images, adjust opacity, and tweak color grades to produce stunning double exposure portraits and landscapes.
Step-by-Step Guide to Creating Double Exposures in Photoshop
Step 1: Choose Your Images
The first step is to select two images that will complement each other in your final piece. Often, one is a portrait (preferably with a simple background), and the other is a landscape or a pattern. However, the choice is yours. Just ensure the primary subject has a well-defined edge for easy selection.
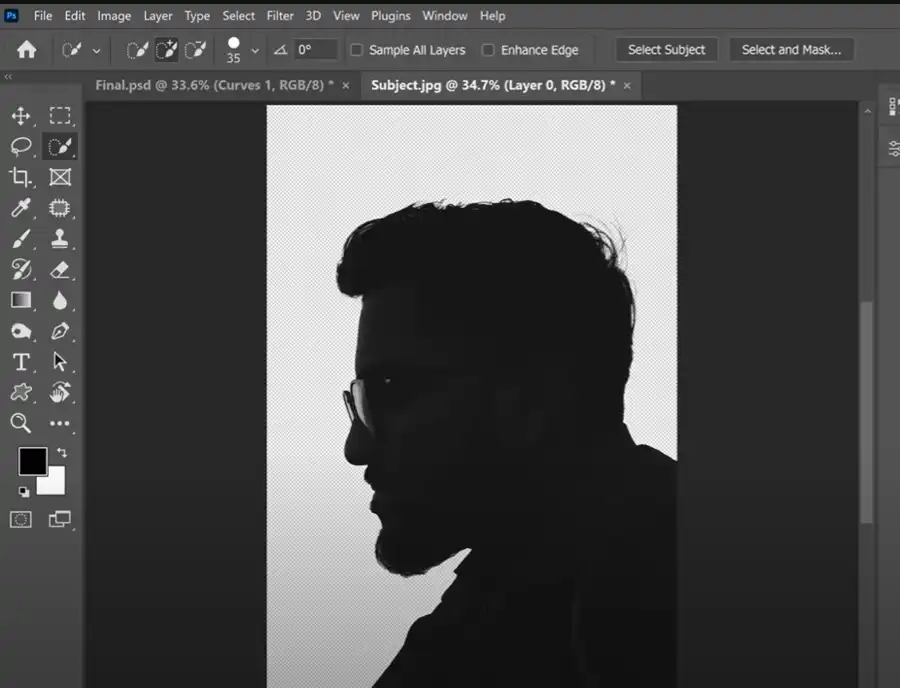
Step 2: Prepare Your Base Image
Once you've chosen your images, open your base image (usually the portrait) in Photoshop. Use the 'Quick Selection Tool' or 'Magic Wand Tool' to select the outline of your subject. You may need to use the 'Refine Edge' tool to capture fine details like hair. Once selected, create a new layer via copy (Ctrl+J or Command+J on Mac) to separate the subject from the background.
Step 3: Import Your Secondary Image
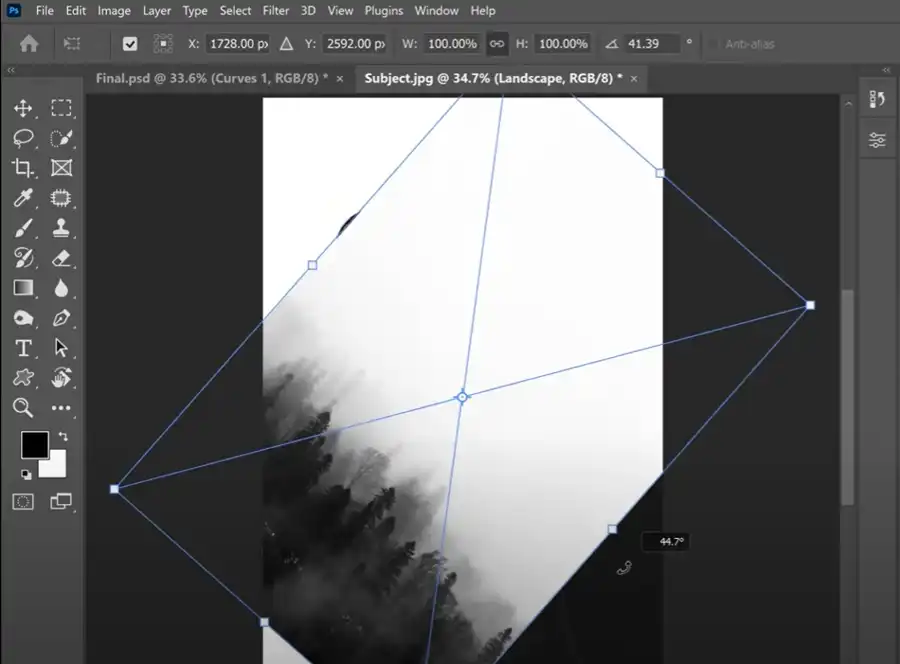
Now, open your secondary image (the one you want to blend with the portrait) in Photoshop. Copy and paste it onto a new layer in your original document. This layer should be above the layer with your subject.
Step 4: Blend Your Images
Select the layer with the secondary image. Then go to 'Layer' -> 'Create Clipping Mask'. This action will restrict your secondary image within the boundaries of your base image.
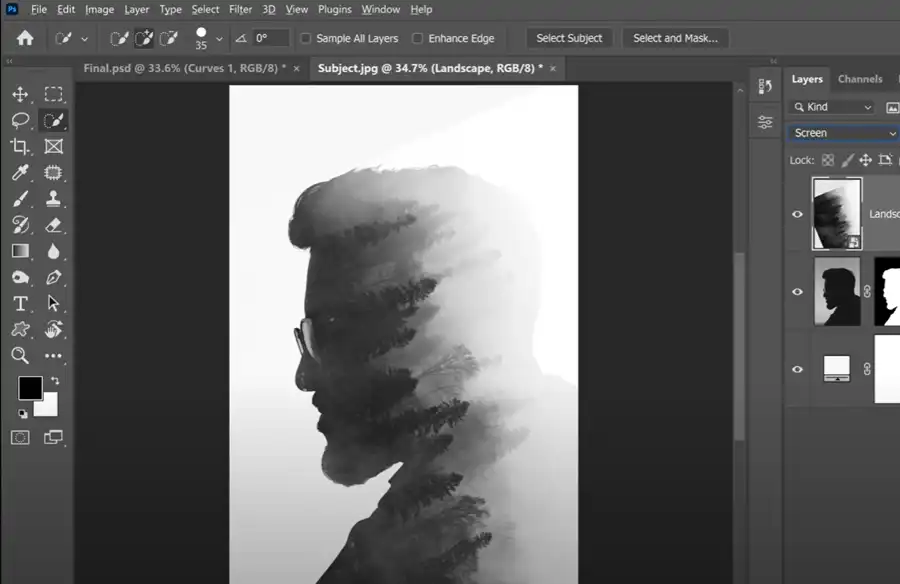
Next, change the blending mode of your secondary image. You can find this in the layers panel, and it will be set to 'Normal' by default. Experiment with different modes such as 'Screen', 'Multiply', 'Overlay', etc. to find the effect that best suits your images. 'Screen' mode often works well for double exposures as it lightens the image, letting the two layers blend more naturally.
Step 5: Adjust and Refine
Now comes the creative part. You can add a layer mask to your secondary image, then use the brush tool to paint in black to hide areas or white to reveal them, creating a selective blend. Adjust the opacity of your brush for a smoother blend.
Next, tweak the contrast, brightness, and saturation of your images using 'Image' -> 'Adjustments'. These changes can dramatically affect the mood of your final composition. Feel free to experiment until you are satisfied with the result.
Step 6: Finishing Touches
Once you're happy with the blend of your images, consider adding some final adjustments to unify your double exposure. You might want to add a 'Color Lookup' adjustment layer or apply a 'Photo Filter' to give your composition a uniform color tone.
To take it a step further, try adding textures or additional images to your double exposure for an even more unique result. The possibilities are endless!
Questions you might be asking
How do you double exposure in Photoshop?
To double exposure in Photoshop, you need to open both images that you want to combine. Then, create a new document and drag the first image into it. Next, drag the second image on top of the first and set the blend mode to "Screen". Finally, use layer masks to blend the two images together and adjust the opacity as desired.
How to do a double exposure?
To create a double exposure effect in Photoshop, you'll need to open both images that you want to merge. Then, you can drag one image on top of the other and set the blend mode to "Screen". After that, create a layer mask for the top image and use a brush tool to reveal parts of the bottom image. You can also experiment with different blend modes and opacity levels to achieve the desired effect.
How to do exposure stacking in Photoshop?
Exposure stacking is the process of blending multiple photos with different exposures to create a final image that is well-lit and evenly exposed. To do this in Photoshop, you'll need to open all the photos that you want to use and create a new document. Then, copy and paste each image into the new document as separate layers. After that, use layer masks to blend the images together, revealing the well-exposed areas of each photo. You can also use adjustment layers to fine-tune the overall exposure and color balance.
How do I add an exposure layer in Photoshop?
To add an exposure adjustment layer in Photoshop, go to the Layers panel and click on the Adjustment Layers button. Then, choose "Exposure" from the list of options. This will create a new adjustment layer that you can use to adjust the brightness, contrast, and gamma of your image. You can also use layer masks to apply the adjustment layer to specific areas of your image.