
Do you want to grab attention online? If so, you might want to use the GIF format to quickly share short video clips. But did you know that the powerful Photoshop tool still has the ability to edit GIFs? In this tutorial, we'll show you how to use Photoshop to create an eye-catching GIF that will definitely turn heads.

Step 1: Opening A GIF For Editing
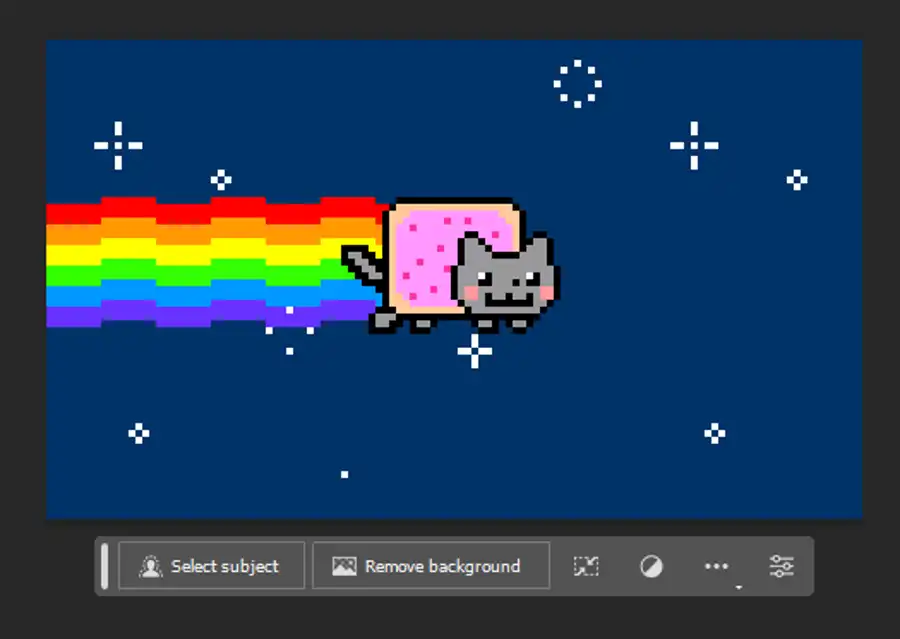
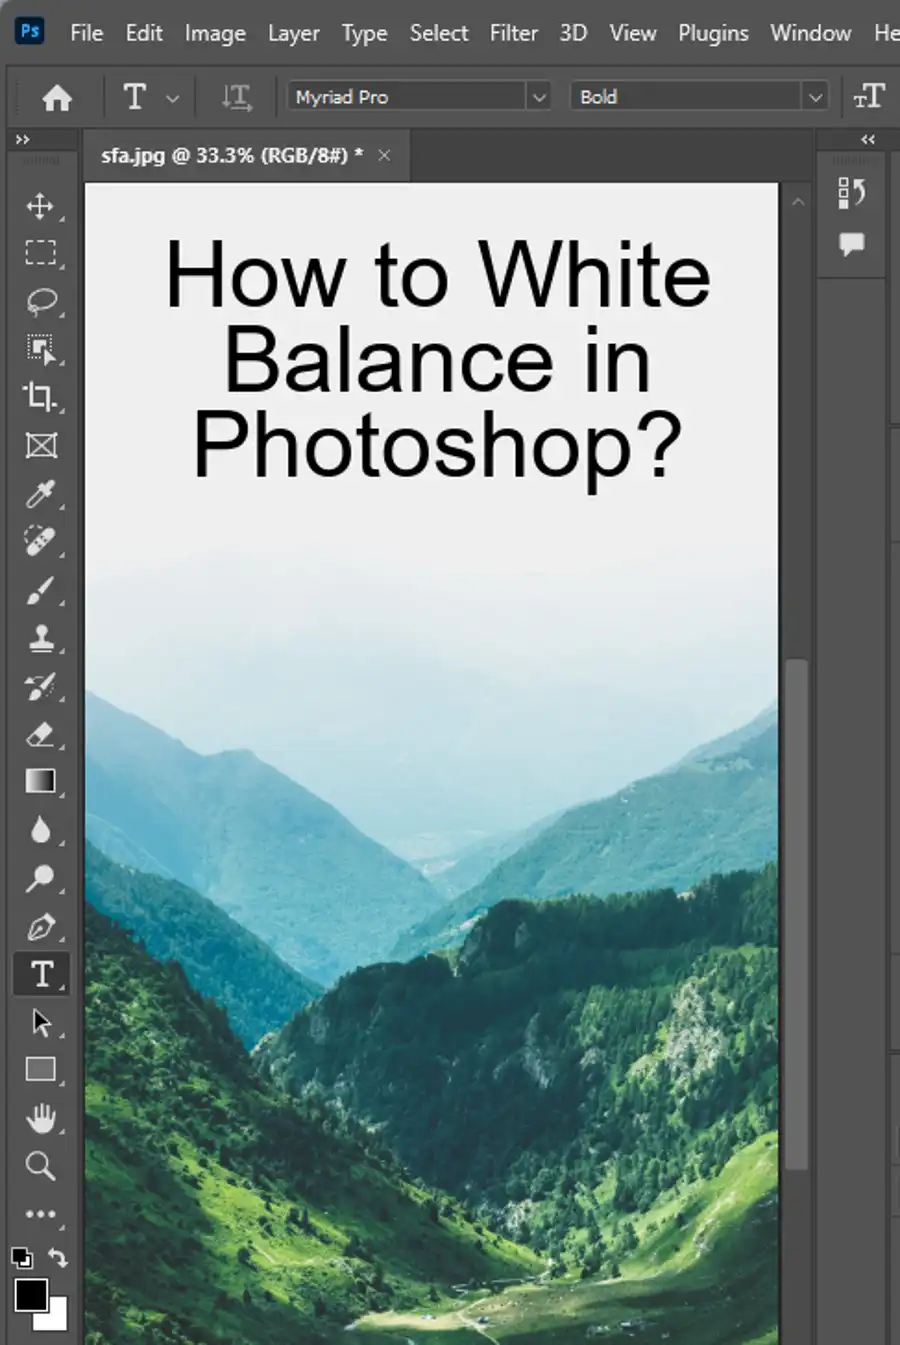
The first step is to import your GIF into Photoshop by clicking File > Open, then selecting your preferred GIF file. Once the GIF is open, you should see the individual frames in your Photoshop workspace.
Step 2: Set Up Your Workspace
Now that you've imported your GIF, it's time to set up your workspace.
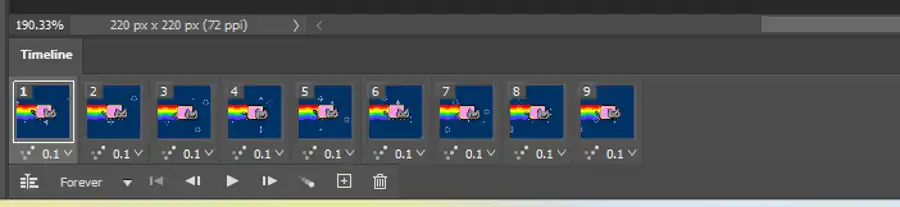
- Select Window > Timeline to open the Timeline panel.
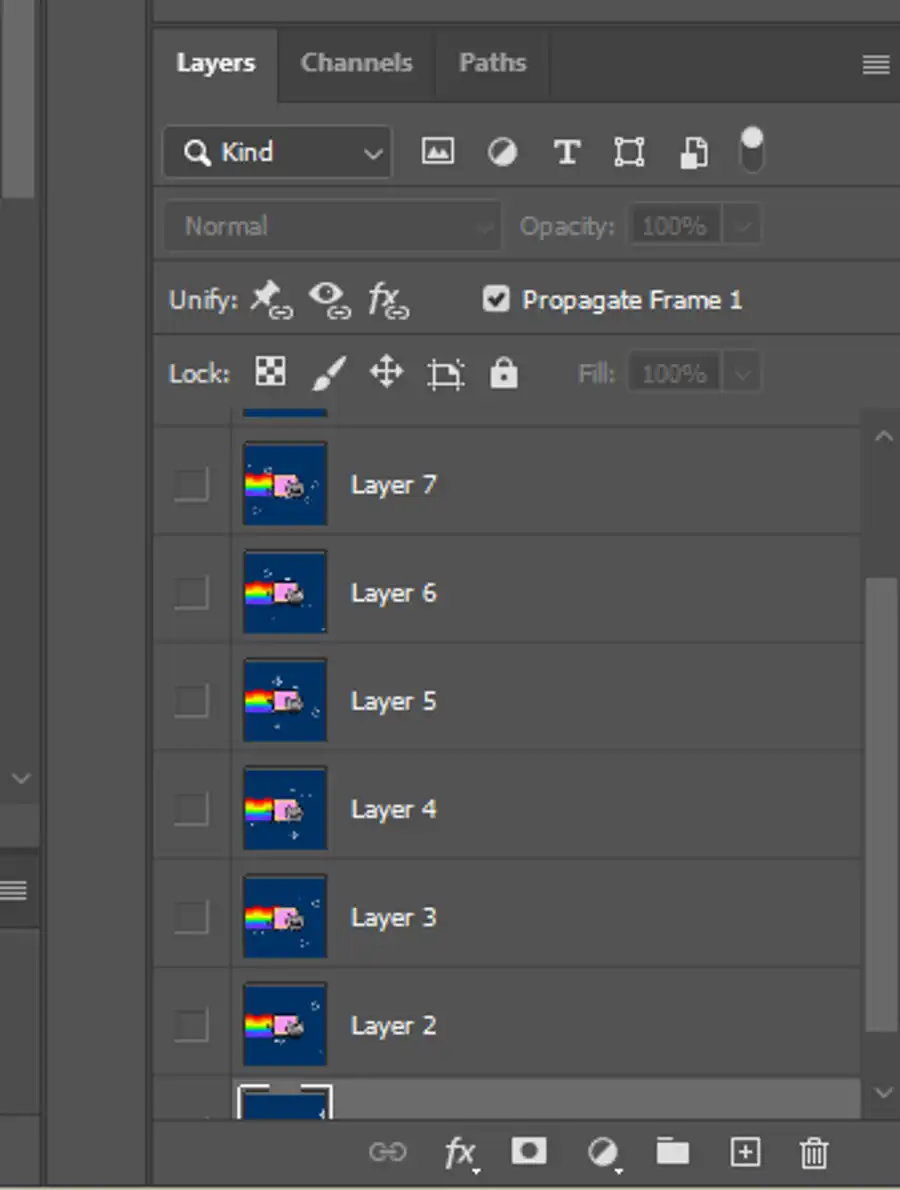
- In the Timeline panel, you'll see the individual frames of your GIF. Each individual frame can be edited to create a unique visual effect.
Step 3: Applying Your Edits
Now it's time to apply your edits. You can use Photoshop's Timeline panel to edit individual frames of your GIF. For example, you can use adjustment layers to edit the entire GIF or individual frames. And any Photoshop edit can be used to edit image frames.
The Timeline panel is a faster way to edit individual frames. You can adjust the length of each frame or choose to loop a specific number of frames. You can also set the time of each frame to create the speed of your animation.
Step 4: Exporting Your GIF
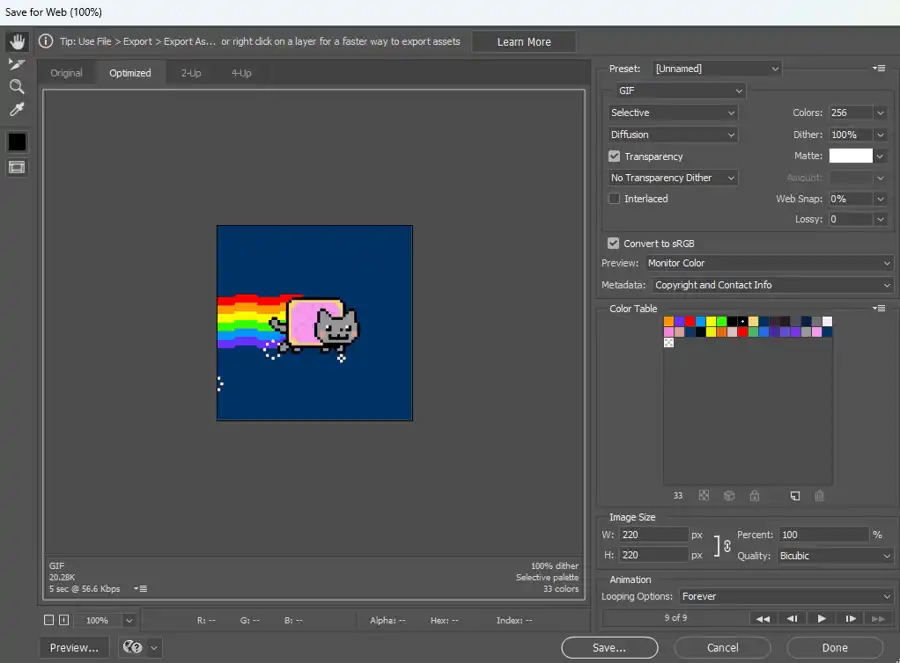
Once you've made your edits, it's time to export your newly edited GIF. You can do this by clicking File > Export > Save for Web. In the dialog box, you'll see various options for optimizing your GIF. You can adjust the compression, dither, and colors to make your GIF small in size and easy to upload on the web.
It's important to note that the Save For Web (Legacy) exporting method should be used when exporting a newly-edited GIF. This method is specifically designed for exporting animated GIFs.
Conclusion
With the right tools and a bit of practice, it's easy to edit a GIF using Photoshop. Whether you're an experienced Photoshop user or just starting out, you can create eye-catching animations that will help you grab attention online. So why wait? Start experimenting with your own GIFs today!
Questions you might be asking
How do I edit an existing GIF?
To edit an existing GIF, you can use an online editor or a software application such as Adobe Photoshop or GIMP. You can also use tools like EZGIF, which allow you to edit and make simple changes like resizing, cropping, and adding text.
How do I edit an animated GIF in Adobe?
Editing an animated GIF in Adobe requires you to open the GIF file in Adobe Photoshop. Once opened, each frame can be edited separately, and new frames can also be added. You can also use the timeline feature in Photoshop to edit the speed and duration of the animation.
Can Adobe edit GIFs?
Yes, Adobe offers various software applications like Photoshop, After Effects, and Premiere Pro to edit and work with GIF files. Adobe Photoshop, for example, is a popular image editing tool that allows you to open, edit, and save GIF files.
Can Photoshop open GIF files?
Yes, Photoshop can open GIF files. GIF files are a type of image file, and Photoshop can handle various image formats, including GIF. When you open a GIF file in Photoshop, you can edit each frame in the animation separately and make changes to the overall animation.