Having issues with Blender's FBX import and export? It's not just you. The complicated procedure of moving FBX files between various 3D programs is something that many people find challenging to comprehend. This felt like a difficult task when I first started using Blender, I can say that for sure. To be completely honest, whenever I try to export or import an FBX file, I still occasionally get confused.

Be at ease, though! We will outline the procedures needed in this article to successfully export and import FBX files in Blender. We'll go over each step individually so you can be certain you have all the knowledge required before beginning. With regard to these challenging file transfers, confusion and feeling lost are a thing of the past. You'll have mastered the art of smoothly transferring 3D assets between software programs once you've completed the steps in this guide.
Also read: How to Import SkechtUp Files on Blender?
What are FBX Files in Blender?
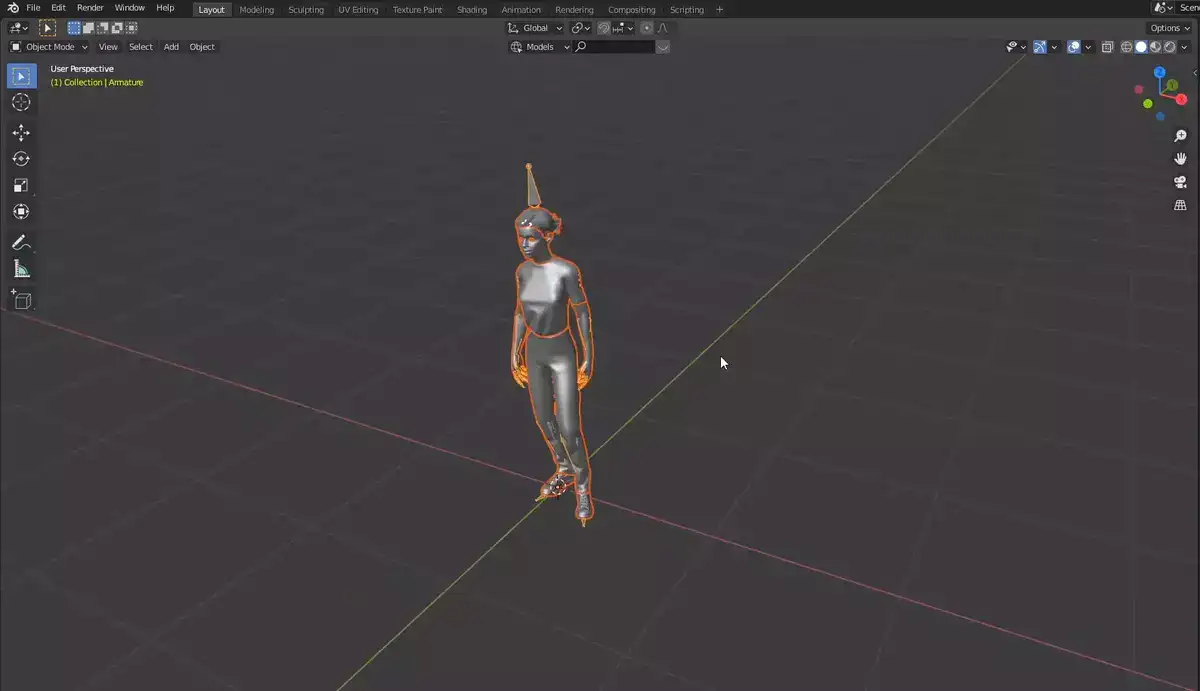
The interchange file format FBX, or Filmbox, is used by a variety of 3D modeling software and digital content creation applications. To put it another way, it's a method of transferring 3D scenes, meshes, lights, cameras, empty objects (objects without geometry), armatures (skeletal rigs), and even animations between various software programs that can handle 3D graphics applications. Almost anything you produce using VFX software.
How does this relate to Blender, then? In Blender, you can import or export your 3D model data along with any textures or colors into your scene when working with FBX files. The FBX File will contain all the information necessary so that it looks exactly the same when imported into another piece of software, so if you're switching between programs like Unity or Unreal Engine - Autodesk Maya - etc., you won't have to recreate all your models from scratch.
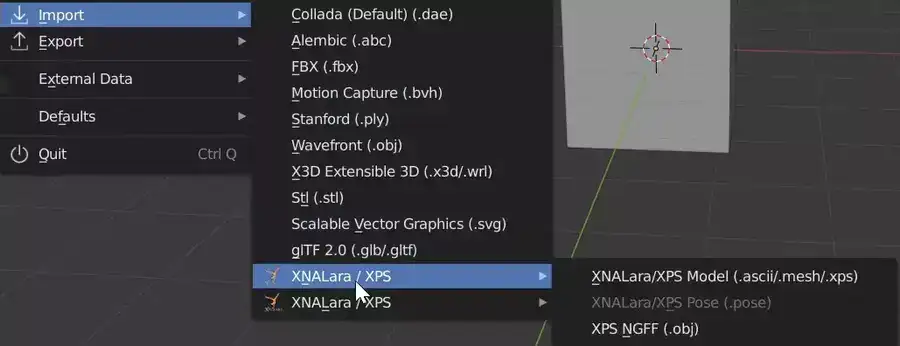
There are two options available when working with FBX files within Blender itself: ASCII or Binary formats. The plain text format of the ASCII version makes it simpler for humans to read and edit the model data if necessary, but it also means that larger files may take longer to load because Blender must first convert them before using them. In contrast, Binary saves the data in a compressed form that is much faster but has a more complex coding structure that makes it difficult for humans to understand what is inside (fortunately, we don't need to worry about this too much here!).
There are a ton of tutorials online that can help you get started using FBX files in Blender, as well as some great tips & tricks on maximizing their potential to help you quickly and effectively create impressive models and scenes without any prior experience working with these types of files. Why not try it then? You never know what incredible outcomes you might get from a single session!
Related: How to Import Images into Blender?
How to Import FBX Files in Blender?
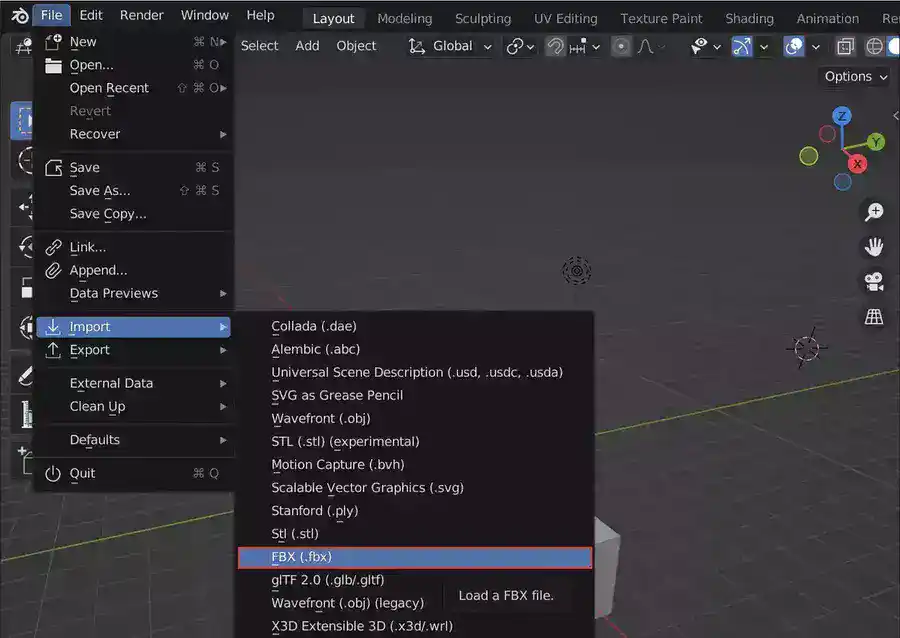
The first thing you need is version 2.69 or later release of Blender. Once you have opened up your project go ahead and click on the Layout tab at the top left corner of your window; this will show you all of your project file options such as File, Render, View and Tools.

From there click on File followed by Import from the drop-down menu; this will open an additional window with several options for formats you would like to import including FBX (.fbx).
Go ahead and select this option then locate the desired model in your file directory that you would like to add into Blender.
Now that the desired FBX model has been located, simply highlight it in order for it be selected.
Clicking on “open” should now bring up another pop-up window where a few settings will appear including; scale factor (this determines how large or small the object appears), forward axis (the orientation which typefaces are aligned) and up axis (determines which direction is considered up).
Make sure these options are set appropriately before clicking “import FBX” at last! If everything worked out correctly then your chosen FBX model should now be visible inside blender along with its textures and materials fully intact!
How to Export FBX Files in Blender?
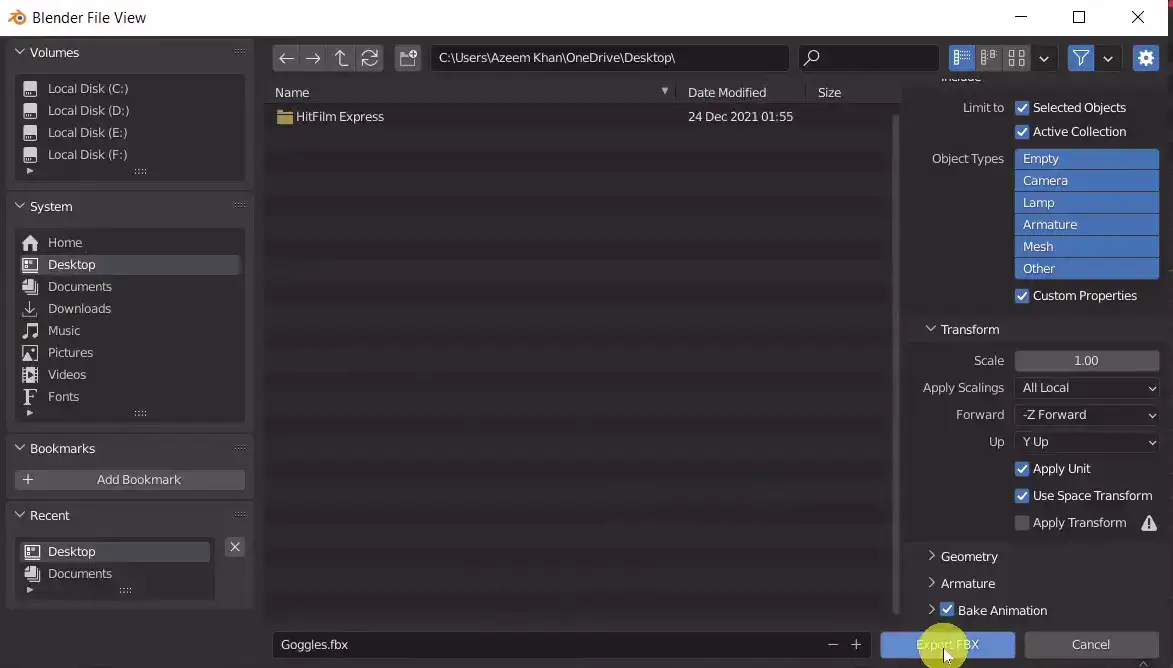
Open your Blender project by selecting File > Open from the main menu bar. Select File > Export from the top menu bar, then choose FBX (.fbx) under Export To. Check the Blender File View window before exporting to ensure everything is working properly. This should display all exported objects, materials, and textures.
Click Export FBX in the bottom right corner of this window to save your file as.fbx. Once exported, you can transfer your work to other programs like Unity or Unreal Engine without losing quality.
Also Read: How to Inset in Blender?
Can You Import FBX into Blender With Textures?
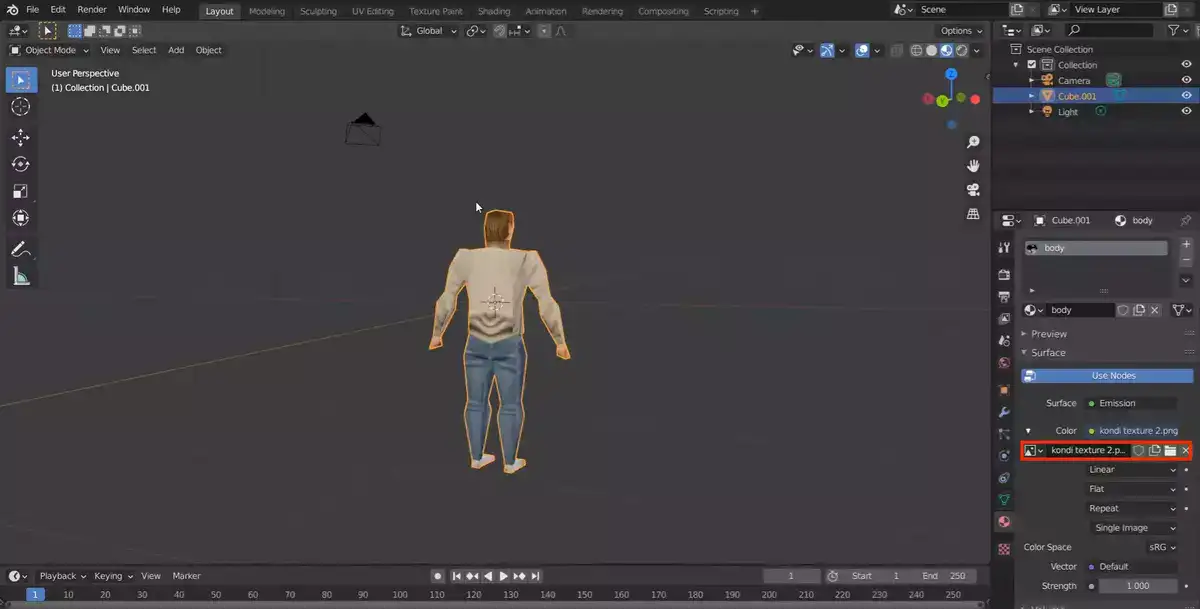
An FBX file can be imported into Blender textures, so the answer is yes. You must, however, make sure that both the "Materials" and "Textures" options are selected. Click the "Import FBX" button after choosing the FBX file you wish to import.
The FBX file, along with the materials and textures linked to it, should now be imported into Blender. You might need to modify the material settings or check that the texture files are in the same directory as the FBX file if the textures are not appearing.
ASCII FBX Files are Not Supported in Blender

Blender supports only binary (.fbx) version of Filmbox files, so if you're trying to import an ASCII (.fbx) file into Blender, it won't work. In such cases, you would need to use a third-party application to convert the ASCII .fbx file into binary one first.
Blender Import FBX Not Showing
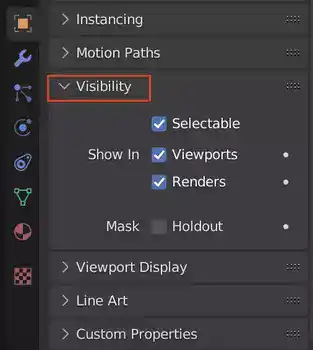
If your model is not showing up when importing an FBX file into Blender, check out the scene settings – make sure that Objects are set to Visible and that Scale is set to Real World (1.0). If this doesn't fix the issue, try reducing Face Count of your mesh by applying Decimate modifier or using a different program for exporting your model as FBX.
Also read: How to Repair a Mesh in Blender?
Outro
FBX files are very useful for transferring 3D models between different applications – they allow you to preserve materials, textures and animations while still keeping the file size relatively small. With just a few clicks you can easily import and export them in Blender.

