Have you completed your basic video edits, and you're wondering how to edit sounds in the clip.
Audio is a powerful component in videos and, when edited correctly, can transform your video into an incredible masterpiece.

One amazing way you can transition between clips is to fade in or out. Read on to find out how you can perform this simple sound editing.

How Do You Fade In and Out in Premiere Pro?
- Open your video project, then click the audio to be edited.
- Click the triangle on the left of the track’s name to expand it.
- Select the Audio Effects bin to open the Audio Effects panel.
- Click the arrow beside each sub-folder to expand the options.
- To fade in your audio, drag a transition from the Effects panel to the Timeline panel, then drop it to the In point of the audio.
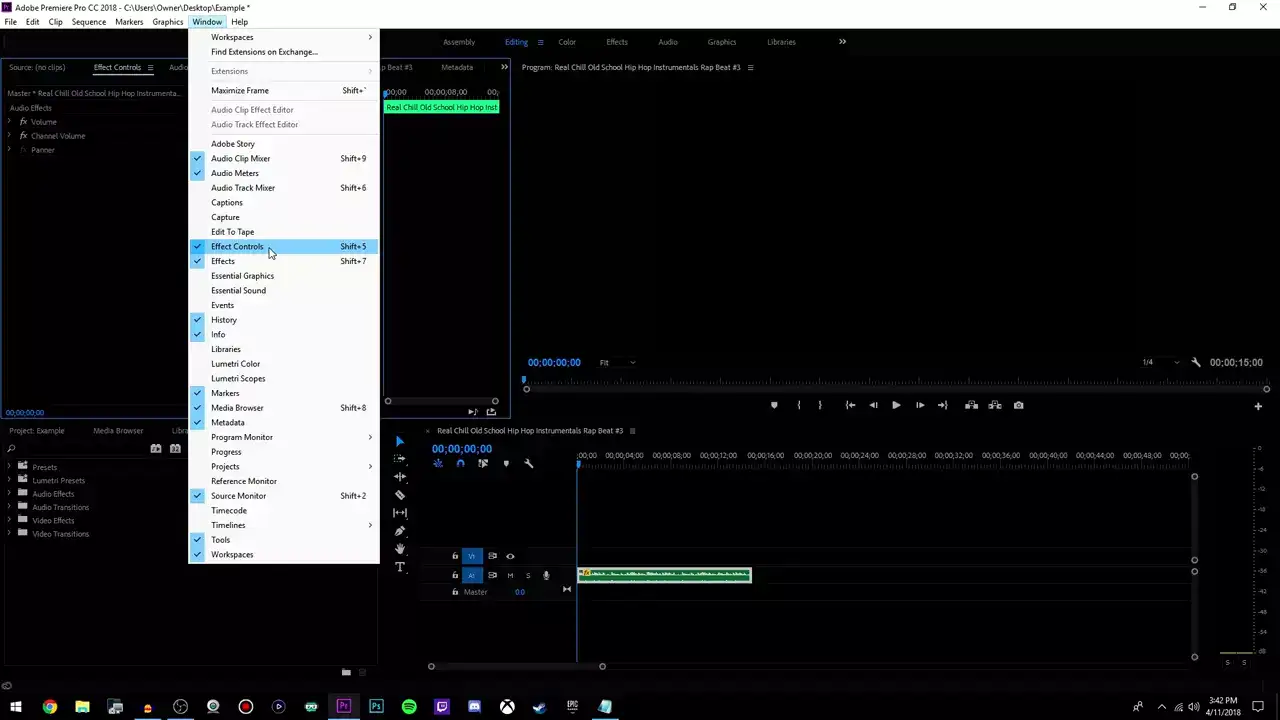
- Alternatively, you can select Effects Controls then, double-click the transitions then choose "Start at Cut."
- To fade out your audio, drag the transition to the Out point of the audio or double click the transition from the Effects Controls, then choose "End at Cut."


Audio Crossfade Not Working
Audio Crossfade in Premiere Pro allows video editors to apply an audio transition to two adjacent audio clips on the same track.
If the Audio Crossfade is not working, follow these steps:
- Add your desired transition to the timeline and apply it only to one of the audio clips.
- Select the transition, then go to the Effects Control panel.
- Choose Alignment and select "Center at Cut" from the drop-down.
- Voila! The transition will be applied to both clips.

Audio Fade Out Shortcut
To add Audio Fade Out using keyboard shortcuts, select Shift+Command+D (macOS) or Shift+Ctrl+D (Windows).
This will automatically add the Constant Power Crossfade effect at the beginning and end of the audio clip.
To change the fade-out duration, click and drag the end of the transition, then remove it by pressing the del key.


