
Photoshop is an incredibly versatile digital tool, known and widely used for its wide range of functions. One of the fundamental and common tasks you might need to accomplish with Photoshop is to fill the background of an image. Whether it's to change the aesthetic of a photo, to create a uniform backdrop for product shots, or to simply eliminate distracting elements, filling backgrounds in Photoshop is an essential skill to master. In this comprehensive guide, we'll delve into the detailed steps for filling backgrounds in Photoshop, making it easy even for beginners.

Getting Started
Before you start, ensure you have the Adobe Photoshop application installed on your computer. This guide is primarily based on Photoshop 2023, but the steps should be applicable to earlier versions as well with slight variations.
Step-by-Step Guide to Filling Backgrounds in Photoshop
Step 1: Open the Image
To begin with, open the image you want to edit. Click on 'File' at the top left corner, then choose 'Open.' Navigate to the folder where your image is stored, click the image, then click 'Open.'
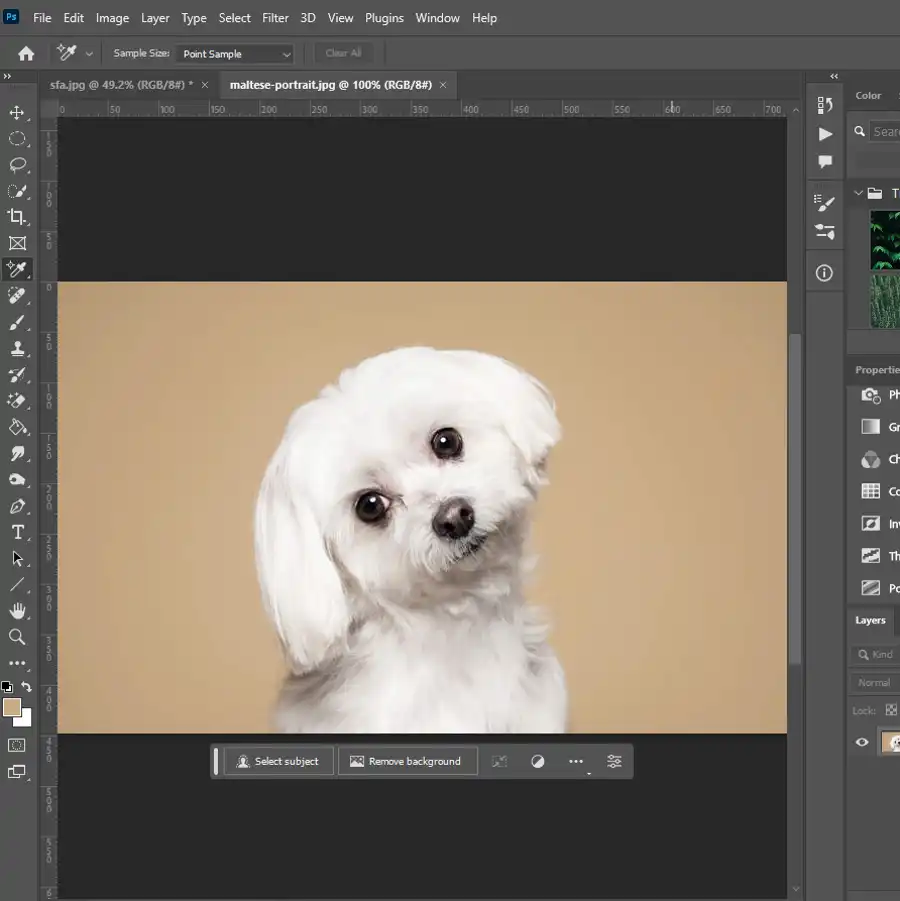
Step 2: Select the Background
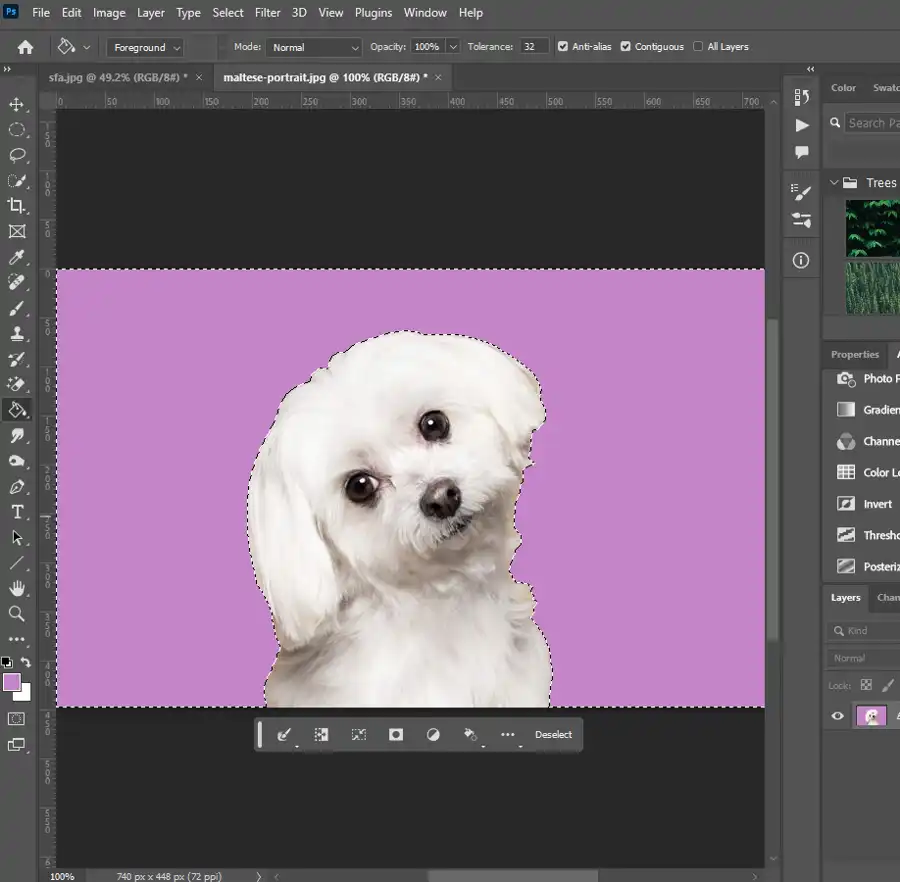
The next step involves selecting the background. For this, we have several tools available, including the Magic Wand tool, the Quick Selection tool, and the Lasso tool.
Magic Wand Tool
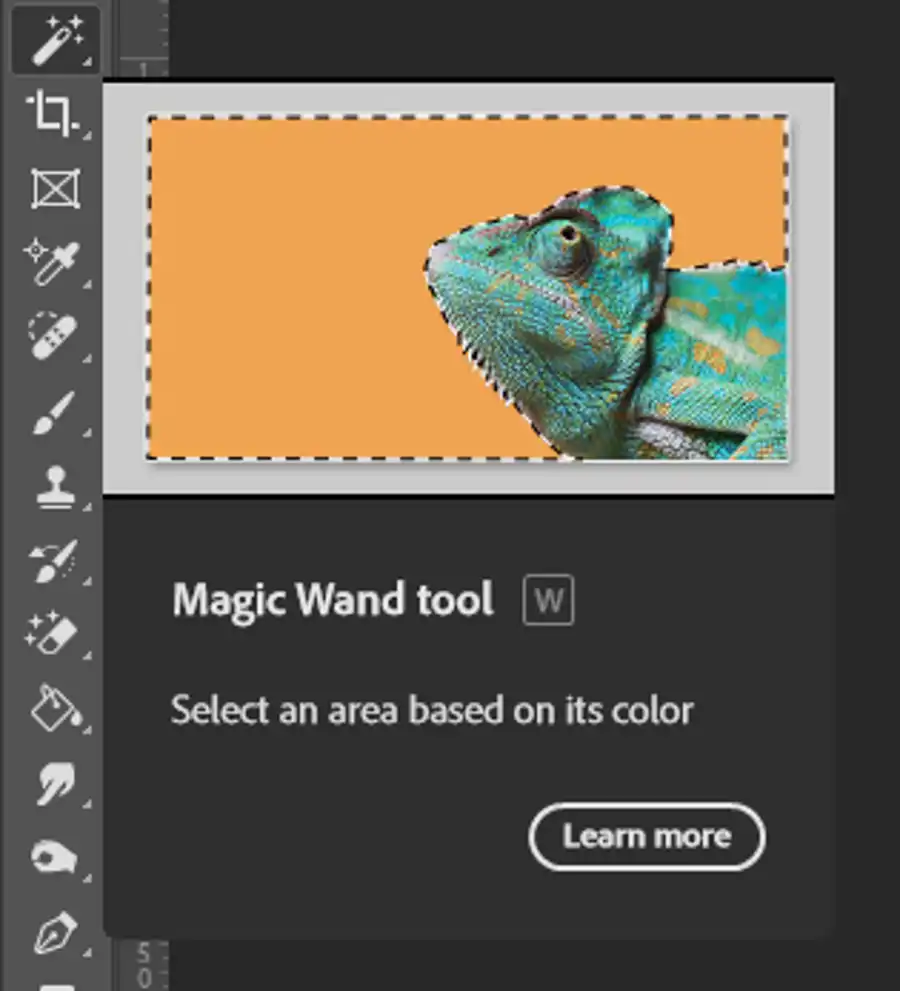
This tool is excellent for selecting large areas of the same color. Select the Magic Wand tool from the toolbar, then click on the area you want to select. Adjust the 'Tolerance' in the Options bar to fine-tune your selection. A lower tolerance selects colors very similar to the point of click, while a higher tolerance selects a broader range of colors.
Quick Selection Tool:
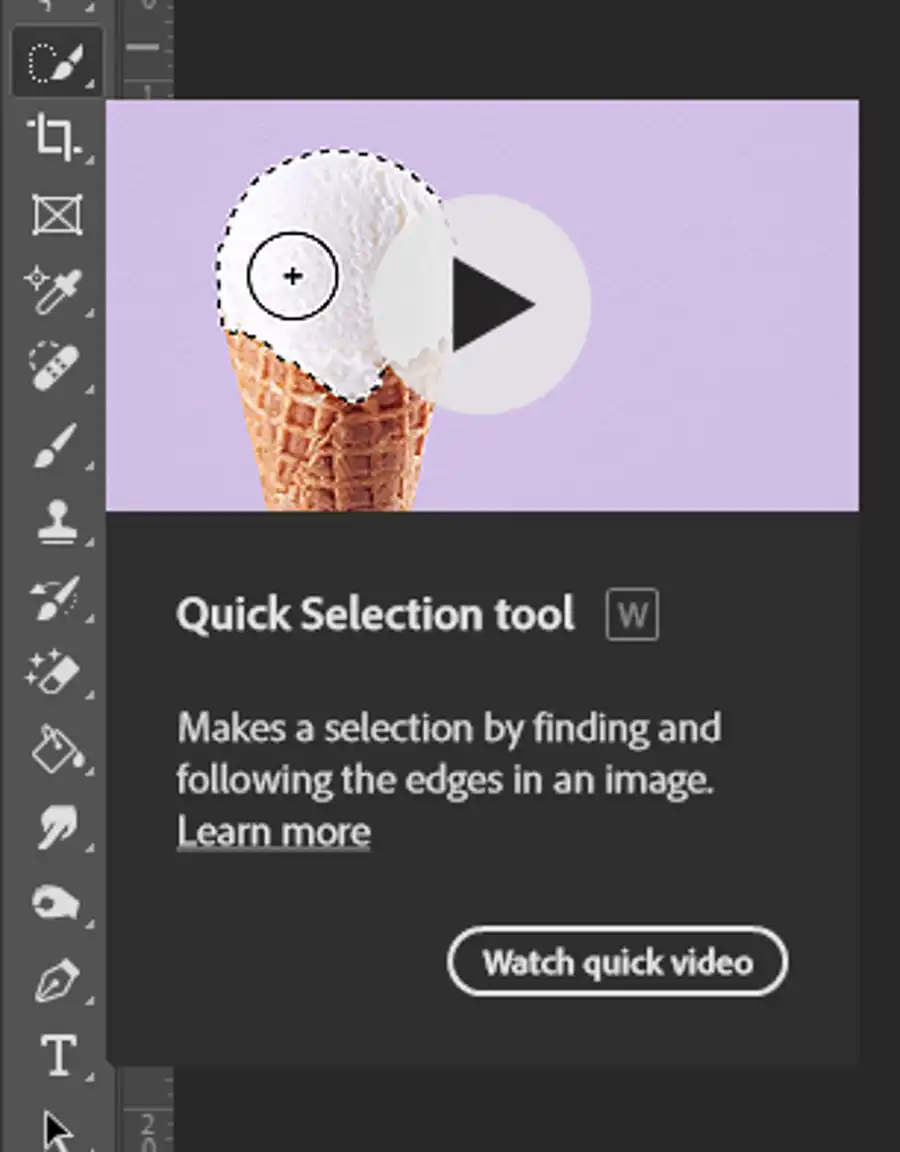
This tool is ideal for more complex backgrounds. It automatically selects similar pixels around where you click or draw. You can adjust the size of the tool to fit the area you're selecting.
Lasso Tool
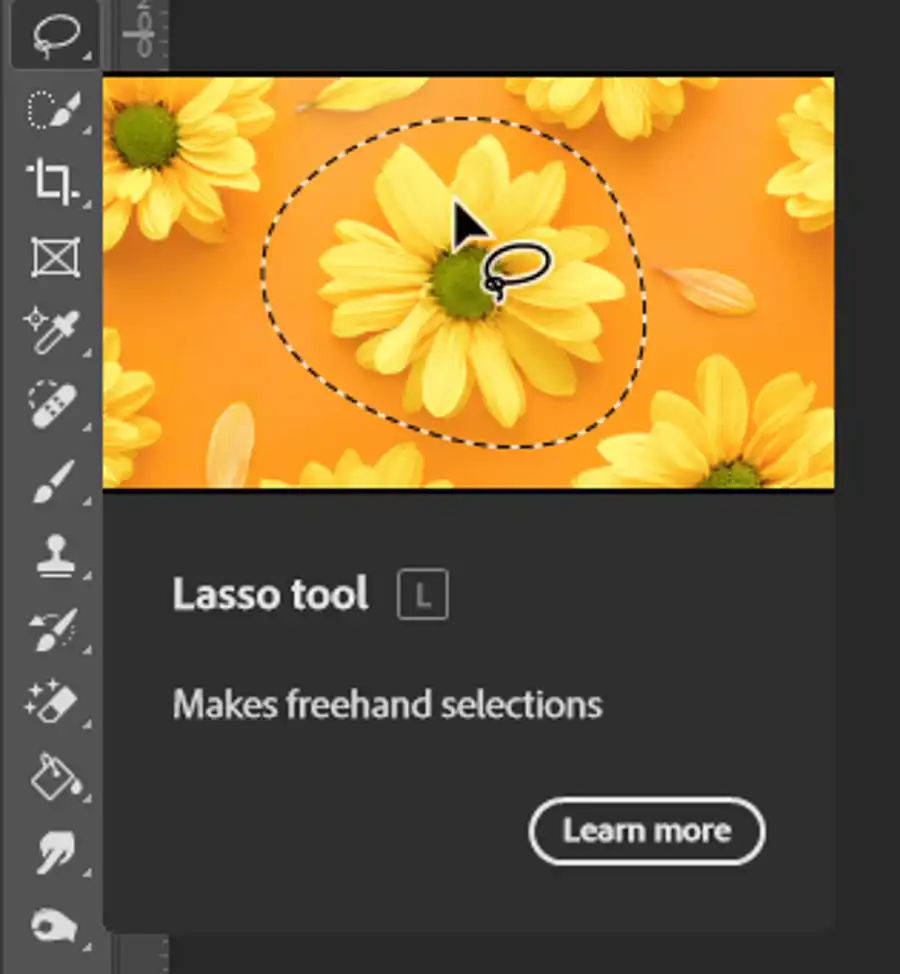
For manual and highly precise selection, the Lasso tool is the right choice. You can draw around the area you want to select.
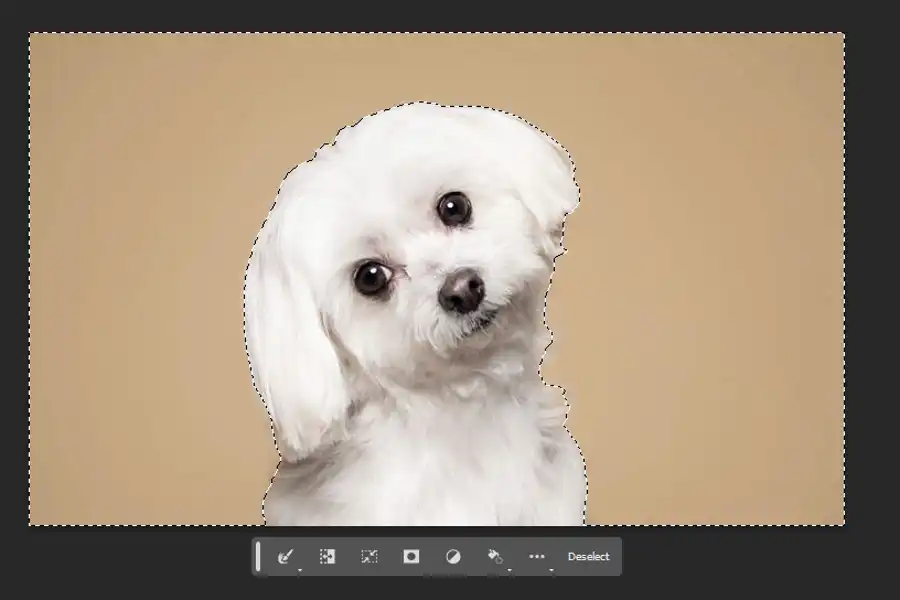
After selecting the area, you can refine the edges by clicking on 'Select and Mask' in the Options bar at the top.
Step 3: Fill the Background
After selecting the background, it's time to fill it.
To fill with a solid color: Choose the Paint Bucket tool from the toolbar, select your desired color from the color box at the bottom of the toolbar, then click on the selected area to fill it.
To fill with a gradient: Select the Gradient tool, choose your colors and gradient style from the Options bar, then click and drag across the selected area to fill it.
To fill with a pattern: Go to the Edit menu at the top, select Fill, choose 'Pattern' from the dropdown menu under 'Contents,' select your pattern, then click 'OK.'
Remember, if you want to maintain the ability to edit the background independently in the future, it's a good idea to fill the background on a new layer.
Step 4: Deselect and Save
After filling the background, you can deselect the area by clicking on 'Select' in the top menu, then 'Deselect.' Finally, save your work by clicking on 'File,' then 'Save As,' and choose your preferred file format and location.
Conclusion
Filling backgrounds in Photoshop can seem challenging, but with the right tools and steps, it becomes a simple process. As you continue to practice, you'll discover more techniques to further improve your skills and create more impressive visuals. Photoshop's diverse array of features offer endless possibilities to enhance your images, so don't stop exploring!
Questions you might be asking
How do I fill an area with a background in Photoshop?
To fill an area with a background in Photoshop, you should first select the Paint Bucket Tool from the toolbar on the left side of the screen. Then, choose the color you want to use as your background by clicking on the foreground color swatch at the bottom of the toolbar. Finally, click on the area you want to fill with the background color using the Paint Bucket Tool.
What is the shortcut for fill background in Photoshop?
The shortcut for fill background in Photoshop is Shift+F5. This will bring up the Fill dialog box, where you can choose the type of fill you want to use (e.g. solid color, pattern, gradient) and the settings for that fill.
How do I fill a layer with color in Photoshop?
To fill a layer with color in Photoshop, first select the layer you want to fill in the Layers panel. Then, select the Paint Bucket Tool from the toolbar on the left side of the screen. Choose the color you want to use as your fill by clicking on the foreground color swatch at the bottom of the toolbar. Finally, click on the layer with the Paint Bucket Tool to fill it with color.
How do I fill a transparent background in Photoshop?
To fill a transparent background in Photoshop, you can follow the same process as filling any other area with a background or color. First, select the Paint Bucket Tool from the toolbar on the left side of the screen. Choose the color or background you want to use by clicking on the foreground color swatch at the bottom of the toolbar. Then, click on the transparent area you want to fill with the Paint Bucket Tool. The transparent area will be replaced with the chosen color or background.