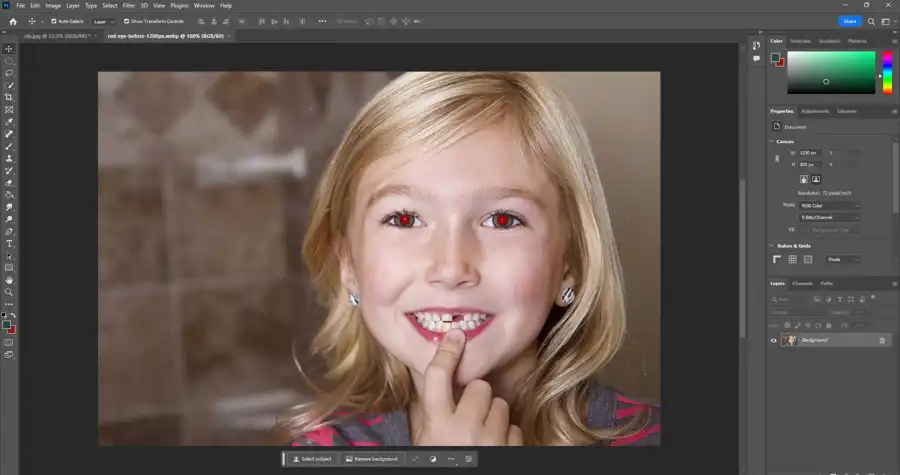
Photoshop has become an integral part of the photo editing process. One of the most common problems that most people face while clicking a picture is red-eye. Red-eye is the phenomenon of the eyes appearing red in a photograph. This is caused when the flash of the camera is too close to the subject. In this article, we will be discussing how to remove red-eye from a photo using Adobe Photoshop for Mac and Windows.

Working professionals, photography enthusiasts, and even hobby photographers often find the need to remove the red-eye effect from their photos. This is where Photoshop comes in. Follow the steps below to remove red-eye from a photo using Adobe Photoshop:

What is Red-eye, and How to Avoid it?

Red-eye is caused by the reflection of light from the retina of the subject's eyes. It is more likely to happen when the flash is too loud, and the subject is looking towards the camera. Red-eye is a common issue faced by most photographers, and it can ruin an otherwise perfect image.
To avoid red-eye, the flash of the camera should not be too close to the subject. Professional photographers use a speed-light or bounce the flash off walls and ceilings to avoid causing red-eye. Moreover, photos are best captured when there is ample natural light rather than relying on artificial flash.

How to Remove Red-Eye in Photoshop

To remove red-eye from a photograph, first, open the photograph you want to edit on Adobe Photoshop for Mac or Windows.
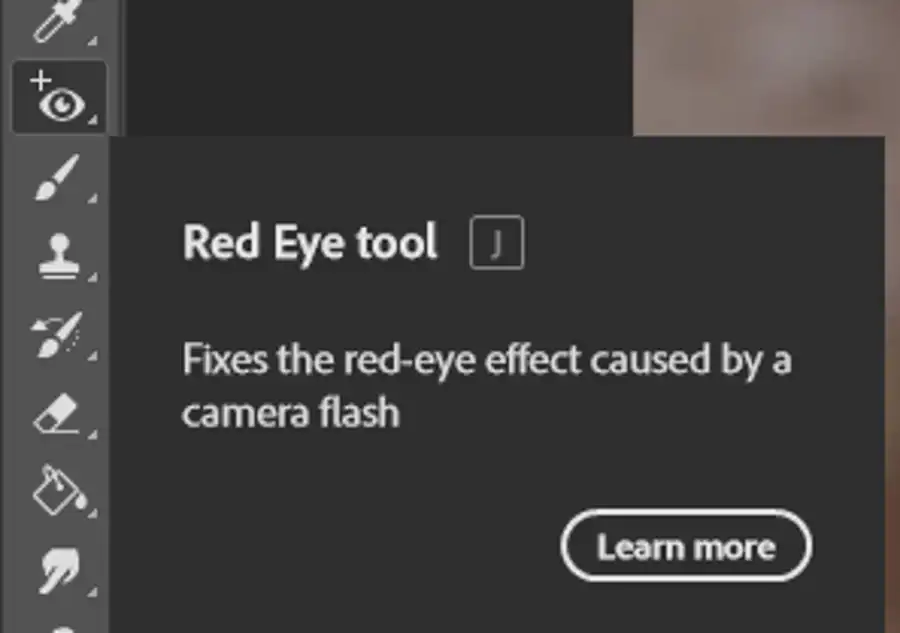
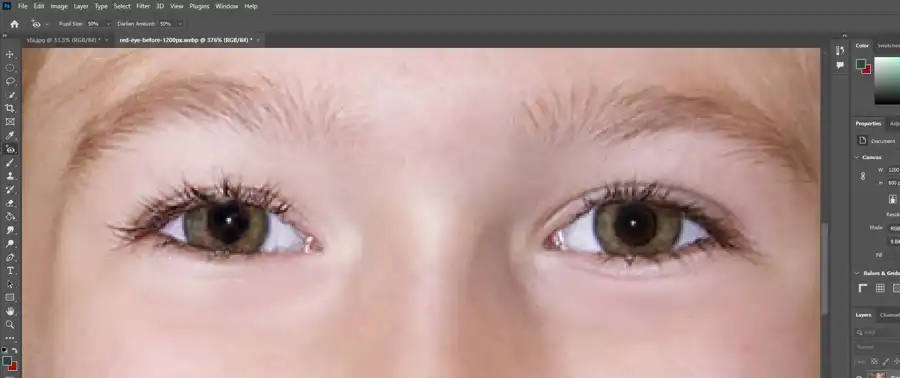
To remove red-eye using the Red-Eye Tool, locate the Spot Healing Brush tool on the left-hand side toolbar and click on it. The Red-Eye Tool should be located at the bottom of the list, select it and move to the top left-hand side of the menu. Ensure that the “Pupil Size” is set to 50%, and the “Darken Amount” is also set to 50% to begin with. These values can be changed as per your preference.
The next step is to click and drag the mouse cursor around the red-eye area. Once the circle is complete, release the click, and the red-eye will be quickly removed.
Once you have clicked on the eye, the red part will be replaced with a natural black color. In some cases, you may have to repeat this process or adjust the Pupil Size and Darken Amount settings slightly to achieve the desired results.

How to Manually Remove Red Eyes in Photoshop

To manually remove red eyes, the photo needs to be opened, and the eyes need to be zoomed in. With the Eyedropper tool, the Color Sampler Tool needs to be selected and clicked on an area of the iris where some natural color is visible. Then, the Brush tool needs to be clicked, and the Color Replacement Tool needs to be selected. The red parts of the eyes can be painted over. The eraser tool can then be used to clean up any overspray from painting outside the iris. Finally, select Filters > Blur > Gaussian Blur and set the Radius to 1 pixel, and select OK to soften the edges of the painted area on the layer.

Questions you might be asking
How does the red eye tool work in Photoshop?
The red eye tool in Photoshop is designed to remove redness in photos caused by light reflecting off the back of the eye. It works by analyzing the color of the pixels around the affected area and then applying a correction that matches the color and tone of the surrounding pixels. Simply select the red eye tool, click on the red eye in the photo, and Photoshop will automatically adjust the color.
How do I edit out red eye?
There are multiple ways to edit out red eye, but the easiest and most efficient method is to use the red eye tool in Photoshop. Once you have selected the red eye tool, zoom in on the affected area of the photo and click on the red eye. Photoshop will automatically adjust the color to match the surrounding pixels, effectively removing the redness.
How do you fix someone's eyes in Photoshop?
There are various techniques you can use to fix someone's eyes in Photoshop. Firstly, you can use the red eye tool to remove any redness. Secondly, you can adjust the brightness and contrast of the eyes to make them stand out more. Additionally, you can use the dodge and burn tool to highlight certain areas of the eyes and add depth. Lastly, you can use the clone tool to remove any blemishes or imperfections.
What is the shortcut of red eye tool in Photoshop?
The shortcut for the red eye tool in Photoshop is "J". Simply press the "J" key on your keyboard to activate the tool, and then click on the red eye in your photo to remove the redness.

