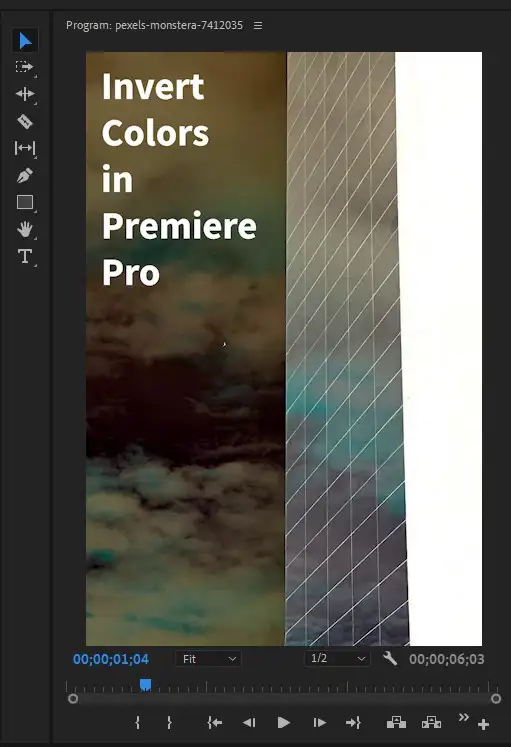
Inverting colors with Premiere Pro is so simple. It takes only a few steps and can be completed in less than a minute. You can achieve the artistic effects you're looking for in your cinema and media projects.

Also read: How to color correct in Premiere Pro
How to invert colors in Premiere Pro?

Step 1: Add your clip to the timeline.
Step 2: Go to Effects Menu > Video Effects > Channel > Invert
Step 3: Drag & drop the Invert effect on your clip, and you're done!
Invert color settings
There are various effects you can get by playing channel settings.
RGB Invert: That's the standard invert effect you'll get when applying the effect.
Red: Inverting the Red channel only.
Green: Inverting the Green channel only.
Blue: Inverting the Blue channel only.
There are more settings allowing you to invert different parameters such as HLS, Hue, Lightness, Saturation, and even Alpha channels for black & white color invert effect.

Related: Best Video Editor for Color Grading and Correction
How do I turn off inverted colors?
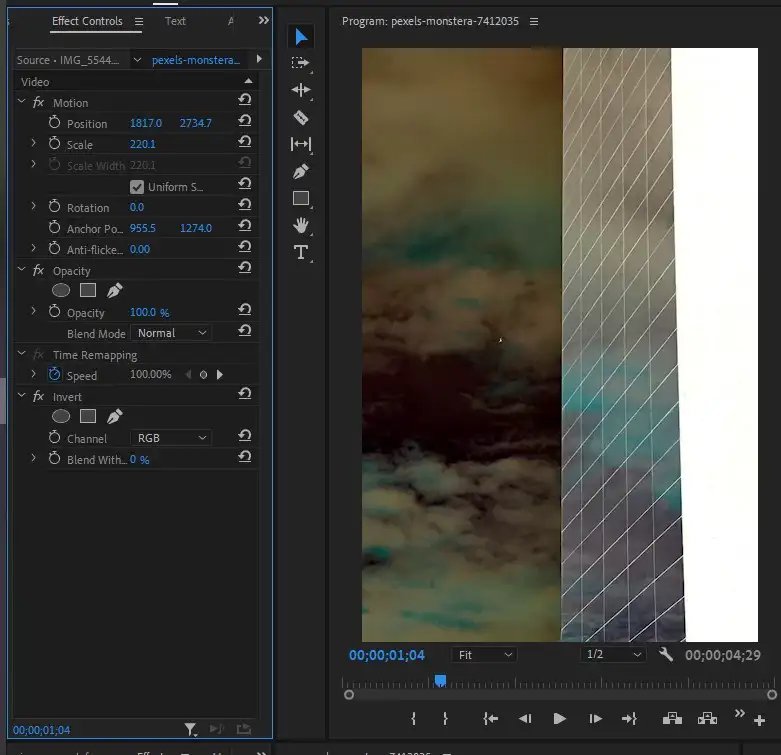
All the applied effects on a clip can be found in Effects Control Panel. Click on your inverted clip. Find Invert in the panel and remove it by pressing Delete.
Can you invert mp4 clip's colors online?
There are free video color inverters online, such as Veed.io, Cledio, and others. We recommend Ezgif as it allows for color and black and white video inversion for mp4, mov, and avi video extensions.
How to invert colors on mobile?
Option 1: Use the online color inverters we mentioned above.
Option 2: If you find yourself unable to use online solutions, or you have limited internet for uploading & downloading big file sizes, you could use color inverter apps available on Android and iOS. Some of these are Picture Invert by Suneetha Marthala, Negative Image by Pratham Tech, and Invert Background Maker by Nexo Gen.
Please note that these are freemium apps, meaning that they are free to download, but they might make you watch advertising to be able to use the software.


