
If you use Photoshop, you already know that making selections is an essential part of photo editing. A selection is simply an area of the photo that you want to edit. You might want to sharpen a particular object or remove a distracting background. Whatever the reason, selecting the right part of the image is crucial to getting the desired final result. Here are some tips to help you modify selections in Photoshop, as well as how to invert them.

When it comes to selecting an area of the image, Photoshop has a suite of tools to make the process easier.
There are;
- Marquee tools
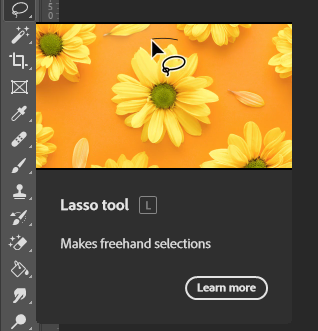
- Lasso tools
- Magic Wand tools
These can help you choose precisely the part of the image you want to work with. Once you’ve made a selection, you can apply various adjustments and filters to that specific area, without altering the rest of the image.
If you've made the wrong selection or want to start over, you can use the keyboard shortcut Ctrl+Z (Command+Z on Mac) to undo and try again. Alternatively, you can expand or shrink the border of the selection by holding down Shift or Alt (or Option on Mac) and selecting where you'd like the borders to grow or shrink.
To invert your Photoshop selection, press Ctrl+Shift+I (Command+Shift+I on Mac). This will select everything outside of the currently selected area. If you’ve successfully inverted your selection, the “marching ants” around the old selection will now surround the outside border of your image.
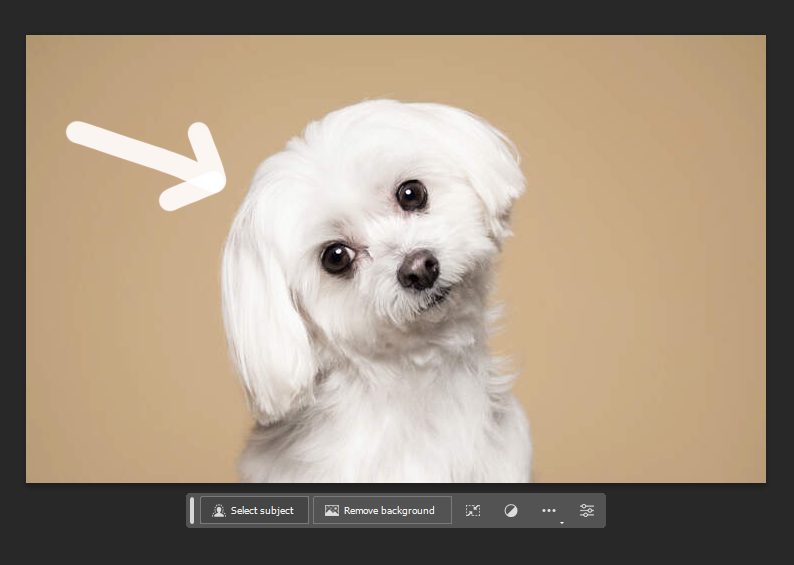
One of the biggest benefits of inverting selections is that it can help you select what you don’t want to change instead of what you do. Inverted selections are especially useful if you're dealing with a large area that you want to edit, such as a background. You can turn an inverted selection into a layer mask to hide or show different parts of your image, using brush adjustments, clone adjustments, or hue adjustment layers.
While the Quick Selection tool is the recommended way to invert a selection in Photoshop, there are other ways to do it. For example, you can create a new layer and fill it with black, create a white mask, and then use brush tools to selectively paint with black or white. As long as the mask is selected in the Layers panel, you can use it to invert an area of the image.
Questions you might be asking
How do you invert an object selection?
To invert an object selection, you can use the keyboard shortcut "Shift" + "Ctrl" + "I" for Windows or "Shift" + "Cmd" + "I" for Mac. This command will select the inverse of your current selection.
How do you invert an object in Photoshop?
To invert an object in Photoshop, you can use the "Invert" command located in the "Image" menu. First, select the layer with the object you want to invert, then go to "Image" > "Adjustments" > "Invert." You can also use the keyboard shortcut "Ctrl" + "I" for Windows or "Cmd" + "I" for Mac.
How do you reverse lasso selection?
To reverse a lasso selection, you can use the keyboard shortcut "Shift" + "Ctrl" + "I" for Windows or "Shift" + "Cmd" + "I" for Mac. This command will select the inverse of your current selection, including any lasso selections.
What is the command to invert selection?
The command to invert selection is "Shift" + "Ctrl" + "I" for Windows or "Shift" + "Cmd" + "I" for Mac. This command will select the inverse of your current selection, allowing you to easily make edits or adjustments to the unselected portion of the image.