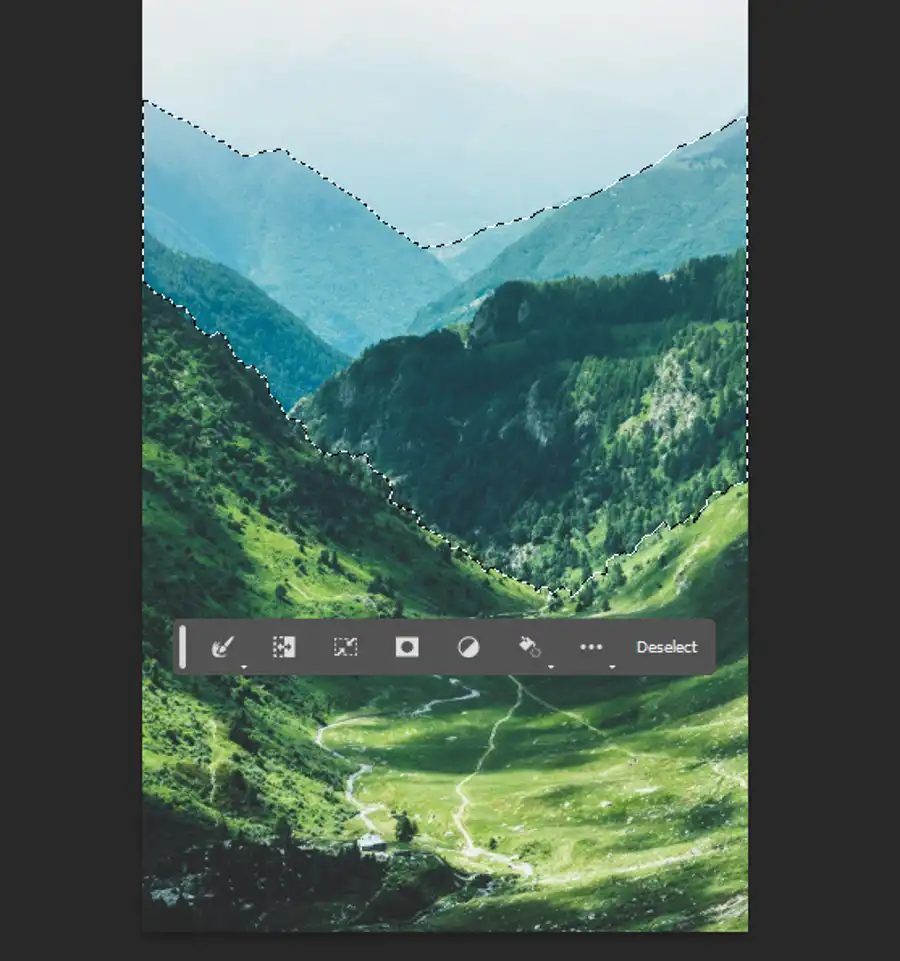
Silhouettes can be an extremely useful tool for adding visual interest and filling up empty spaces in a photograph. One of the best programs for creating this effect is Photoshop. In this article, we will discuss the three main ways to make a silhouette in Photoshop. These methods include creating a quick silhouette, making vector silhouettes, and separating your image from the background.

Creating a Quick Silhouette
The first way to make a silhouette in Photoshop is by creating a quick silhouette. This method is best used for images with simple and easily differentiated backgrounds.


- First, you will need to open the desired image in Photoshop, open the quick selection tool and select the area that you want to turn into a silhouette. Once you have made your selection, duplicate the layer.
- Then, go to Image>Adjustments>Hue/Saturation and reduce the saturation until your image is entirely black. If you find that you have some areas that are not entirely black, you can use the paintbrush tool to touch up the selection.
Making Vector Silhouettes
The second method for creating a silhouette in Photoshop is by using vector layers.
- First, create a new layer above the original image.
- Then, using the pen tool, trace the entire silhouette. Make sure that all the shapes are connected to finish the silhouette.
- You can also use the shortcut key "Ctrl + Enter" to close the loop. Once you are done, use the Path Selection Tool to click and drag the silhouette into its own image or over to Adobe Illustrator.
- You can then manipulate the image or save it as a vector file.

Separating Your Image from the Background
The third way to create a silhouette in Photoshop is by separating your image from the background.
- For this method, you will either need to use the pen tool or the magic wand tool to create a selection around your image.
- Make sure to use the refine edge tool to get the perfect selection. Once you have the selection, invert it.
- Now, you have your silhouette on a transparent background. You can then manipulate the image as you see fit, and use it as you wish.
Tips & Tricks
- When making a silhouette, pay attention to the details. Make sure that all of the edges are clean and that there are no gaps in the silhouette.
- When using the Magic Wand Tool, make sure to use the refine edge tool to perfect your selection.
- Creating a vector silhouette can be a great way to add a professional touch to your work.

Questions you might be asking
How do you create a silhouette in Photoshop?
To create a silhouette in Photoshop, you need to follow these steps:
- Open the photo in Photoshop and use the selection tool to choose the object or person you want to turn into a silhouette.
- Next, right-click on the selection and choose "Layer via Copy."
- Then, duplicate the layer and hide the original layer so you can work on the duplicate layer.
- Fill the silhouette layer with black using the paint bucket tool.
- Finally, change the layer blending mode to "Multiply" to create the silhouette effect.
How do I make a silhouette shadow in Photoshop?
To create a silhouette shadow in Photoshop, do the following:
- Duplicate the photo layer and turn off the visibility of the original.
- Next, turn the duplicate layer into a silhouette using the steps given above.
- Move the silhouette layer to the bottom and Stack it below the duplicated layer.
- Change the color of the duplicated layer to black.
- Right-click on the duplicated layer in the Layers palette and select "Create Clipping Mask."
- Finally, use the Transform tool to move, rotate, and scale the shadow to its place.
How do I make a vector silhouette in Photoshop?
To make a vector silhouette in Photoshop, you can follow these steps:
- Open the photo in Photoshop and use the Pen tool to trace the object.
- Once you have traced the object, right-click and select "Make Selection."
- Copy the selection using "Ctrl + C" or "Command + C."
- Open Illustrator and select "File > New" to create a new document.
- Paste the selection onto the new document.
- Select the Pen tool once more, choose "Outline" mode, then trace around the silhouette to create your vector.

How do I make a silhouette in Adobe?
To make a silhouette in Adobe Illustrator, you can use the following process:
- Open the image you want to make a silhouette of in Adobe Illustrator.
- Use the pen tool to trace the edge of the object you want to turn into a silhouette.
- Use the selection tool to select the traced object.
- Choose "Object > Image Trace > Make."
- Expand the traced object by selecting "Object > Expand."
- Next, select the silhouette and fill it with black using the Fill tool.
- Finally, change the blending mode to "Multiply" to create the silhouette effect.

