If you’re an architectural photographer, one of the most common challenges you may face is taking photos of a building that's too large to capture in a single shot. Fortunately, Adobe Photoshop offers a solution to this problem, allowing you to merge multiple photos into a single seamless image. In this blog, we’ll walk you through the process of merging two photos in Photoshop using layer masks and blend modes.

How to Merge Photos in Photoshop:
To merge two photos in Photoshop, follow these seven steps:
Step 1: Choose Two Photos to Merge
Choose two photos that you want to merge. These photos should be captured using the same camera with the same focal length lens, same lighting, and same resolution. If you need to combine two photos taken at different times and locations, ensure the white balance in each is as close as possible to the other.
Step 2: Open a Photo
Open the first photo in Photoshop. If your main subject is of a different size in each photo, begin with the image where the subject is smallest.
Step 3: Open Your Second Photo
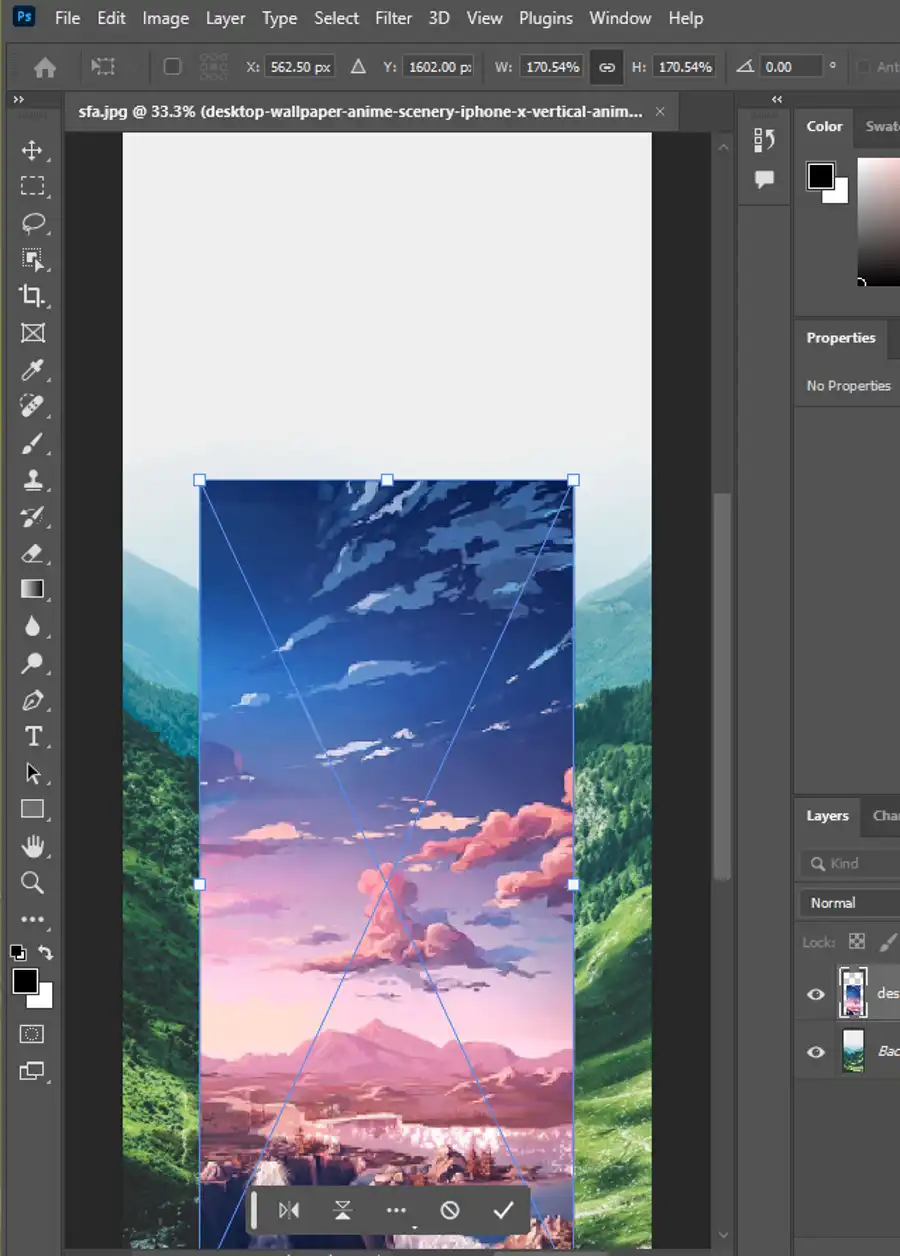
Open your second photo on top of the first. Use the Move tool to align them, and then use the Transform command (CTRL + T) to resize the second photo without incurring noticeable quality loss.
Step 4: Position Your Photos to Match
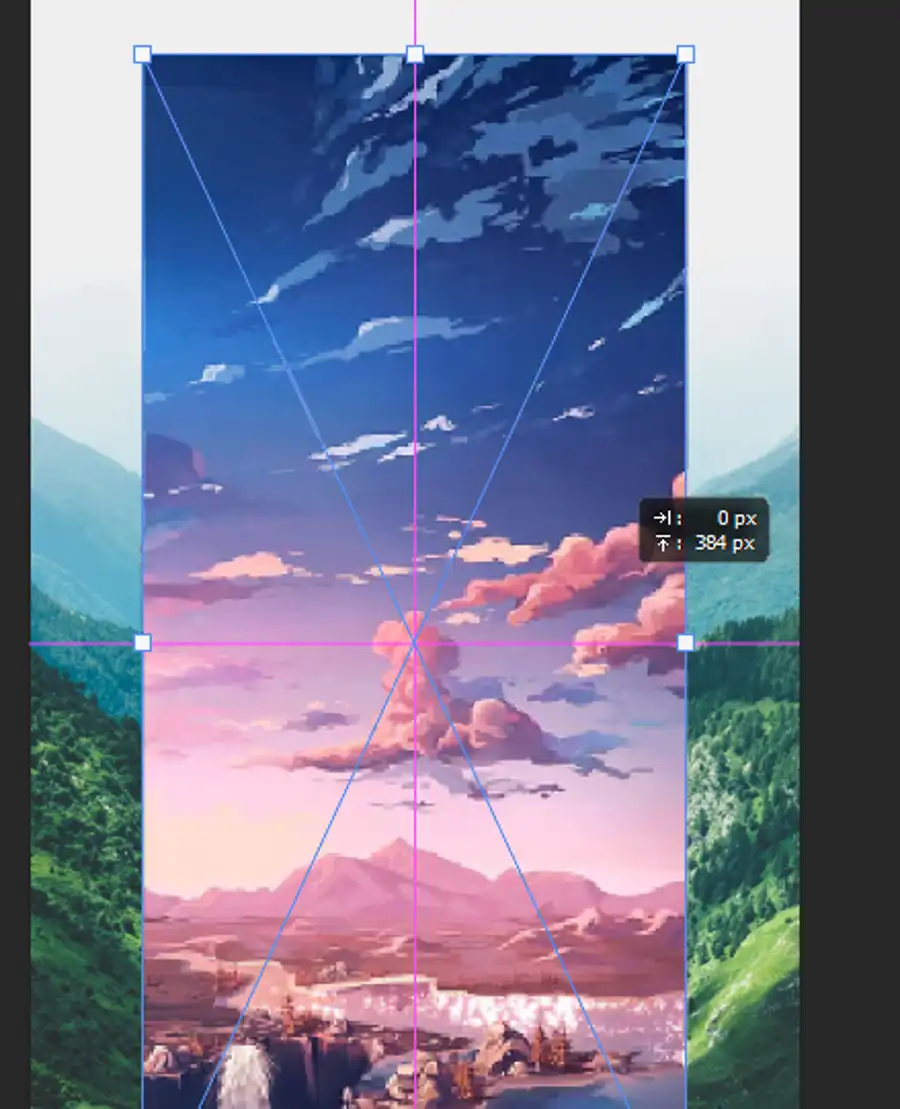
Using the Layers Menu, set the top image layer Blend Mode to Overlay so you can see the layer underneath as well. Enlarge, shrink, or rotate the image to make sure it's positioned correctly to match the first image.
Step 5: Create a Mask and Erase
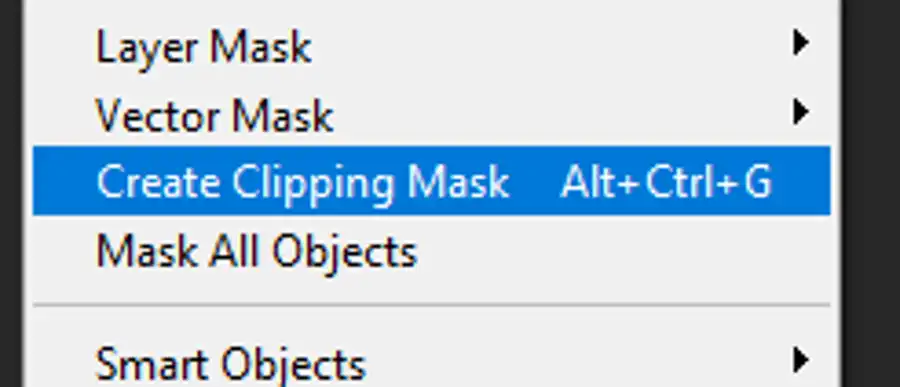
To erase the parts of the second image that you don’t want to see, create a mask. Click the vector mask icon under the Layers Menu, then select the Brush tool. Carefully paint over the areas you want to eliminate. As you get closer to the area you want to erase, make the brush size smaller, and reduce the opacity to achieve a more even transition.
Step 6: Check Your Accuracy
Check if there are any parts of the image you need to work on. Grab the Dodge and Burn tools to fix any areas that are too light or dark. You can also fill a new layer with a strong color that doesn't appear in the photos you are working with to show any parts of your top layer that are not erased properly.
Step 7: Merge The Two Layers
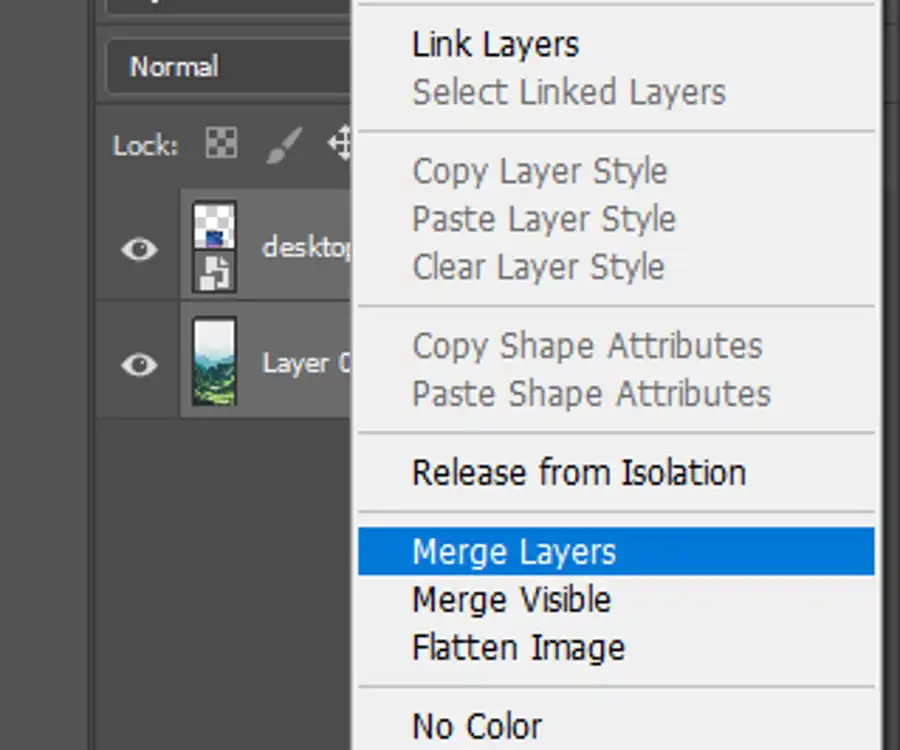
To merge the two layers, select them both, right-click, and select Merge Layers. This creates a single merged image.
Questions you might be asking
How do I seamlessly merge images in Photoshop?
To seamlessly merge images in Photoshop, first open both images in separate documents. Then, select the Move tool and drag one image onto the other. Use the Layer Mask tool to blend the edges of the images together. Finally, use the Clone Stamp tool to touch up any remaining imperfections.
How do I make an image more realistic in Photoshop?
To make an image more realistic in Photoshop, start by adjusting the levels and colors of the image using the Curves tool. Use the Brush tool to add shadows and highlights, and use the Clone Stamp tool to remove any unwanted details. Finally, apply a texture or grain filter to give the image a more natural look.
How do I merge photos realistically in Photoshop Elements?
To merge photos realistically in Photoshop Elements, first open the images in the Editor window. Then, select the Guided Edit mode and choose the Photomerge option. Follow the prompts to select your photos and merge them together. Once merged, use the Clone Stamp tool to touch up any edges or imperfections in the final image.
