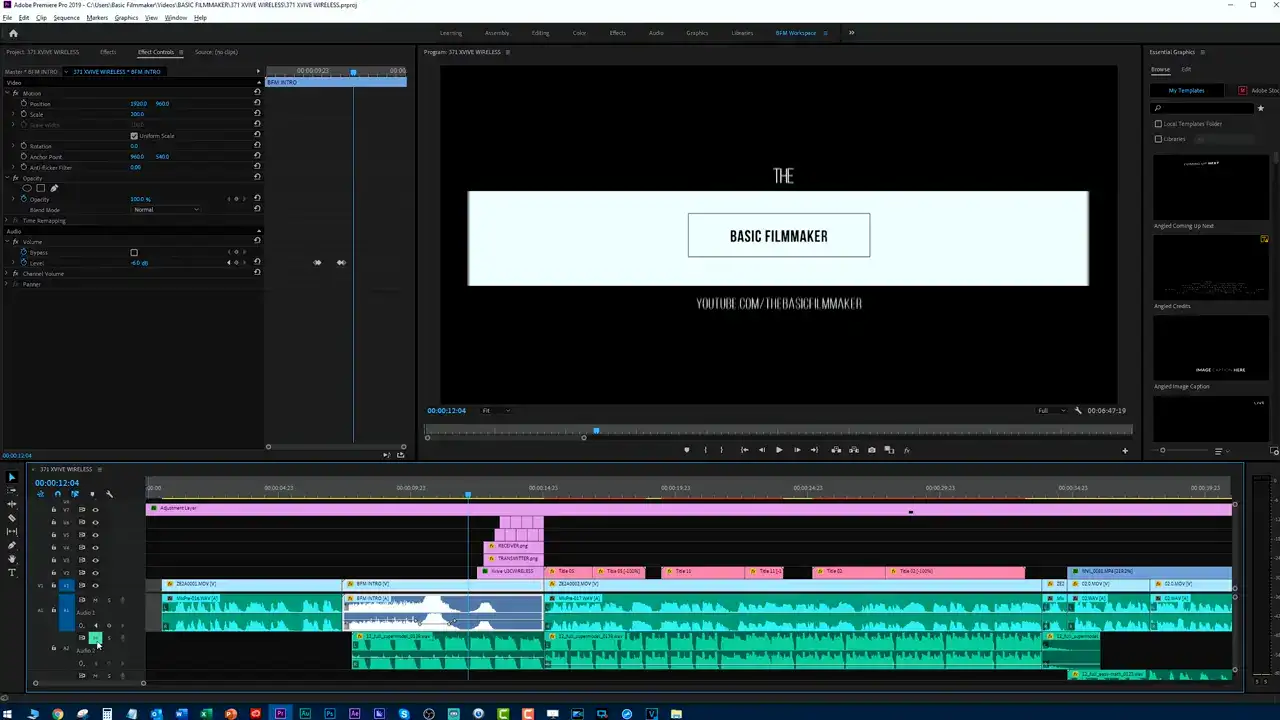
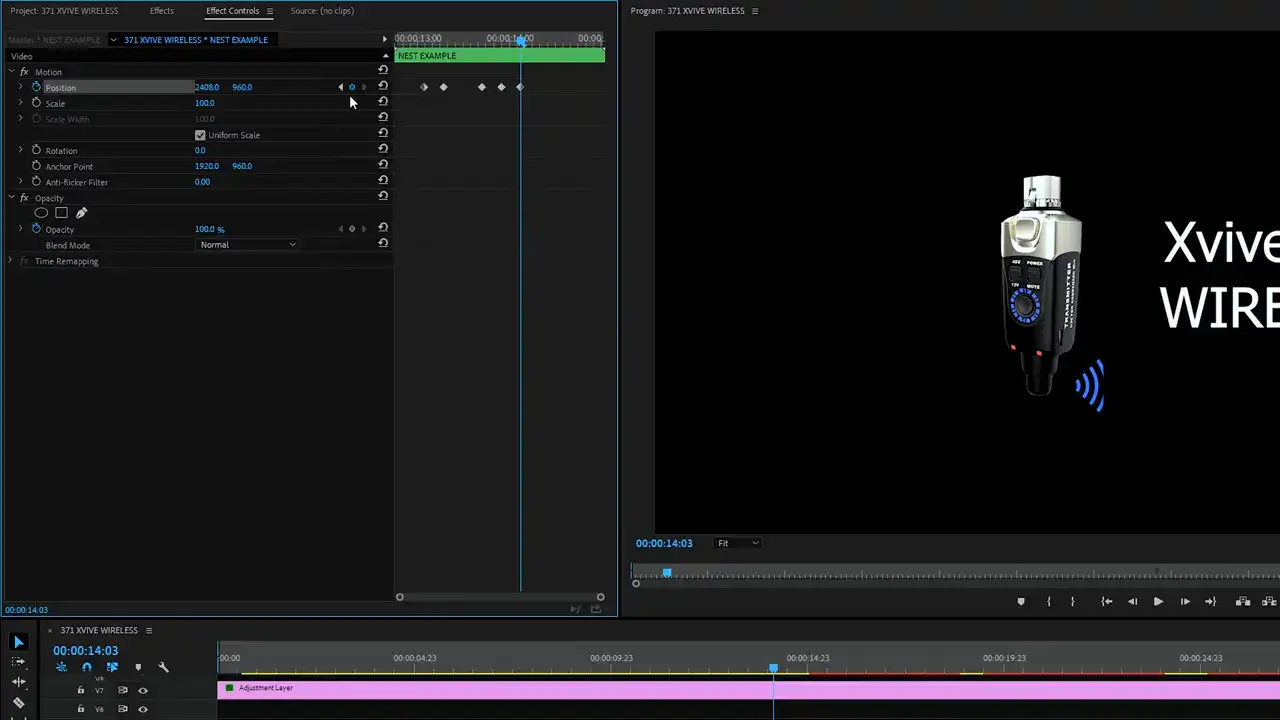
Are you working on long and complicated projects and there's always something on your timeline? You might be having trouble navigating because of the clutter.
One of the most useful tools on Premiere Pro is nesting. Not only does it make your projects organized, but it also envelopes your masterpiece edits.
Nesting allows video editors to combine multiple videos in a single sequence. They help in time-saving and reduce complexity in editing.

Related: How to reset Premiere Pro layout?
So how do you nest and unnest in Premiere Pro? We’ll tell you how. Follow these steps to nest a sequence in Premiere Pro.
- Select the videos you want to be in the nested sequence.
- Right-click then select Nest.
- Name the nested sequence then click OK.
- Ensure that the name is specific and descriptive depending on the project you are working on.
- The created nested sequence will be green and will replace the clips you selected in the timeline.
- Did you forget something? Try pressing Command or Control + Z to undo the nest.
Can You Unnest a Sequence in Premiere Pro?

No. Premiere Pro does not provide video editors with the ability to unnest sequences using a single button.
If Command or Control + Z does not work, double-click the nested sequence to bring it back to the timeline. Afterward, copy and paste each video back to the original timeline.

Alternatively, you can drag and drop the nested sequence from the Project Media bin to the original timeline.
How To Edit a Nested Sequence
To open a nested sequence, simply double click the sequence in the Project Panel or double clip the nested sequence in the timeline then start or continue with your edits.
Does Nesting Reduce Quality in Premiere Pro?

No. Nesting does not reduce the quality of videos in Premiere Pro. However, remember that the nested clips will adopt the resolution of the nested sequence.
For instance, if you have a clip with 2160p resolution then you nest it to a 1080p resolution sequence, then scale up the nest to 200%, the quality will reduce drastically even if the original clips were of the best quality.
This is because you are scaling up the 1080p source beyond its original bounds.
To prevent the quality of the nested sequence from reducing, ensure that the quality of the original videos matches the nested resolution.
While nesting may look like a straightforward process, the choices you make will assist you to become an organized video editor.
