
Glare can be an annoying issue that appears in photographs when light reflects off objects such as glasses, windows, and other shiny surfaces. Fortunately, with a little know-how and Adobe's Photoshop, glares can be easily removed from images. This article discusses how to remove glare in photographs using Adobe Photoshop.

Why Does Glare Appear in Photographs?
Glare is the result of light reflecting off surfaces in the foreground or background, which can appear as bright spots in images. Glare commonly appears when photographing shiny surfaces like mirrors, glass, water, or when using a flash.
Figuring Out What’s Causing Glare
Identifying the cause of glare is the first step in removing it. Look for reflective surfaces and strong light sources, like the sun or flash, as these are common culprits. Different lens styles may also cause more glare than others.
Techniques for Getting Rid of Glare
Various techniques can be used to remove glare from photographs. Small adjustments to camera angles or exposure settings like aperture, ISO, and shutter speed can help. Using a polarizing filter, which blocks horizontal light waves, is also effective. Adding shade or simply taking photos in less bright areas can also help reduce glare.
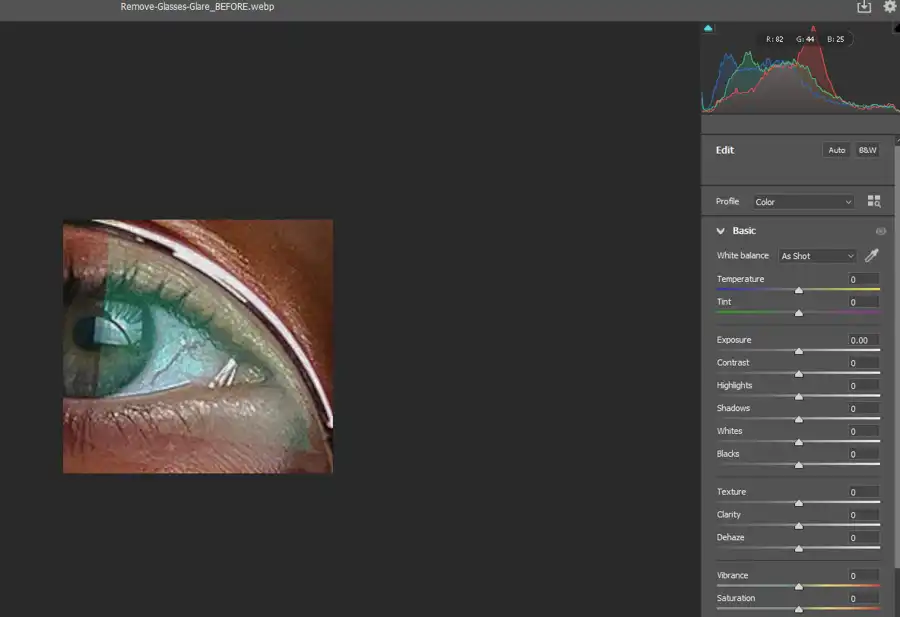
How to Remove Flash Glare in Photoshop?
Whether taking photos indoors or outdoors in bright sunlight, sometimes glare is unavoidable. To remove glare from images, post-processing tools like Adobe Photoshop and Lightroom's built-in features can be used. Here are some techniques for removing glare using Adobe Photoshop:
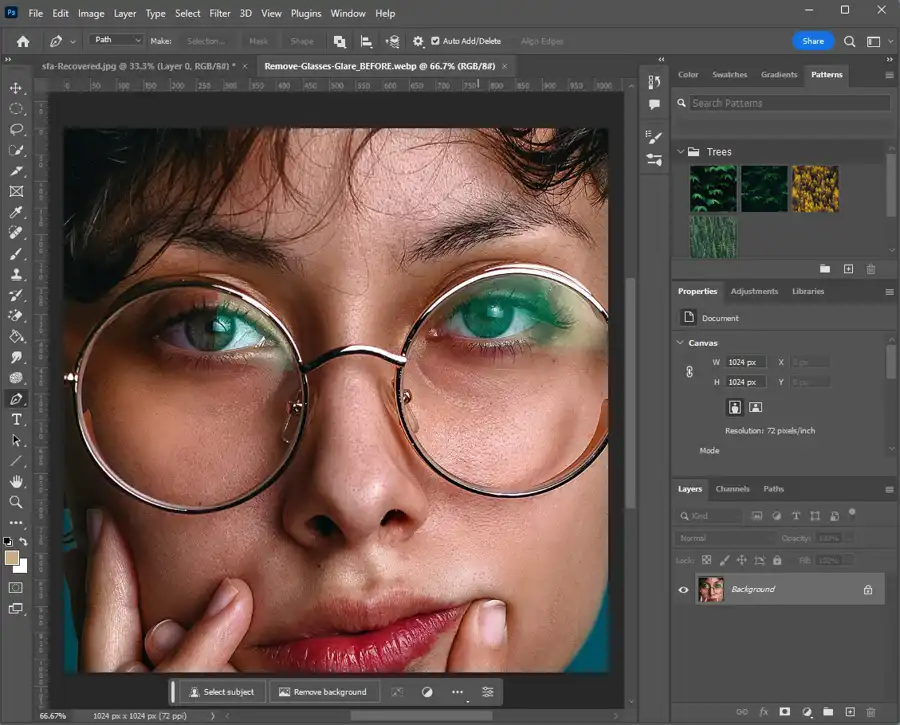
Using the Lasso Tool with an Adjustment Layer
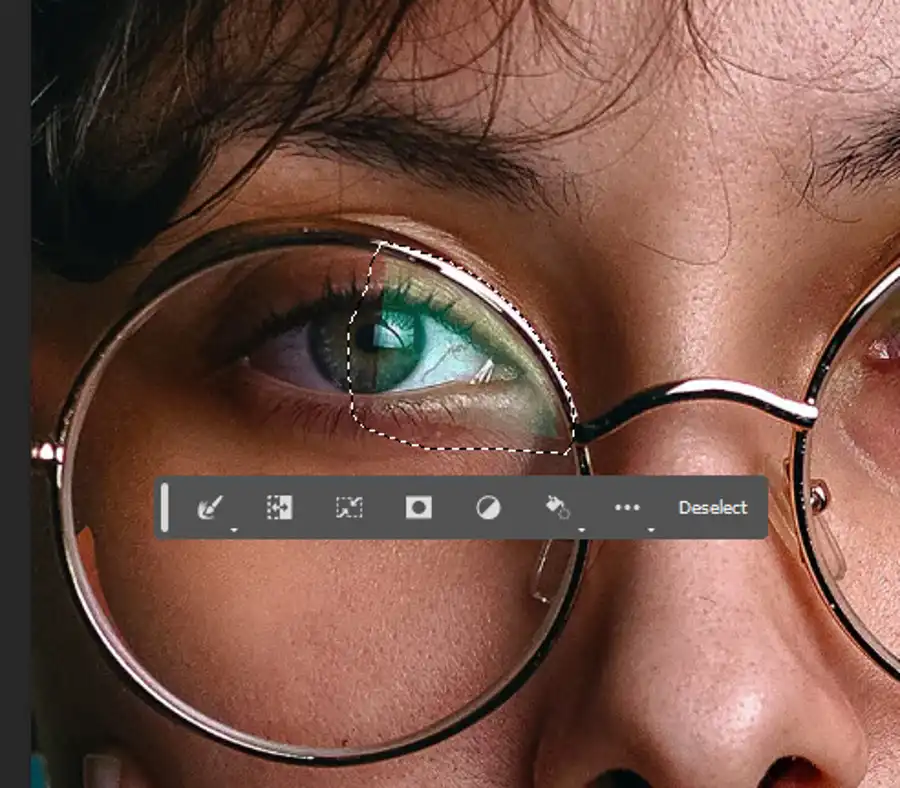
- Make a selection using the lasso tool over the affected area and create a new adjustment layer.
- Next, adjust the brightness and contrast until the glare disappears.
Using Dehaze in Camera Raw
- Select an image and open the Camera Raw Filter. Click CTRL + SHIFT + A to activate the Camera Raw Filter.
- From there, use the Dehaze tool to adjust the contrast and brightness. This works especially well for images with glare caused by the sun.
Using the Clone Stamp Tool
- Simply choose the clone stamp tool and select an area similar to the affected spot.
- Then use it to replace the pixels in that area. This is a great option for removing small glares or flares.

Using an Adjustment Layer for Fine-Tuning
- Select the area of the image where the glare is located and create an adjustment layer.
- Adjust the color balance or hue/saturation to fine-tune the image further.
Questions you might be asking
How do you remove light glare?
There are various ways to remove light glare in a photo. One common approach is to use the clone tool in Photoshop or other image editing software to replicate a nearby area without glare and then merge it onto the affected area. You can also use the dodge and burn tool, make a selection and modify the contrast, or adjust the exposure levels to reduce the glare.
How do I get rid of shine in Photoshop?
To remove shine in Photoshop, select the clone stamp tool, create a new layer, adjust its opacity to around 50%, and select a sample area near the shiny spot to replicate over the shiny area. Alternatively, use the healing brush tool or the patch tool to remove shine quickly.
How do you remove glare from lenses?
To remove glare from lenses, you can use a polarizing filter to minimize reflections while taking the photo. In case you don't use a filter, use the clone tool or the healing brush tool to remove glare in post-processing. Another option is to adjust the angle or position of the lens to avoid the light source that causes the glare