Adobe Photoshop is an essential tool in the toolbox of digital artists, photographers, graphic designers, and anyone else looking to manipulate digital images. One of the powerful features of this tool is its grid system, a design aid that helps align, space, or size elements consistently. However, there might be instances where you want to remove or hide the grid for a clearer view of your work. This article will provide a detailed guide on how to remove the grid in Photoshop.

Understanding the Grid System in Photoshop
Before we delve into the process of removing the grid, it's important to understand what it is. The grid system in Photoshop is a series of non-printable horizontal and vertical lines that overlay on your workspace. It is designed to aid your work in Photoshop, not to become a permanent part of the final product. When you save your file, the grid will not be included, but it can be distracting while you're working, hence the need to remove or hide it at times.
How to Show or Hide the Grid
To show or hide the grid in Photoshop, follow these simple steps:
- Open Adobe Photoshop and select the image or project you want to work on.
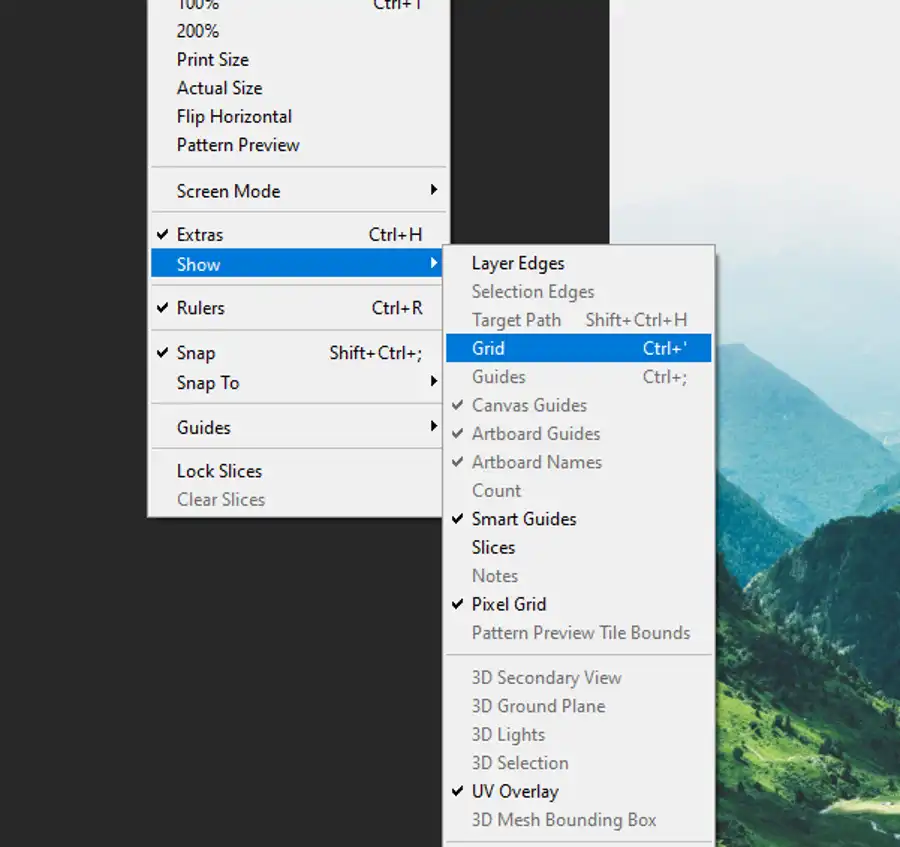
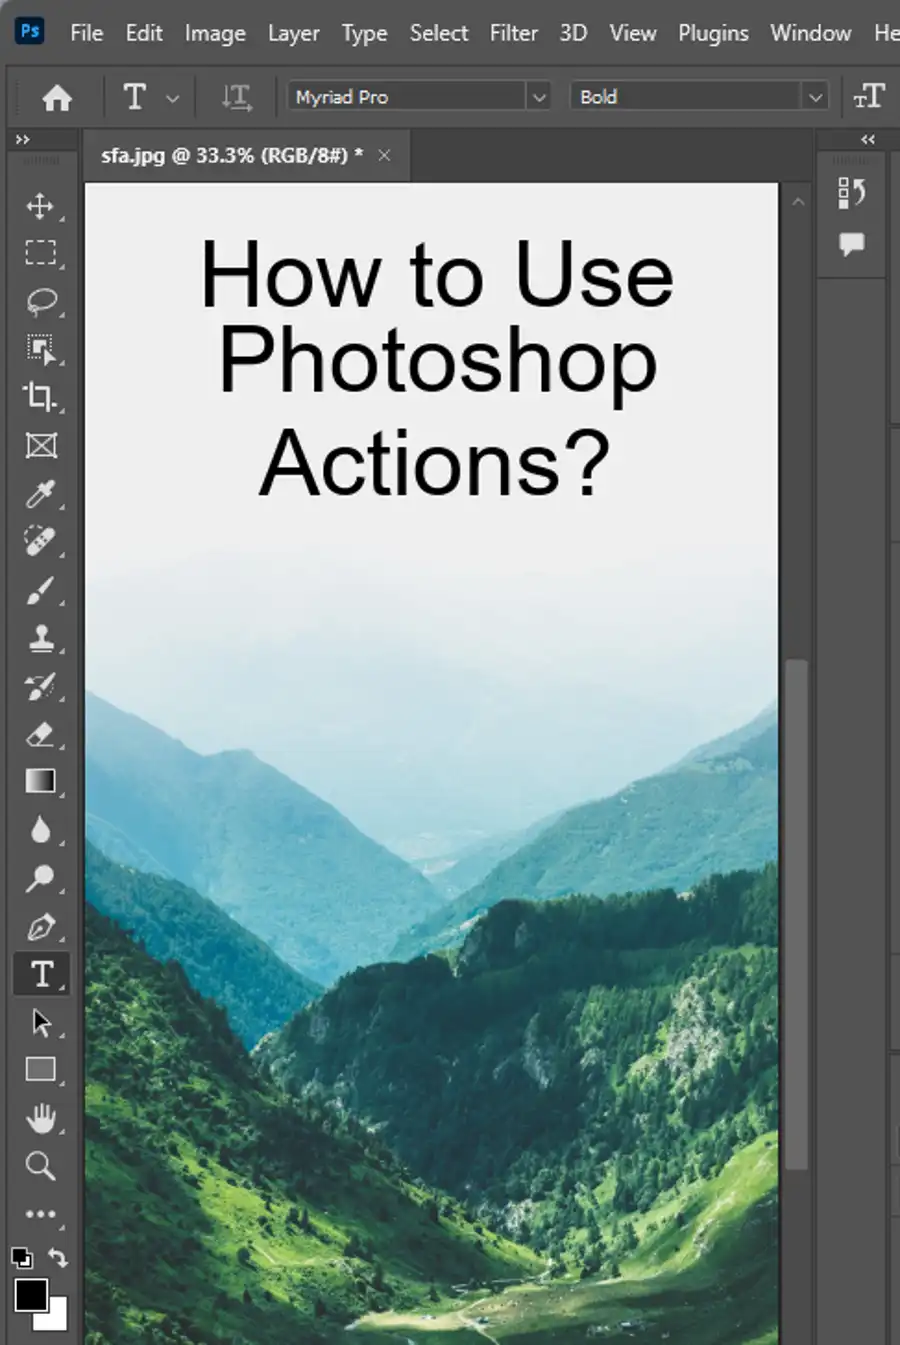
- Click on the 'View' menu at the top of the Photoshop interface.
- From the dropdown list, select 'Show'.
- Another list will appear. Look for 'Grid' and click on it.
If the grid was showing, this action will hide it. If it was hidden, this will reveal it. This is a toggle action, meaning you can switch back and forth between showing and hiding the grid using the same steps.
How to Remove the Grid in Photoshop
If the grid is enabled by default and you want to remove it permanently, follow these steps:
- Open Adobe Photoshop and go to the 'Edit' menu.
- From the dropdown list, select 'Preferences'.
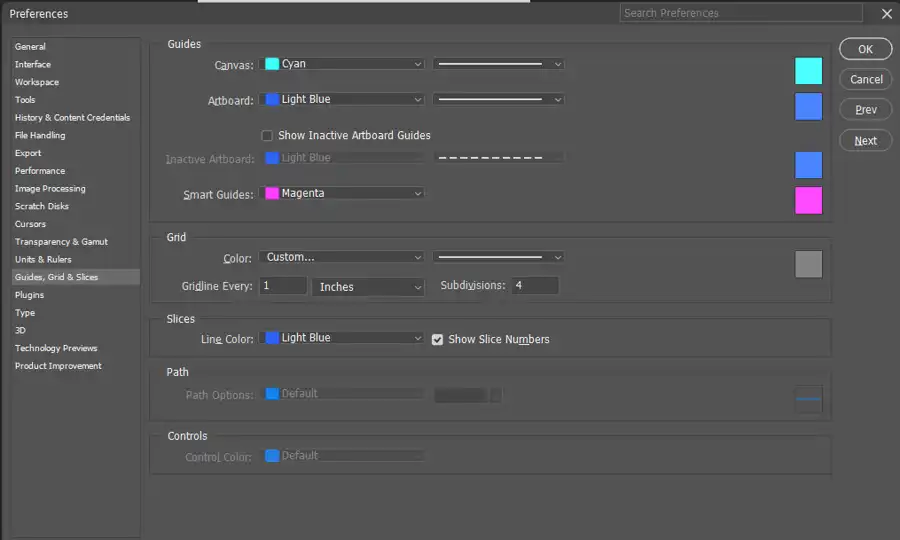
- From the Preferences sub-menu, select 'Guides, Grid & Slices...'.
- A new dialog box will appear. Under the 'Grid' section, uncheck the box next to 'Gridline Every:' to disable the grid.
- Click 'OK' to close the dialog box and save your settings.
These steps will permanently remove the grid. If you want to re-enable it in the future, just follow the same steps and recheck the box.
Customizing the Grid
While removing the grid can help clean up your workspace, there might be instances where a grid could be helpful, but the default grid settings may not be suitable. In such cases, you can customize the grid to better suit your needs. Here's how to do that:
- Go to the 'Edit' menu and select 'Preferences', then 'Guides, Grid & Slices...'.
- Under the 'Grid' section, you'll see options for 'Gridline Every:' and 'Subdivisions:'. The 'Gridline Every:' option allows you to specify how often the gridlines appear. The 'Subdivisions:' option lets you determine how many subdivisions appear in each grid square.
- Adjust these settings as desired and click 'OK' to save them.
Conclusion
The grid in Photoshop can be an incredibly helpful tool, especially when you need to align or size elements consistently. However, there may be times when the grid is more of a distraction than a help. Whether you want to hide it temporarily, remove it permanently, or customize it to better suit your needs, this guide has covered everything you need to know. Remember, like any tool in Photoshop, the grid is there to serve you and your creative vision. Feel free to use it or lose it as you see
Questions you might be asking
How do I get rid of the grid when zoomed in Photoshop?
You can easily get rid of the grid while zoomed in Photoshop by simply turning it off. To do this, go to the "View" menu and uncheck the "Show" option under the "Grid" submenu. Alternatively, you can use the keyboard shortcut "Command + ' (apostrophe)" on a Mac or "Ctrl + ' (apostrophe)" on a PC to toggle the grid on and off.
Why is there a grid on my Photoshop?
The grid is a default feature in Photoshop that helps you line up and arrange objects on the canvas. It is especially useful for designers and artists who need precise placement of their elements. The grid is typically visible by default when you open a new document in Photoshop. If you don't want to see the grid, you can simply turn it off using the steps mentioned above.
How do I make the grid transparent in Photoshop?
If you want to keep the grid visible but make it less distracting, you can adjust the opacity of the grid. To do this, go to the "Photoshop" menu on a Mac or "Edit" menu on a PC, select "Preferences," and then choose "Guides, Grids & Slices" from the options. In the "Grid" section, you can adjust the "Gridline every" and "Subdivisions" settings to your liking. You can also change the color of the grid by clicking on the color swatch next to "Grid color." To make the grid more transparent, simply lower the opacity slider under the "Grid" section.