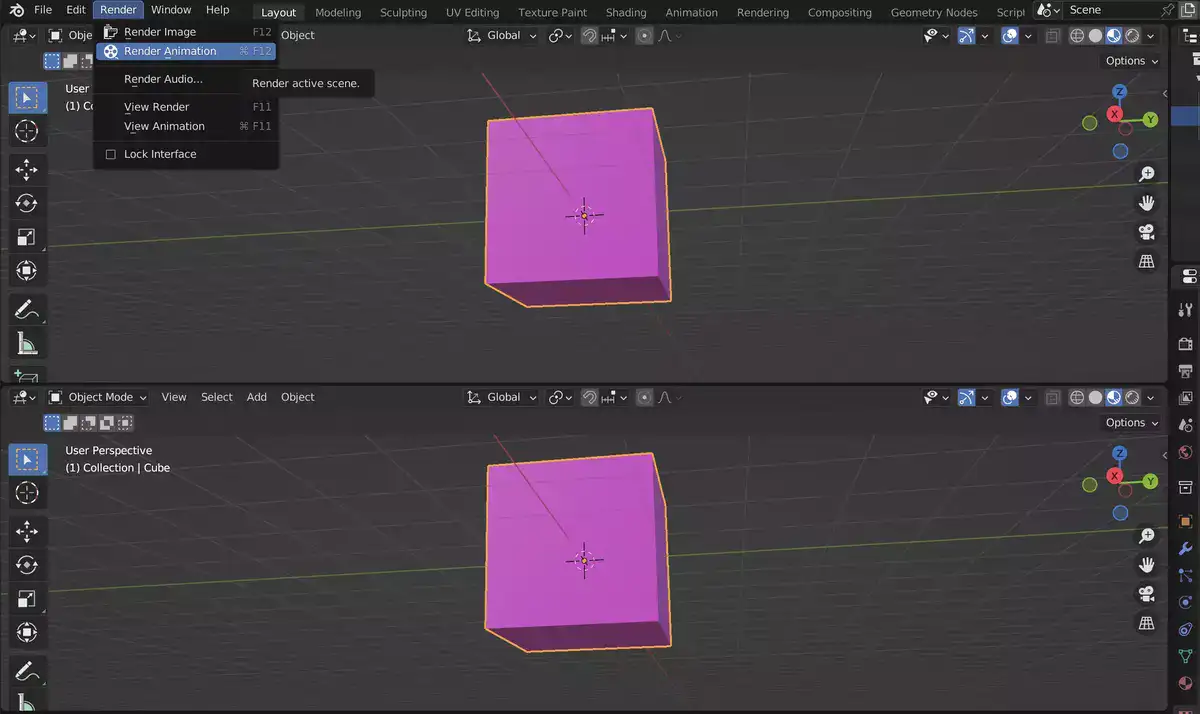
Rendering is the process of creating a photorealistic or non-photorealistic image from a 3D model by means of computer software. It is the final stage of the 3D modeling process, which follows modeling and animation.


Rendering is computationally intensive regardless of your hardware specs and often takes much longer than the other stages of 3D production. However, it is also the most important stage, as it determines how realistic or impressive the final image will be. Depending on the complexity of your project, it's not uncommon to see up to 10+ minutes of render times for a single image!
Related: After Effects vs Blender

Here are some of our best tips for rendering faster in Blender regardless of your render engine.
Tip 1: Use GPU and not CPU.
If you need to apply a single suggestion from this list, take this advice. If this alone hasn't doubled your render speed, either you don't have any GPU installed properly, or you turned off CUDA in the settings, Nvidia's parallel computing platform, and programming model. It basically enables your computer to render and process your models simultaneously, getting more jobs done at the same time.
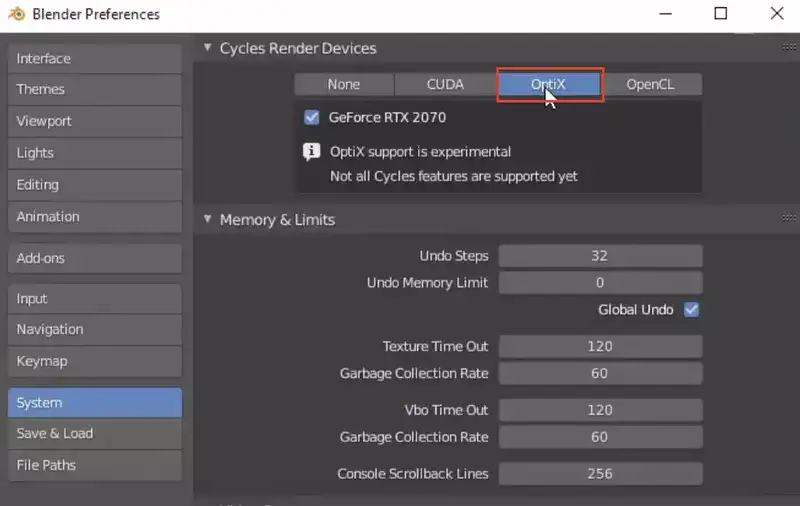
Tip 2: Enable OptiX

This is for only Nvidia users. If you're rocking an Nvidia GPU, go to Blender Preferences > System. Under Cycles, Render Devices find OptiX and enable your GPU here. It's still an experimental feature but helps you render minutes-long models in a few seconds.
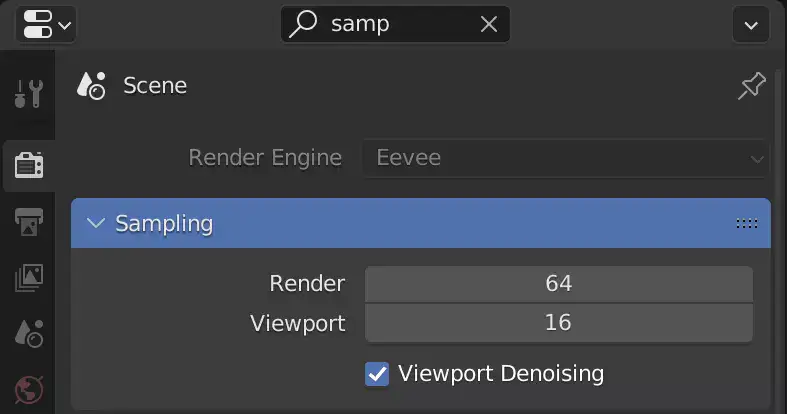
Tip 3: Viewport Denoising

Enable Viewport Denoising under the sampling tab. If you've also applied the first two tips along with this one, rendering will feel like it's real-time.
Viewport denoising is a new feature in Blender 2.79 that significantly reduces noise in the viewport while rendering. It uses Intel OpenImageDenoise, which is an open-source library for denoising images.
Viewport denoising is particularly useful for rendering complex scenes with lots of light and shadow, as well as for animations. It can also be used to reduce noise in image sequences.
To use viewport denoising, simply enable it in the render settings. You can then choose the level of denoising you want to apply, from low to high.
No matter what your goals are, there are certain render settings that will help you achieve them. By understanding the different settings and how they affect the quality and speed of your renders, you can choose the best settings for your needs.

