Adobe Photoshop is a very popular and useful tool for photo editing and manipulation. It is now being offered at a 50% discount for the first three months, which makes it the perfect time to try it out. One of the many features of Photoshop is the Magic Wand tool, which allows you to select and mask objects and areas in your images with ease.


What is the Magic Wand Tool, and what is it used for?

The Magic Wand tool is a selection tool in Photoshop that allows you to select similar-colored areas or objects in your image. It is used to simplify the process of selecting and isolating objects, especially those with clear and distinct edges. The tool uses machine learning to detect and select the area you want to isolate, with customizable settings to cater to more advanced users.

How to select and mask in Photoshop with the Magic Wand Tool

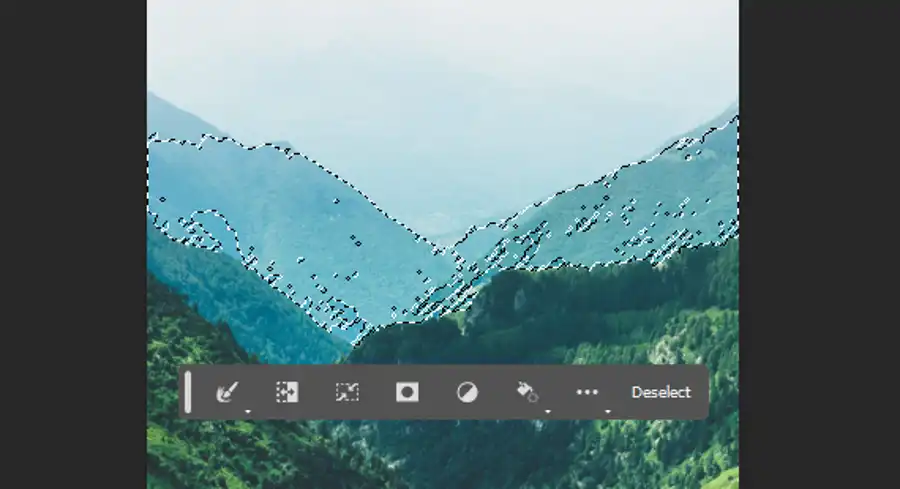
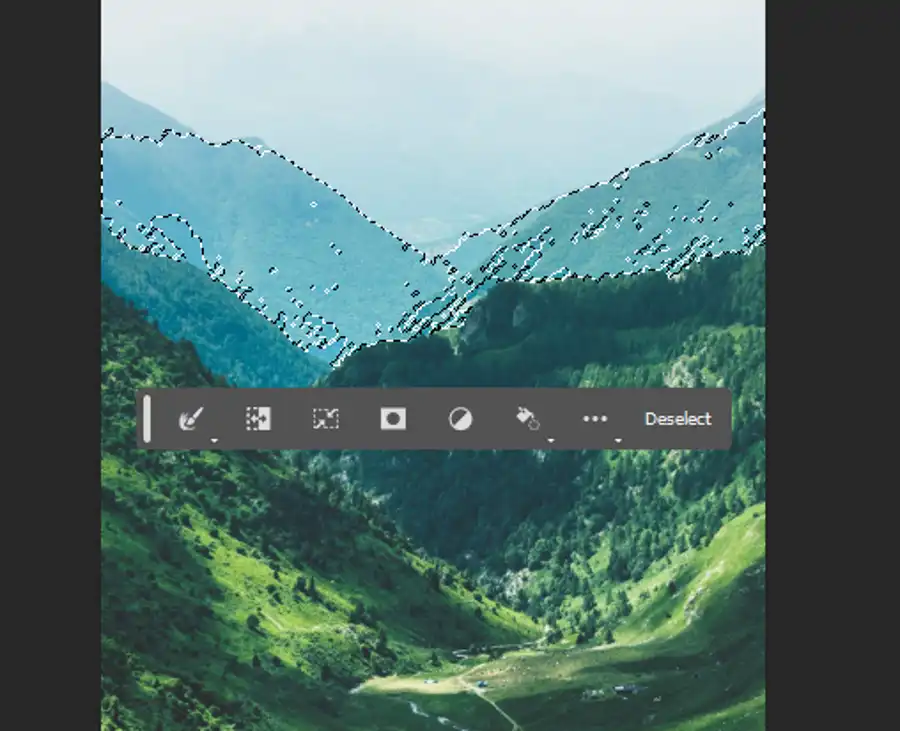
- To use the Magic Wand tool, select it from the toolbar or press "W" on your keyboard. Once you have the tool selected, click on the color or object in your image that you want to isolate. The tool will then select all pixels with a similar color value, allowing you to perform further actions on that selection.
- To refine your selection, adjust the Tolerance level in the options bar. This allows you to select a broader or narrower range of colors, giving you more control over the selection process. Additionally, you can choose to sample colors from all layers or only the active layer.
- One of the benefits of the Magic Wand tool is that it offers a wide range of selection options. Depending on your selection option, you can create a new selection, add to an existing selection, or subtract from an existing selection. For example, to select multiple objects, you can use the Add to Selection option.


It's also worth noting that if you want to select nonadjacent areas of similar color, uncheck the Contiguous option in the options bar. This feature allows you to select pixels of the same color, even if they are not connected.
When to Use the Magic Wand Tool for Your Product Photos
The Magic Wand tool is a powerful and versatile selection tool that simplifies the process of selecting and isolating similar-colored areas or objects in your images. It's especially helpful when working with complex images with clear and distinct edges. However, it's essential to keep in mind that the tool does not allow for editing the edges of a selection or shades within an image.
Aside from the Magic Wand Tool, Photoshop users have many other tools for adding or removing objects from their images. These include the Lasso Tool and the Rectangular or Elliptical Marquee Tools.

Questions you might be asking
Why doesn't Magic Wand work in Photoshop?
The Magic Wand tool in Photoshop is dependent on the image you're using. For example, if the image consists of colors and shades that are too similar, then the Magic Wand tool might have a hard time selecting the entire area you want to edit. The Magic Wand also requires contrast between the selected area and the rest of the image. In cases where it doesn't work, consider using other selection tools like Lasso or Quick Selection tools.
What is the hotkey for Magic Wand in Photoshop?
The hotkey for the Magic Wand tool in Photoshop is W. Simply press and hold the Shift key with the W key to toggle between the other selection tools in Photoshop.
How do I add the magic tool in Photoshop?
The Magic Wand tool is already present in Photoshop and can be found in the toolbar on the left-hand side of the screen. If you can't see it, look for the "Quick Selection Tool" - right-click on it, and then select "Magic Wand Tool" from the drop-down menu.
How to use the Magic Wand tool to remove the background in Photoshop?
To remove the background using the Magic Wand tool, follow the steps below:
- Open your image in Photoshop and select the Magic Wand tool from the toolbar.
- Click on the background with the Magic Wand tool. You should see a selection around the background.
- If the selection isn't right, adjust the Magic Wand tool's tolerance (located at the top of the screen) to adjust the brightness range.
- Press the delete key to remove the background. It should now appear as a transparent checkboard.
- Save your image in a format that supports transparency, such as PNG, to retain the transparent background.
Remember to practice patience and experiment with the various settings until you get the desired results.

