
Photoshop is an essential tool for graphic designers, photographers, and other professionals who use digital images for their work. One of the most useful tools in Photoshop is the Paint Bucket tool, which can help users fill an area with a color or gradient easily. However, some users have been reporting issues with locating the Paint Bucket tool after an update. In this article, we will share some tips and tricks for finding the Paint Bucket tool and making the most out of it.

How to Find the Paint Bucket Tool in Photoshop

To use the Paint Bucket tool in Photoshop, you need to first locate it in the toolbar. By default, the Paint Bucket tool should be located beneath the Gradient tool in the toolbar. However, some users have reported that this is not the case after a recent update.
If you cannot find the Paint Bucket tool under the Gradient icon, there are a few ways to solve the issue. First, you can try to reset your toolbar settings by selecting Edit > Toolbar, then clicking Restore Defaults and Done. This should bring back the default setup of the toolbar, which includes the Paint Bucket tool.
If the solution above does not work, you can try holding and left-clicking on the Gradient Tool icon. This will show other related tools, including the Paint Bucket tool. You can then select the tool and start using it.
Some users have also reported that they were able to find the Paint Bucket tool by moving it in the toolbar using Edit > Toolbar. This allows you to drag and drop the tool to a different location in the toolbar.
Tips and Tricks for Using the Paint Bucket Tool
Once you have located the Paint Bucket tool in Photoshop, you can start using it to fill any area with a color or gradient. Here are some tips and tricks for using the tool effectively:
Choose the foreground color
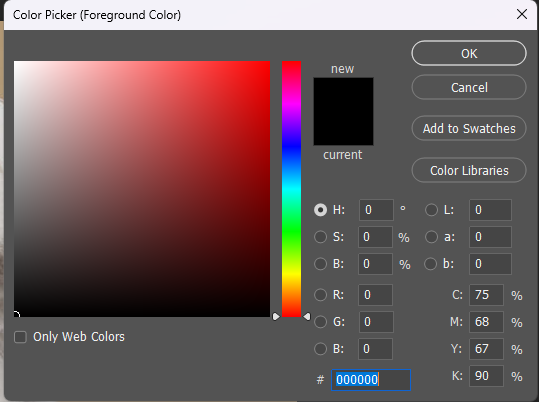
Before you start using the Paint Bucket tool, select the foreground color you want to fill the area with by clicking on the upper color selection box in the toolbar and selecting a color from the color picker.
Customize the settings
In the tool options bar, you can customize different settings such as Mode, Opacity, Tolerance, Anti-Alias, Contiguous, and All Layers. Make sure to adjust these settings according to your requirements.
Click and fill
Finally, click on the part of the image that you want to fill with the chosen color. The Paint Bucket tool will automatically fill the area with the foreground color.
Here are some more tips, tricks, and guidelines to keep in mind when using the Paint Bucket tool:
- It is recommended to turn on the Contiguous option if only the adjacent pixels with similar colors are needed to be filled. Otherwise, leave it turned off.
- Tolerance is used to specify how similar the color of the target area should be before it is filled with the foreground color.
- Hold the Shift key and click multiple times on the desired area to fill a larger area with the same color.
- Press the Alt key and click the area to remove the color from the selection.
- Make sure that the desired area is not locked or on a locked layer; otherwise, you won’t be able to fill it with color.
- If you are filling a layered document, make sure you have selected the correct layer before filling with color.
Conclusion
The Paint Bucket tool is an essential tool in Photoshop that can help users fill an area with a color or gradient quickly. It is located in the toolbar by default, but some users have reported issues with finding it after a recent update. In this article, we have shared some tips and tricks for locating and using the Paint Bucket tool effectively. By following these guidelines, you can easily fill any area with a color or gradient in Photoshop. Don't forget to use other tools available in Photoshop, such as the Brush tool, Gradient tool, and Pen tool, for more advanced painting needs.
Questions you might be asking
Why is there no paint bucket in Photoshop?
Actually, there is a paint bucket tool in Photoshop. It's just called the "Fill" tool and it's located in the toolbar alongside other basic tools like the Marquee, Lasso, Crop, and Eyedropper tools. However, some users might mistakenly refer to the Fill tool as the paint bucket tool because it functions similarly - it fills in an area with color.
What is the paint bucket tool in Photoshop?
As mentioned earlier, the Paint Bucket tool in Photoshop is actually called the "Fill" tool. It allows you to fill a selected area or layer with a solid color, gradient, or pattern. You can access the Fill tool by clicking on the bucket icon in the toolbar or by using the keyboard shortcut Shift + F5.
Where is the fill tool in Photoshop?
The Fill tool is located in the toolbar in Photoshop. It's represented by an icon that looks like a bucket of paint spilling over. You can also access it by going to the Edit menu and selecting Fill, or by using the keyboard shortcut Shift + F5.