Premiere Pro is designed to handle large files and complex projects. If you edit a long project, you might experience some lag time. This happens because the system uses multiple threads to speed up the processing. But there are still ways to prevent Premiere Pro from lagging, freezing, and in some cases, crashing altogether. In this tutorial, we'll explore some of the actions you can take to speed up your video editor.

Problem #1: Not enough RAM
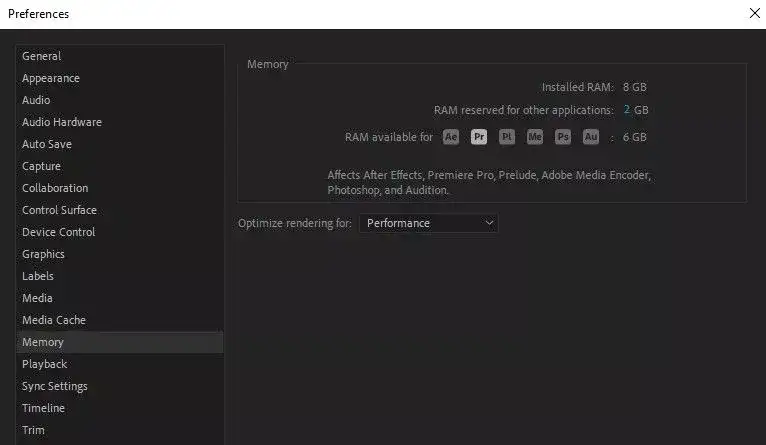
In most cases, whenever your Premiere Pro lags the most likely reason is insufficient RAM. Adobe Premiere Pro requires at least 4GB of RAM, but it's recommended to have 8GB or more to run the software efficiently.
How to fix?
If you think low RAM is the most likely reason for Premiere Pro's performance issues, your only option is to work on a better PC. In some cases, you might be able to upgrade your RAM, especially in desktop PCs and some gaming laptop models.
Allocate more RAM to Premiere Pro
If you have plenty of RAM on your PC, the issue could be available RAM to Premiere Pro. You can fix it by allocating more RAM to Adobe applications. You could do so by going to Edit > Preferences > Memory.
In the window, you'll see installed RAM, and the total RAM Premiere Pro is allowed to you. It's always a good idea to leave at least 2GB to other applications running behind the scene.
There's also a setting that lets you optimize rendering for either memory or performance. If you're having performance issues with Premiere Pro, select memory instead. Premiere Pro will sacrifice render speed for memory.

Problem #2: Not enough memory

Premiere pro sometimes takes auto backups of your project and generates cache files of your clips and other files. This quickly might result in a huge memory space requirement and eventually end up crashing your application if you run out of disk space.
How to fix?
Try deleting some files or moving them to another hard drive. If you have multiple SSDs or HDDs, you can assign one of them to Premiere Pro specifically and let Premiere Pro use it as the primary memory. This can be done from Preferences > Performance. Additionally, you should purge unused media cache files every now and then. You could also directly go to Cache Folders and delete everything in it.
Check out our Premiere Pro cache files tutorial to find out how to manage your caches more efficiently, access and remove them when you need to.
Problem #3: Check your GPU
Your video card might be having problems playing back HD videos. Check if your graphics card supports HD playback. If not, upgrade your graphics card.
How to fix?
Go to your GPU maker's website and search for an update involving performance fixes. Whenever a new game or a new version of a popular software comes out, Nvidia and AMD release new versions of their GPUs to support the new changes better.
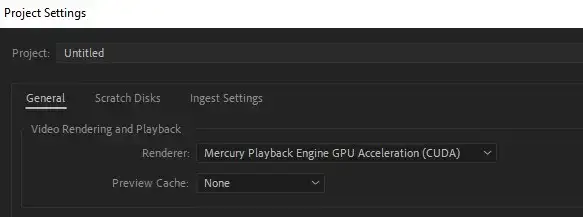
Also, navigate to File > Project Settings. Under Video Rendering and Playback, find Renderer and change it to "Mercury Playback Engine GPU Acceleration (CUDA)" if anything else is selected. This option will enable both CPU and GPU during rendering and greatly increase the application's performance.

Problem #4: Check your internet connection
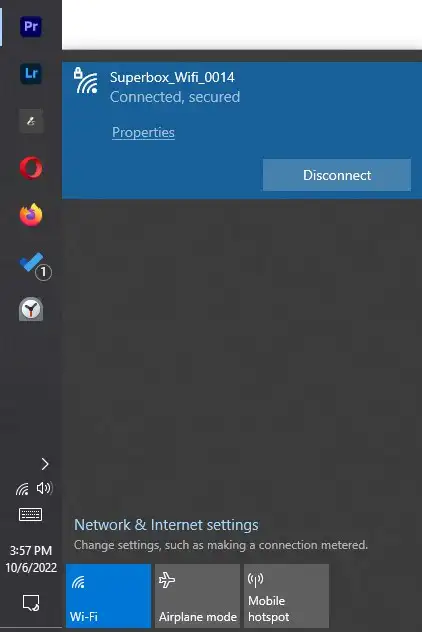
You may think Premiere Pro doesn't need an internet connection to perform correctly, but there are some features that require you get online. Such as media files saved on Adobe Cloud, automatic caption creator, and exporting using the Media Encoder. If your computer fails to connect to the internet, Premiere Pro might stop working.
How to fix?
Make sure you're connected to a fast internet service provider or don't use features that require internet connection.
Problem #5: Malware infection
Your computer may be infected with malware. These malicious bits of software usually run in the background, hidden from the operator, and might use big amounts of resources, including RAM and the internet to upload/download files.
How to fix?
Download and use Anti-Malware software and scan your computer for viruses.
Problem #6: Overheating hardware
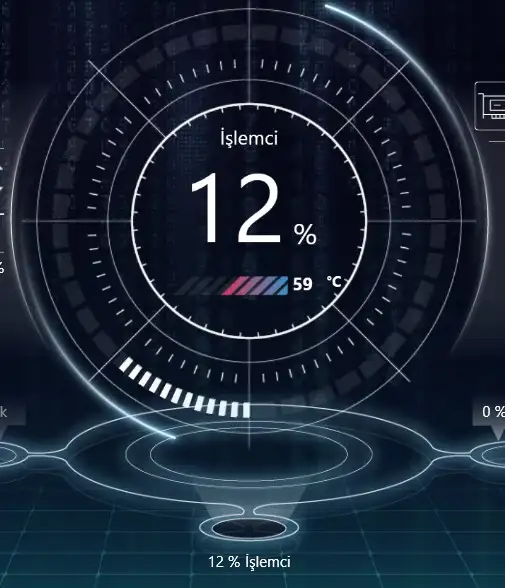
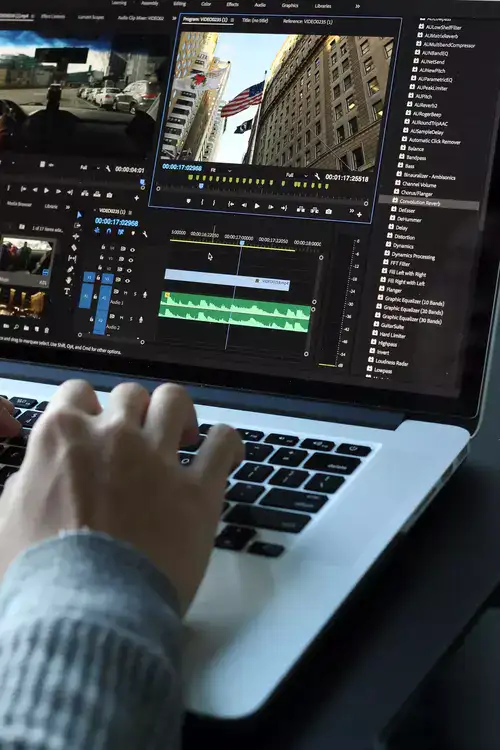
Your computer components may be overheating. Especially when your CPU overheats your system automatically slows down itself to decrease the load on your hardware, eventually resulting in performance issues when you need it the most.
How to fix?
Turn off unnecessary programs and close any open windows. Also, make sure your fans aren't clogged. The maximum heat of your CPU shouldn't exceed 90 degrees. Around 60 to 70 is a good operating heat to aim for.
Problem #7: Incompatible system
Your computer may be incompatible with Premiere Pro. That usually happens when you are running an older operating system such as Big Sur, Catalina, Mojave, El Capitan, High Sierra or older from MAC, or Windows 7, XP or older from Microsoft. Newer versions of Premiere Pro might not be suitable for your OS.
How to fix?
Update your operating system to the latest stable version and check compatibility.
Problem #8: Problematic Premiere Pro version
Adobe Premiere Pro has a new update every few months, and some of them could be quite rushed in without proper tests being done across all devices, systems, and models. Or maybe you haven't updated your Premiere Pro in years and missing out on a performance-related version they identified and fixed.
How to fix?
Go to your Adobe Creative Suite and find out what version of Premiere Pro you are running. If it's an older one, consider letting Adobe automatically update it for you. If you're sure you have the latest version, you could be suffering from a bad software release, which happens to some % of users in almost every update. Consider rolling the update back.
Problem #9: Too many apps running
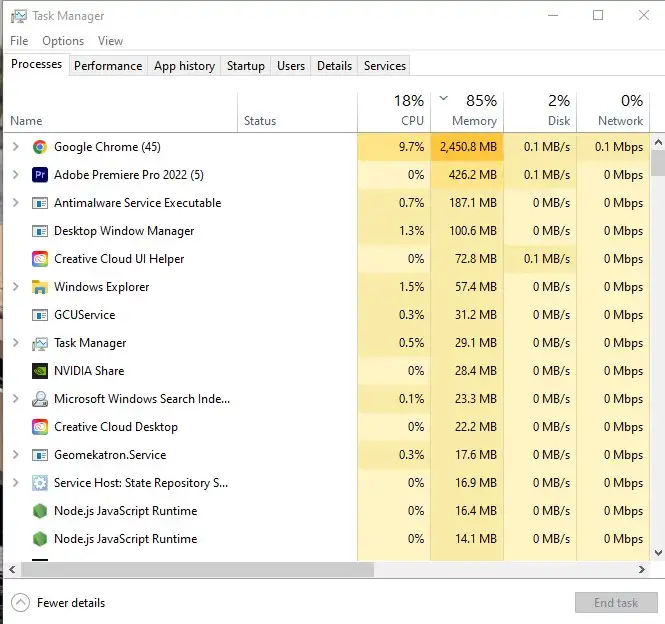
Your computer may be having performance issues due to too many applications running and using computer resources behind. These could be a YouTube video you're watching on your second screen, a few Chrome browser tabs running behind the scene, a Steam download you're doing, Discort chat going on, etc. Every one of these apps steals system resources that should be available for Premiere Pro.
How to fix?
Disable unwanted startup items and optimize your computer settings.
Problem #10: Change playback resolution
If you're having playback issues only, this is almost guaranteed to fix your playback performance problem. Unless you are working on a huge project for a big advertisement campaign that requires high-resolution videos, you don't need to set your playback resolution to full. You'll be able to make progress with 1/4th of the render playback quality.
How to fix?
Change your playback resolution and pause resolution to as low as possible instead of full quality. This will greatly avoid playback lag issues and allow a smoother editing process.
All in all, if you're experiencing laggy playback, slow rendering, freezing, crashing, or other problems while working with Premiere Pro, there are several reasons why this can happen. It's important to identify the problem first before trying to solve it. You can do so by checking our list above. If there are other fixes we missed, please let us know in the comments.

